



What Exactly is Kombucha?
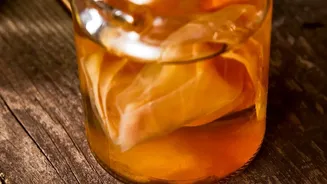
Kombucha is a fermented, lightly effervescent tea beverage that has been consumed for centuries. The magic lies in the fermentation process, driven by a unique starter culture called a SCOBY, which is an acronym for Symbiotic Culture of Bacteria and Yeast.
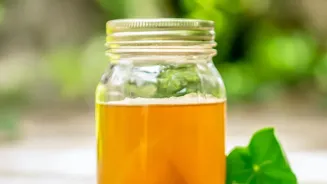
This living culture, which looks like a rubbery, pancake-shaped disc, consumes the sugar in sweetened tea, transforming it into a drink packed with probiotics, organic acids, and antioxidants. While traditionally made with black tea, using green tea results in a lighter, milder flavour profile, making it a popular choice for home brewers.
Gathering Your Brewing Essentials
Before you begin, you'll need a few key pieces of equipment. Most importantly, you need a large glass jar (a one-gallon or four-litre jar is a great starting size). You will also need a breathable cloth cover, like a clean cotton towel or several layers of cheesecloth, and a rubber band to secure it. This keeps dust and insects out while allowing air to circulate. For the brewing and bottling process, a small pot for making tea, a funnel, and airtight glass bottles (like flip-top bottles) for the final carbonation stage are necessary.
The Four Core Ingredients
The beauty of kombucha lies in its simplicity. You only need four ingredients: water, tea, sugar, and a starter culture. Use filtered, non-chlorinated water, as chlorine can harm the delicate microorganisms in your SCOBY. For green tea kombucha, choose a pure, unflavored green tea. About four to six tea bags or a few teaspoons of loose-leaf tea per gallon is a good ratio. Plain white granulated sugar works best; the SCOBY will consume most of it during fermentation, so don't worry about the final drink being overly sweet. Finally, the most crucial ingredient is your SCOBY, which should come submerged in at least a cup of starter tea (previously brewed kombucha) to help create the ideal acidic environment from the start.
Part 1: The First Fermentation
This is where the initial transformation happens. Begin by bringing about four cups of your filtered water to a boil. Remove it from the heat, add one cup of sugar, and stir until it's completely dissolved. Steep your green tea in this hot sugar water for about 10-15 minutes, then remove the tea bags or leaves. Pour this concentrated sweet tea into your large glass jar and top it up with the remaining cool, filtered water, leaving a few inches of space at the top. Allow the mixture to cool down completely to room temperature — this is critical, as hot tea can kill your SCOBY. Once cool, gently add your SCOBY and the starter liquid. Cover the jar with your cloth and secure it with a rubber band. Place the jar in a warm spot away from direct sunlight and let it ferment for 7 to 21 days. The ideal temperature is between 75-85°F (24-29°C). After a week, start tasting it every day until it reaches a pleasant balance of tart and sweet.
Part 2: Flavouring and Fizz
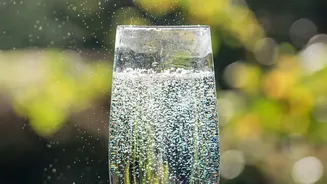
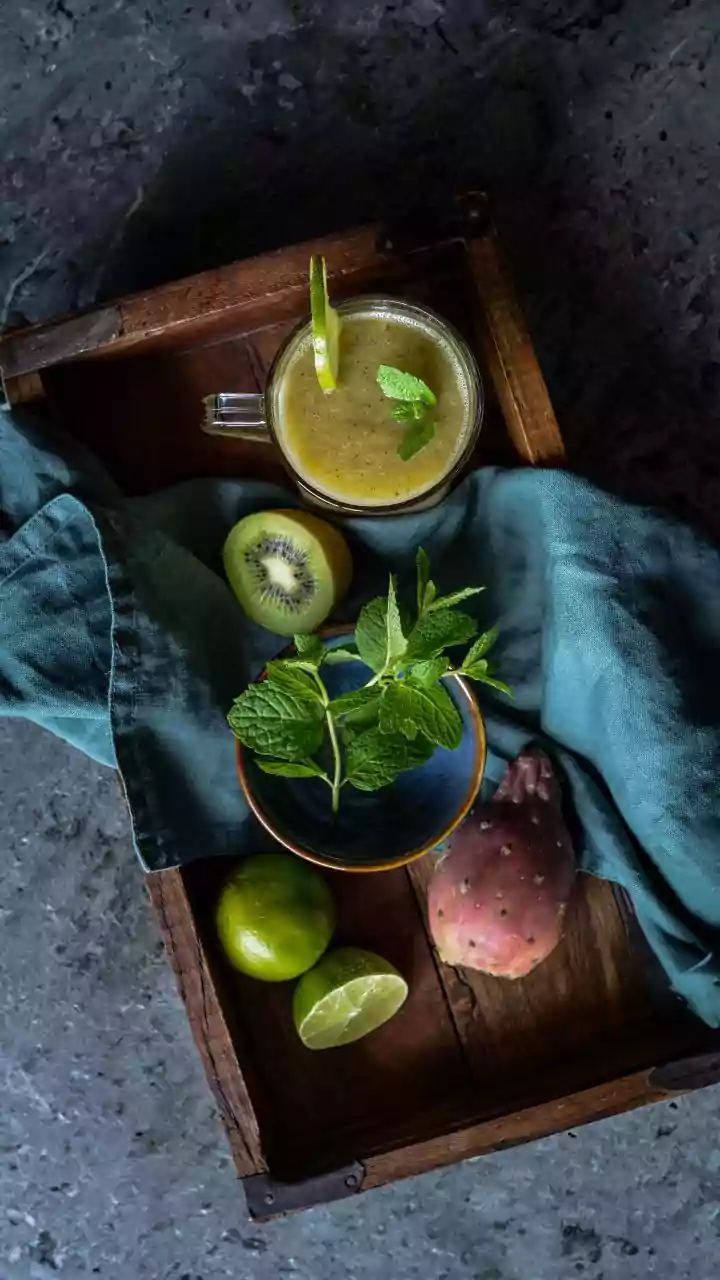
Once your kombucha tastes right, it's time for the second fermentation, which is where you add flavour and create carbonation. Carefully remove the SCOBY along with about two cups of the liquid to use as starter tea for your next batch. Now, you can get creative. Add your choice of flavourings to the airtight bottles. Popular options include fruit juices, pureed fruits like mango or berries, or slices of fresh ginger. A good starting point is to fill about 10-20% of the bottle with juice or fruit and top it off with your freshly fermented kombucha, leaving an inch of headspace. Seal the bottles tightly and let them sit at room temperature for another two to five days. 'Burp' the bottles daily by briefly opening them to release excess pressure and prevent explosions. Once it's as fizzy as you like, transfer the bottles to the refrigerator to stop the fermentation and chill before enjoying.
Is It Mold? A Quick Safety Check
For new brewers, the strangest looking things can cause panic. However, mold is actually quite rare in kombucha due to its acidic nature. Remember this simple rule: mold is always fuzzy and grows on the surface. It can be white, green, blue, or black. Anything slimy, gelatinous, or forming brown, stringy strands under the surface is likely a normal part of the yeast and SCOBY formation. A healthy new SCOBY will form as a smooth, whitish layer on top. If you ever see dry, fuzzy spots, it is best to be safe, discard the entire batch, and start over with a fresh SCOBY.