


The Allure of the Past
There’s a reason why the soft waves and structured curls of the 1930s, 40s, and 50s remain so captivating. These styles represent a unique blend of elegance and artistry that feels both polished and deeply personal. Unlike modern heat styling that often
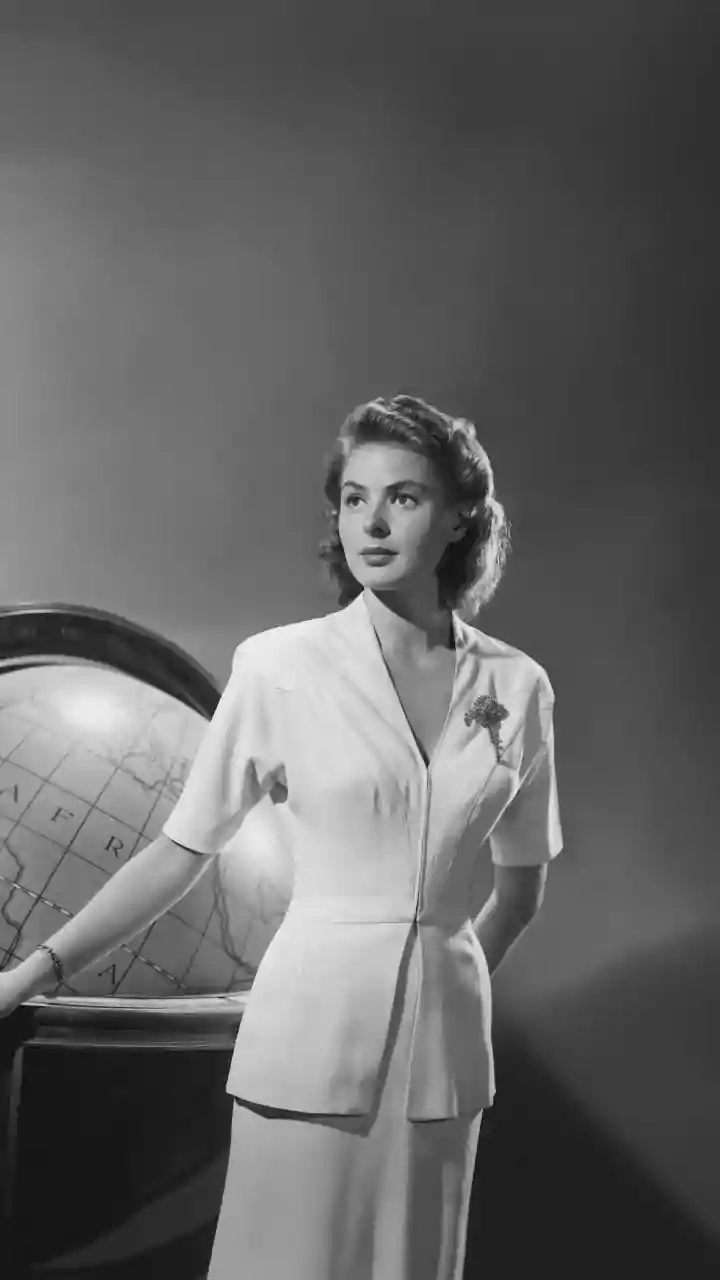
creates uniform curls, vintage setting techniques build shape and volume that lasts for days. The foundation of many of these iconic looks is the humble pin curl, a heatless method that became a staple for women from the mid-1930s onwards. It was a way to achieve the era's fashionable softer, fuller silhouette, moving away from the slick, close-cropped styles of the 1920s.
The Foundation: Understanding Pin Curls
So, what exactly is a pin curl? It’s a simple concept: a section of damp hair is wound into a coil and pinned flat against the scalp to dry. As the hair dries, it takes on the shape of the curl, creating a long-lasting and bouncy result without any heat damage. The magic of the pin curl lies in its versatility. By changing the size of the hair section, the direction you roll it, and how you arrange the curls on your head, you can create a vast array of different styles, from tight ringlets to soft, rolling waves. It was the fundamental building block for countless classic looks, including the famous Victory Rolls of the 1940s.
How to Create Perfect Pin Curls
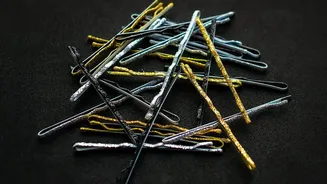
Ready to try it yourself? Patience is key, but the process is straightforward. Start with clean, damp hair; it shouldn't be soaking wet. Applying a setting lotion or a light mousse can help the curls hold their shape. Take a small section of hair, about one to two inches wide. Starting from the end, wrap the hair around one or two fingers to create a loop, making sure to tuck the ends in neatly. Slide the coil off your fingers and pin it flat against your scalp. A double-prong metal clip or a simple bobby pin will work perfectly. Repeat this process in rows across your entire head. Allow your hair to dry completely—this can take a few hours or you can sleep on them overnight. Once dry, gently remove the pins and use your fingers or a soft-bristle brush to style the curls into your desired look.
Beyond the Curl: Sculpted Finger Waves
Another iconic vintage style, with roots in the 1920s, is the finger wave. These sleek, 'S'-shaped waves are sculpted close to the head for a dramatic, polished finish. Unlike pin curls, which are set and then styled, finger waves are molded into their final shape while the hair is wet. The style was created to soften the look of the popular bob haircuts of the flapper era. Today, they are a go-to for a high-impact, retro-glam look, especially on shorter hair.
A Guide to Classic Finger Waves
To create finger waves, you'll need very wet hair, a strong-hold gel or setting lotion, and a fine-toothed comb. Start by applying your product generously to ensure the hair is saturated and pliable. Create a deep side part. Place your index finger flat against the hair near the part. Use the comb to push a section of hair forward and back, creating a 'C' shape against your finger. Hold that ridge in place with your finger, and comb the hair below it in the opposite direction to form the next curve, completing the 'S' shape. You can use duckbill clips to hold the waves in place as you work your way down the head. The most crucial step is to let the hair dry completely without touching it, either by air-drying or sitting under a hooded dryer.
Tools of the Trade: Then and Now
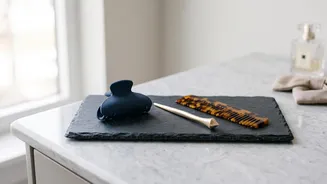
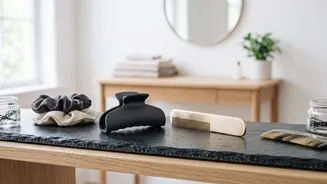
Creating these styles historically required just a few simple tools: setting lotion, a comb, and hairpins or clips. While those basics still work wonders, modern products can make the process easier. A good quality setting lotion or mousse provides hold without stiffness. Double-prong metal clips or alligator clips are ideal for securing pin curls, as they hold the hair firmly without leaving creases. A rat-tail comb is essential for creating clean parts and sculpting precise finger waves. And while heat-free is the traditional method, you can speed up the pin-curl process by using a curling iron to create the initial curl on dry hair, then pinning it to cool and set for long-lasting results.