
From Heirloom to Centrepiece
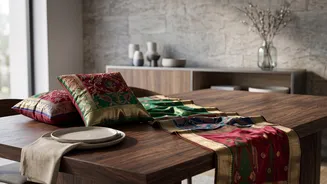
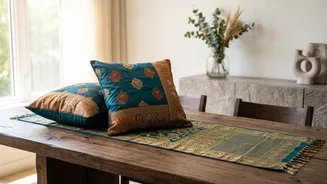
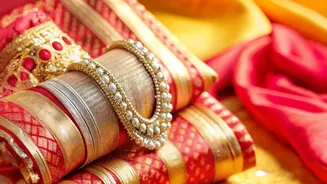
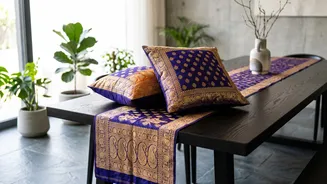
Upcycling a vintage saree is more than just a DIY project; it's an act of preserving heritage and embracing sustainability. Those beautiful silks, intricate brocades, and vibrant prints are too precious to remain hidden. By transforming a saree into a table
runner, you create a functional piece of home decor that is both unique and deeply personal. It becomes a conversation starter, a tangible connection to your past, and a beautiful way to adorn your home for festive gatherings, all while making an eco-conscious choice.
Choosing the Right Saree
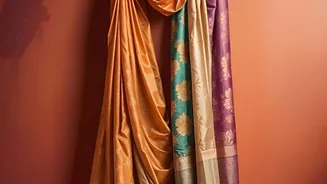
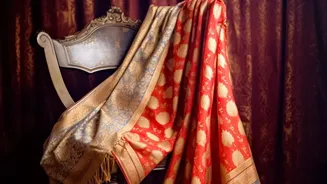
Not every old saree is suitable for this project. Before you start, inspect the fabric carefully. Look for sarees made of silk, brocade, or a sturdy cotton-silk blend, as these materials hold their shape well. Check for any significant damage, like large tears or weakened fabric that might not withstand cutting and sewing. Minor flaws can often be worked around. The most important parts are the border and the 'pallu' (the decorative end piece), as these often have the most intricate designs and can become the star features of your runner.
Gathering Your Materials
You won’t need a professional studio for this. Here’s a simple list of what to gather: The Saree: Your chosen vintage silk saree. Lining Fabric: A plain cotton or satin fabric to add weight and durability. Measuring Tape & Scissors: Sharp fabric scissors are a must for clean cuts. Sewing Machine or Needle & Thread: For the traditional sewing method. Fusible Bonding Web or Fabric Glue: For a simple no-sew alternative. Iron: Essential for crisp edges and preparing the fabric. * Optional Embellishments: Tassels, beads, or fabric trim to add a final flourish.
Step 1: Measure, Wash, and Cut
First, measure the length and width of the table you want the runner for. A standard runner hangs about 15-20 cm over each end of the table. Once you have your dimensions, add a 2-3 cm seam allowance on all sides. Before cutting, it's wise to gently hand-wash and air-dry the saree, then iron it on a low heat setting to remove any creases. Lay the fabric flat and carefully cut out the main panel for your runner. Then, cut a matching piece from your lining fabric. If you plan to use the saree's border, cut it separately to re-attach later.
Step 2: The Sewing Method
For those comfortable with a sewing machine, place the silk panel and the lining fabric on top of each other with their 'right' sides facing inward. Pin the edges together, making sure to place pins within the seam allowance to avoid leaving holes in the delicate silk. Stitch along the three sides, leaving one of the shorter ends open. Trim any excess fabric from the corners, then turn the runner right-side out through the opening. Press it flat with an iron. Finally, tuck the raw edges of the open end inward, press, and top-stitch it closed for a clean, professional finish.
Step 3: A Simple No-Sew Alternative
No sewing skills? No problem. You can achieve a beautiful result using fusible bonding web or a strong fabric glue. Lay your lining fabric down, and place the saree fabric on top, with both 'wrong' sides facing each other. Fold the edges of both fabrics under to create a clean hem, pressing them with an iron. Place the fusible tape inside this folded hem and press with a hot iron according to the product's instructions, sealing the hem shut. Work your way around all four sides to create a neat, durable runner without a single stitch.
Step 4: Adding Festive Flourishes
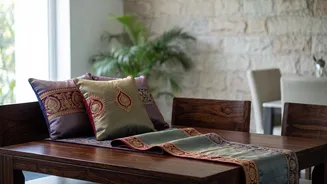
The final step is to add your personal touch. If you saved the saree’s original border, you can now sew or glue it along the long edges of the runner for a classic look. The richly decorated pallu can be cut and attached to the ends of the runner. Adding tassels, beads, or small bells to the corners can also enhance the festive feel. This is where you can get truly creative, combining different elements of the saree to make a piece that is uniquely yours and ready to grace your festive table.