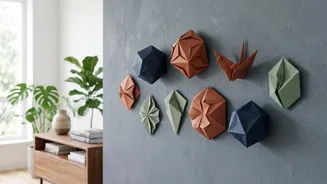






Looking for a unique, budget-friendly way to refresh your space? Origami wall art offers a mindful, creative solution, turning simple sheets of paper into a stunning, personalised feature for any room. Here’s how to get started.
Why Choose Folded Paper Art?
Before you make your first
fold, it’s worth appreciating why this craft is so rewarding. Origami wall art is endlessly customisable. You can choose colours and patterns that perfectly match your existing decor, from vibrant and playful to minimalist and serene. It's also an incredibly affordable hobby; all you really need is paper. The process itself is a form of active mindfulness, requiring focus and precision that can be deeply calming. The result isn't just a piece of decor but a personal statement—something you made with your own hands that brings a unique story and texture to your walls.
Gathering Your Essential Supplies
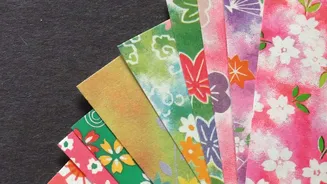
Getting started with origami is simple and doesn't require a hefty investment. Your most important tool is paper. For beginners, standard origami paper, known as 'kami', is ideal. It's thin, holds a crease well, and comes in a huge variety of colours and pre-cut squares. You can also experiment with printer paper, gift wrap, or even pages from old magazines for a different look. Beyond paper, you’ll want a flat surface for folding, a pair of scissors, and some glue or double-sided tape for assembling more complex or modular pieces. For mounting, consider a mounting board, a simple box frame, or damage-free wall hooks.
Beginner-Friendly Folds to Master
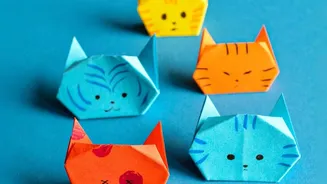
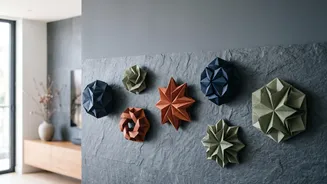
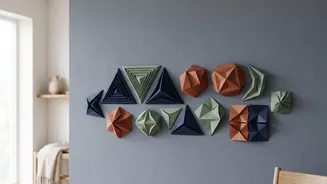
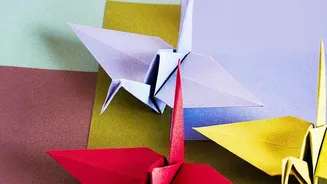
The key to a beautiful display is starting with models that are easy to fold but offer a strong visual impact when grouped together. Classic choices like the origami crane, butterfly, and simple flowers are perfect for beginners. Geometric shapes are also incredibly effective. Modular origami, where you connect multiple identical folded units, can create striking 3D patterns like interlocking pyramids or hexagonal quilts. The 'sonobe' unit is a versatile module that can be used to build a variety of geometric structures. Start with a single design and create several pieces. This repetition is not only good practice but also forms the basis of a cohesive and powerful art piece.
Tips for Crisp Folds and Clean Lines
The secret to impressive origami is precision. Always work on a hard, flat surface. When you make a fold, line up the edges and corners as accurately as possible before pressing down. To make your creases sharp and permanent, run your fingernail or a bone folder (a specialised craft tool) along the fold. If you're creating multiple identical pieces for a modular design, consistency is key. Even small variations in folding can become noticeable when the pieces are assembled. Take your time, be patient, and don't be afraid to unfold and refold if something isn’t quite right. The clean lines are what will make your final piece look polished and professional.
Designing Your Wall Display
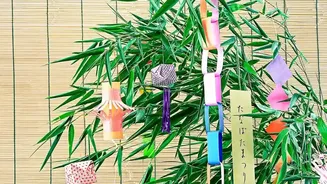
Once you have a collection of folded pieces, the next creative step is arranging them. You could create a simple grid for a clean, modern look, or arrange the pieces in a flowing, organic pattern that appears to move across the wall. Another popular idea is to create an origami mobile by attaching your creations with thread to a stick or skewer. For a more contained display, arrange your pieces on a piece of foam or mounting board, which can then be framed in a shadow box to protect it from dust. Before you commit, lay your pieces out on the floor to experiment with different layouts until you find a composition you love. Considering your colour palette here is also important; an ombré effect or a pop of contrasting colour can elevate the entire piece.
Mounting Your Masterpiece
Attaching your delicate paper creations to the wall requires a gentle touch. For individual pieces, small dots of removable mounting putty or double-sided adhesive tabs are a great, damage-free option. For a more secure, long term display, applying a small amount of PVA glue like Elmer's to the back of each piece before pressing it onto a mounting board is effective. Just be careful not to use too much, as it can cause the paper to warp. If you’ve created a mobile, a small ceiling hook or even a discreet nail will suffice. The goal is to ensure your artwork is secure while keeping the focus on the intricate folds and beautiful design.