

Create Glowing Bottle Luminaries
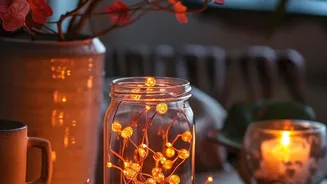
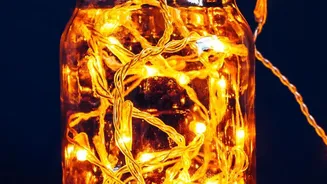
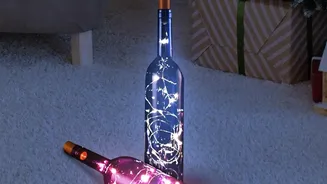
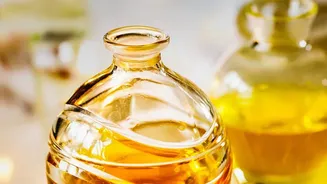
One of the most effective ways to literally brighten a dark corner is with light. Creating a bottle luminary is a simple yet high-impact project. Start by cleaning a clear or lightly coloured glass bottle. Then, carefully feed a string of battery-operated
fairy lights into the bottle. Many craft stores sell fairy lights with a cork-shaped battery pack that fits perfectly into the mouth of a wine bottle, making the process incredibly easy. The glass will diffuse the tiny lights, casting a warm, magical glow that’s perfect for a bookshelf, mantelpiece, or a dim corner of your living room. The effect is an instant ambiance boost with minimal effort.
Paint Them into Opaque Vases
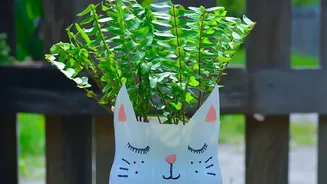
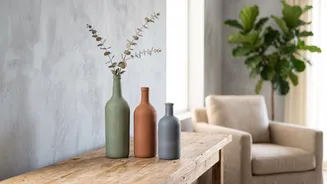
A coat of paint can completely change a glass bottle's character, turning it from a transparent container into a solid, sculptural object. Chalk paint is an excellent choice for this, as it adheres well to glass and provides a trendy matte finish. For a distressed, rustic look, apply a dark base coat, let it dry, and then add a lighter top coat. Once the second coat is dry, gently use sandpaper to rub off bits of the top layer, revealing the darker colour underneath. Group three bottles of varying heights and shapes, painted in complementary shades, to create a sophisticated and cohesive centrepiece for a dining table or side console.
Wrap for a Touch of Texture
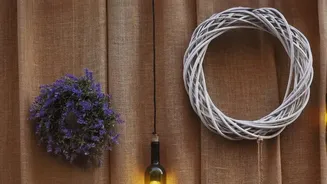
For a more rustic or coastal vibe, wrapping bottles in twine or yarn is a fantastic option that adds both colour and texture. Apply a thin layer of strong craft glue to the bottle, working in small sections from the bottom up. Tightly wrap twine around the bottle, ensuring there are no gaps. You can cover the entire bottle or create patterns with stripes of exposed glass. This technique is forgiving for beginners and adds a warm, organic element to your decor. These textured bottles work beautifully as standalone pieces or as vases for dried flowers or branches.
Experiment with Decoupage
Decoupage allows you to cover bottles in intricate patterns, images, or textures using paper and a special glue. You can use decorative napkins, old maps, book pages, or even fabric scraps. Simply cut your paper into small, manageable pieces. Apply a thin layer of decoupage glue to a section of the bottle, place the paper on top, and then brush another layer of glue over the paper to seal it. Overlap the pieces to create a collage effect. The result is a unique, personalised piece of art that looks far more complex than it was to create.
Embrace Minimalist Bud Vases
Sometimes, the simplest approach is the most elegant. Don't underestimate the beauty of a single, unadorned glass bottle. Small, clear bottles, like those from sauces or individual sodas, make for perfect minimalist bud vases. Clean them thoroughly and remove the labels. Their beauty lies in their simplicity and the way they catch the light. Place a single flower stem or a delicate sprig of greenery in each one. Arrange a small collection of these on a windowsill or bathroom counter to add a fresh, understated touch of nature to your space. It's an effortless way to appreciate the simple form of the glass itself.
Try a Sea Glass Effect
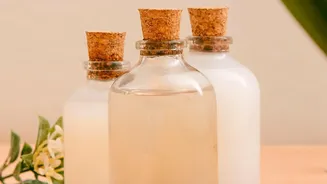
You can replicate the frosted, weathered look of sea glass with a special type of paint. Sea glass paint gives the bottle a translucent, matte finish that mimics the effect of being tumbled by ocean waves. This style is perfect for a bathroom, a beach-themed room, or any space where you want a soft, calming aesthetic. Paint is available in various coastal-inspired colours like soft blues, greens, and whites. You can also make your own tinted paint by mixing a bit of food colouring with Mod Podge for a similar translucent effect. These bottles look stunning when light shines through them, enhancing their gentle colour.