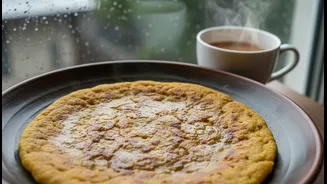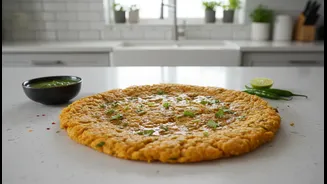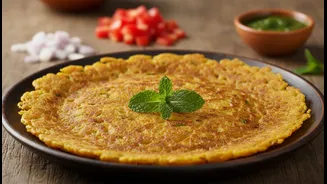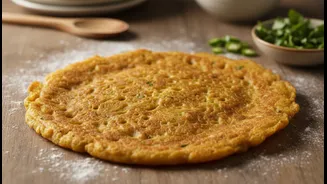



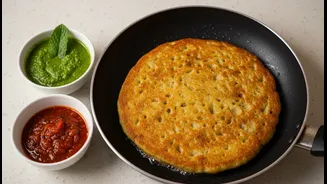

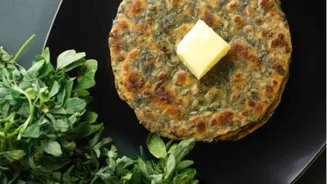


Start with Fresh, Fine Besan
The foundation of any great chilla is the gram flour (besan) itself. For the smoothest batter and crispiest results, always opt for fresh, finely ground besan. Older flour can have a bitter taste and is more likely to be lumpy. If your besan appears clumpy,
it's a good practice to sift it before you begin. This simple step ensures you start with a fine, airy base, making it much easier to achieve a lump-free batter.
Mastering Batter Consistency
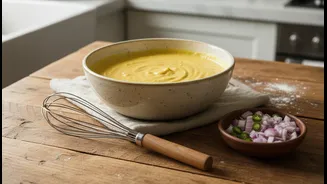
The most critical factor for a perfect chilla is the batter's consistency. It should be smooth and have a pourable consistency, often compared to that of dosa batter—neither too thick nor too thin. A batter that is too thick will result in a thick, doughy chilla that won't spread easily, while a batter that is too runny will lack structure and tear apart. The golden rule is to add water gradually. Start by adding about half a cup of water for every cup of besan and whisk continuously. Keep adding water, a tablespoon at a time, until you reach a smooth, flowing consistency that coats the back of a spoon.
The Power of a 15-Minute Rest
Patience pays off when making chilla batter. Once mixed, letting the batter rest for about 10 to 20 minutes is a crucial step. This resting period allows the besan to fully absorb the water, resulting in a smoother texture and better-cooked chillas. Some recipes suggest that a pinch of semolina (sooji) or rice flour added to the batter can also contribute to a crispier texture and better binding, preventing the chilla from breaking.
Balancing Flavours and Veggies
Besan chillas are a wonderful canvas for flavours. Spices like turmeric, ajwain (carom seeds), and asafoetida (hing) not only add a delicious aroma but also aid in digestion. When adding vegetables like onions, tomatoes, and coriander, ensure they are very finely chopped. Large vegetable chunks can disrupt the batter's structure and cause the chilla to break while spreading or flipping. The proportion matters, too; an overload of veggies can make the batter too heavy and prone to falling apart.
Taming the Tawa
Your cooking technique is the final piece of the puzzle. Using a non-stick pan or a well-seasoned cast-iron tawa is highly recommended. The pan must be heated properly over a medium flame—not scorching hot. If the tawa is too hot, the batter will stick and cook instantly without spreading; if it's too cold, it will become sticky. A good test is to sprinkle a few drops of water; if they sizzle and evaporate immediately, your pan is ready. Pour a ladleful of batter in the center and spread it gently in a circular motion. Drizzle a little oil around the edges, and wait until the top surface looks dry and the edges begin to lift before flipping. This patience ensures the chilla is cooked through and releases naturally from the pan.