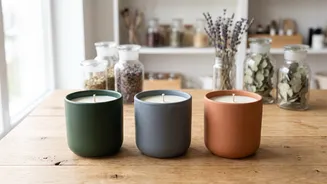




There’s a special kind of magic in lighting a candle you made yourself. This guide will walk you through your first project, transforming simple ingredients into a source of glowing ambiance and beautiful fragrance for your home.
Gather Your Essential Supplies
Starting a new craft can
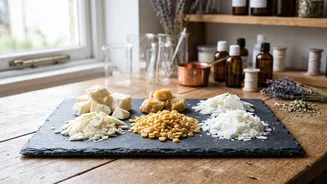
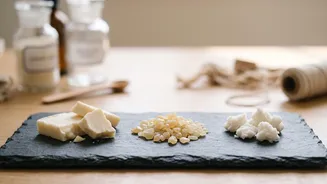
feel overwhelming, but the list of essentials for candle making is refreshingly short. For your first batch, you will need: candle wax (soy wax is a great choice for beginners as it's forgiving and burns cleanly), pre-waxed wicks with a metal base, heat-safe containers like glass jars or tins, and fragrance oil specifically designed for candles. You will also need a few key tools: a digital scale for accurate measurements, a pouring pot to melt the wax, a larger saucepan to create a double boiler, a digital thermometer to monitor temperatures, and something to hold the wick in place, like a clothespin or a wick centering tool. Having these items ready will make the process smooth and enjoyable.
Prepare Your Workspace and Containers
Safety and preparation are key to a successful candle-making session. Before you begin, cover your work surface with newspaper or a mat to catch any drips. Ensure your space is well-ventilated by opening a window or using a fan. It's also wise to keep children and pets away from the area. Your candle containers must be clean, dry, and at room temperature. To prepare them, secure a wick to the bottom centre of each jar. You can do this with a wick sticker or a dab of hot glue. Then, use a wick holder or two pencils laid across the mouth of the jar to keep the wick straight and centered. This step is crucial for an even burn later on.
Melt and Scent the Wax
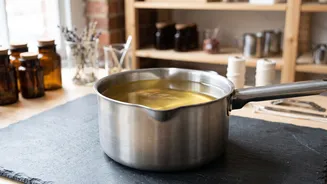
The most hands-on part of the process is melting the wax. Create a double boiler by placing your pouring pot inside a larger saucepan filled with a few inches of water. Add your wax flakes to the pouring pot and heat the water over a medium, gentle heat. Never leave melting wax unattended. Stir occasionally until the wax is fully melted and clear, aiming for a temperature around 75-85°C. Once melted, remove the pot from the heat. This is a critical moment: let the wax cool slightly before adding your fragrance. Adding fragrance oil when the wax is too hot can burn off the scent. A temperature of around 65-70°C is often a good target. Pour in your measured fragrance oil and stir gently but thoroughly for two minutes to ensure it binds completely with the wax.
Pour and Cool Your Candle
Patience during the pouring stage will reward you with a professional-looking candle. After stirring in the fragrance, allow the wax to cool further to about 55–60°C before pouring. Pouring at a lower temperature helps prevent common issues like sinkholes and 'wet spots' where the wax pulls away from the glass. Pour the wax slowly and steadily into your prepared containers, leaving about a centimetre of space at the top. If the wick has shifted, gently nudge it back to the center before the wax starts to set. Now, let the candles cool undisturbed at room temperature. Avoid the temptation to put them in the fridge, as rapid cooling can cause cracks or sinkholes.
The Final Step: Curing and Trimming
You've poured your candle, but there's one final, crucial step: curing. This is the period where the wax and fragrance oil fully bond together. While it's tempting to light your creation right away, allowing it to cure for at least one to two weeks will result in a much stronger and more consistent scent throw when burned. Store the candles in a cool, dark place during this time. Once cured, and just before you're ready to light it for the first time, trim the wick to about 6mm. A properly trimmed wick prevents a large, smoky flame and soot buildup, ensuring a safer and cleaner burn. Enjoy the warm glow and beautiful aroma of your very own handmade candle.