


The Logic: Top-to-Bottom, Dry-to-Wet
The entire system rests on two simple principles of physics: gravity and logic. First, you work from top to bottom, ensuring that dust and debris dislodged from high surfaces fall onto areas you haven't cleaned yet. Second, you handle all dry tasks before
any wet ones. This prevents you from turning dry dust into stubborn, smeary mud. Trying to mop a floor before you've dusted shelves or vacuumed is a recipe for frustration, as you'll just be spreading dirty water around. Adhering to this top-down, dry-to-wet order prevents you from having to clean the same surface twice, which experts say can cut your total cleaning time significantly.
Step 1: Always Begin with Clutter
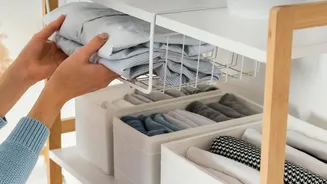
Before you even think about picking up a duster or spray bottle, you must first clear the clutter. It is nearly impossible to properly clean a surface that is covered in mail, toys, or other items. Trying to clean around these obstacles wastes time and means you can't access all the areas that need attention. This step doesn't have to be an hours-long organising project. Simply grab a basket and do a quick sweep of the room, putting anything that is out of place into it. You can redistribute the items later. The goal is to create clear, open surfaces. This single act immediately makes a room feel tidier and sets the stage for a much more effective clean.
Step 2: Dry Dust from Top to Bottom
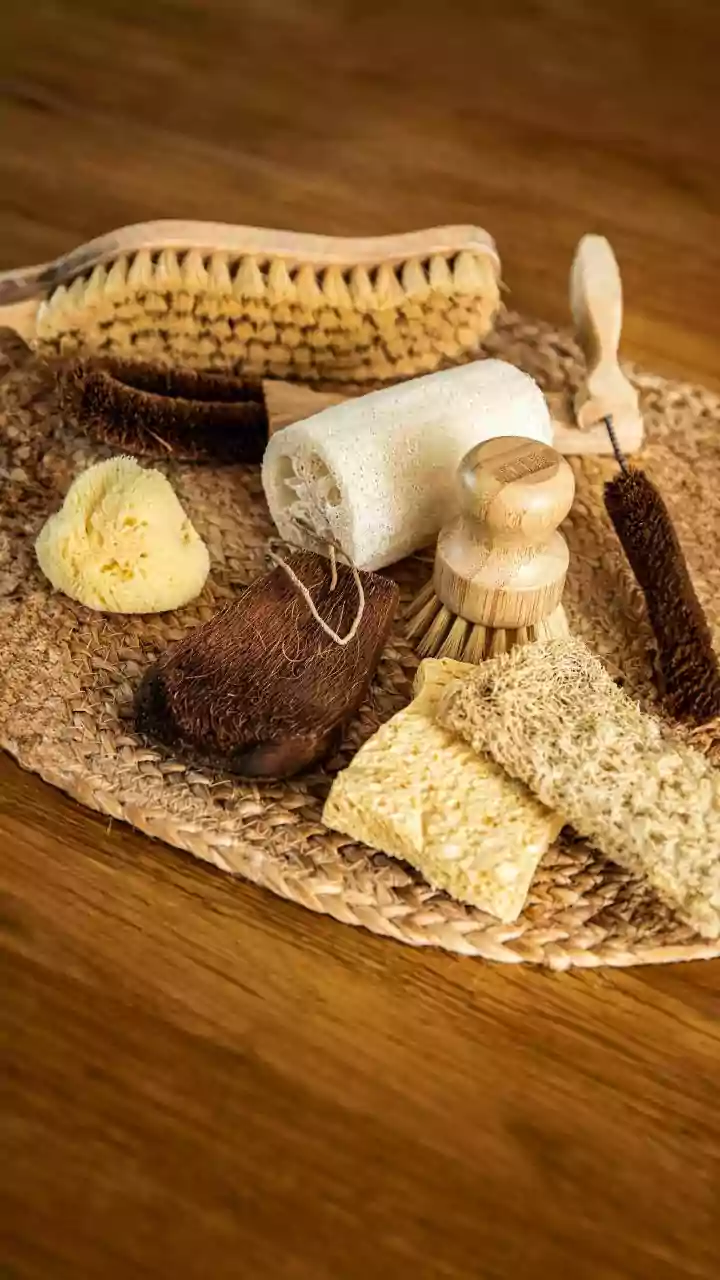
With surfaces now clear, it's time for the first 'dry' task: dusting. Following the top-to-bottom rule is crucial here. Start with the highest points in the room, like ceiling fans, the tops of bookshelves, and light fixtures. Gravity will cause the dust you dislodge to fall downwards. From there, work your way down to furniture like tables, headboards, and shelves, before finishing with the lowest surfaces like skirting boards. Using a microfibre cloth is often recommended as it traps and holds onto dust rather than just pushing it around. By dusting everything before moving on, you ensure all the loose particles settle on the floor, which is the very last area you will clean.
Step 3: Wipe Down Surfaces and Wet Areas
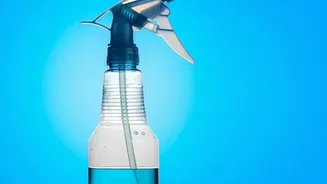
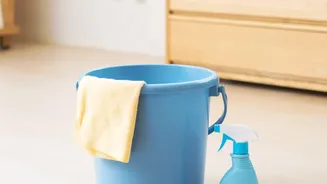
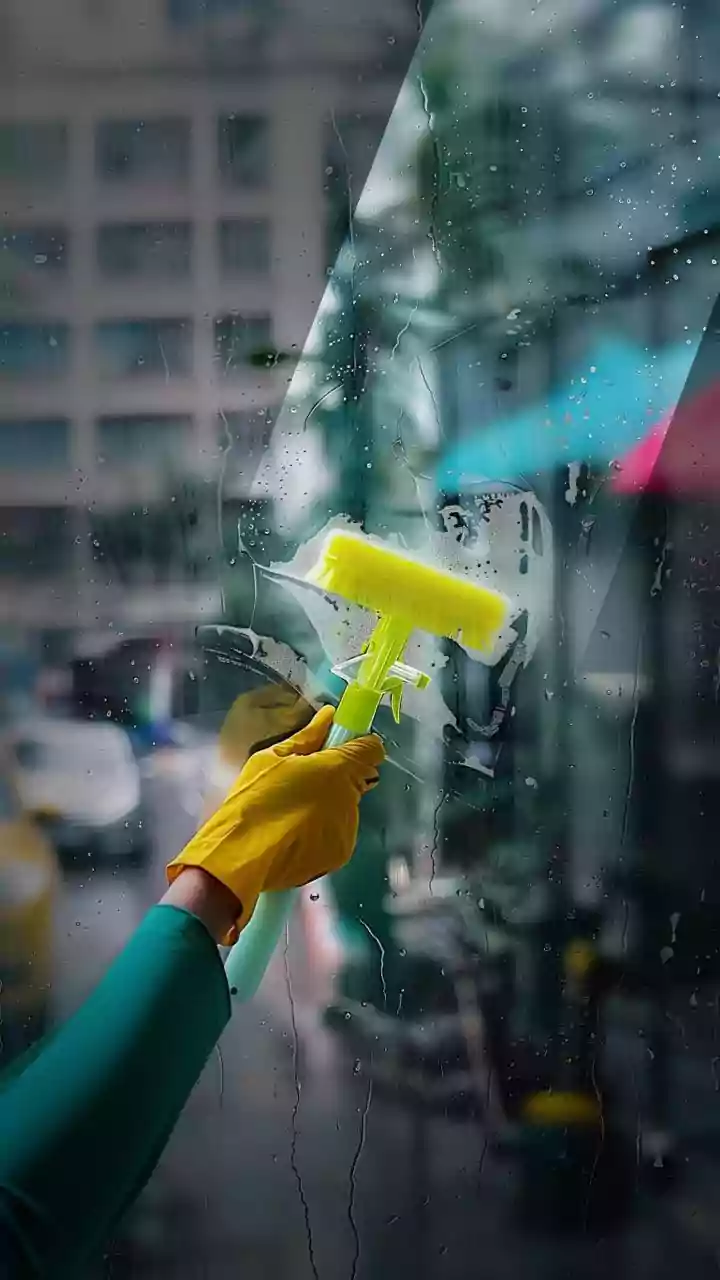
Now that the dry dust has been dealt with, you can move on to 'wet' cleaning. This includes wiping down kitchen counters, cleaning bathroom sinks and toilets, and spritzing and wiping mirrors and other surfaces. Having already dusted, you won’t be creating muddy streaks with your cleaning spray. In rooms like the kitchen and bathroom, it's often efficient to apply cleaning sprays to tougher grime on showers, tubs, and toilets and let them sit for a few minutes to break down the dirt while you handle other surfaces. This is the stage for disinfecting high-touch points like light switches, doorknobs, and remote controls.
Step 4: Finish with the Floors
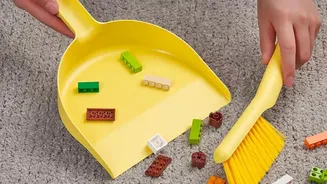
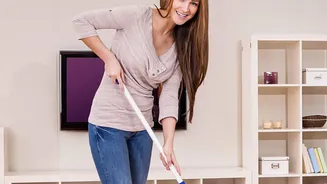
The final step in any cleaning sequence is always the floors. By this point, all the clutter, dust, crumbs, and drips from the previous steps have made their way down to the floor. Cleaning them last ensures you are picking up all the mess from the entire room in one final pass. Start by vacuuming or sweeping to remove all the dry debris you've just dislodged. For hard floors, follow this with mopping, starting in the farthest corner of the room and working your way towards the exit so you don't walk over your freshly cleaned surface. For carpeted rooms, a thorough vacuuming is the final touch that leaves the entire space looking and feeling reset.