


The 'Superfood' on Your Sill
Let’s start with the “why.” The term “superfood” gets thrown around a lot, but young broccoli shoots (often called sprouts or microgreens) have the science to back it up. They are famously packed with sulforaphane, a powerful plant compound. Studies,
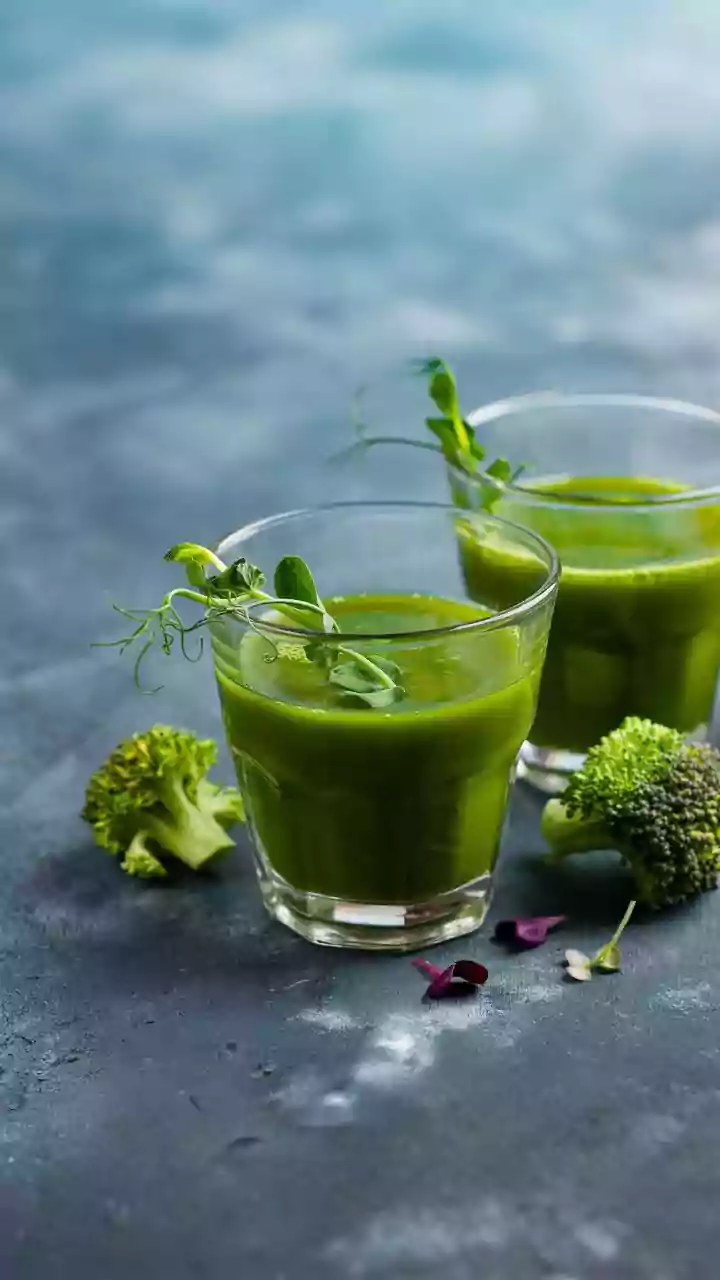
including notable research from institutions like Johns Hopkins, have shown that broccoli sprouts can contain 20 to 50 times more of these beneficial compounds by weight than mature broccoli heads. This concentration is highest when the shoots are just a few days old, which is exactly when you’ll be harvesting them. While “instant” is a stretch, they are among the fastest-growing edible plants you can cultivate, offering a profound nutritional boost in under a week. They provide a fresh, peppery crunch and a wealth of vitamins C and A, making them one of the most efficient ways to elevate your diet straight from your home.
Your Simple Shopping List
You don't need a green thumb or expensive gear. A one-time setup with these items will yield harvests for months. Most items are available online or at local garden centers.
* **Broccoli Seeds:** Look for seeds specifically labeled for sprouting or microgreens. A small one-ounce packet is more than enough to get you started on several batches.
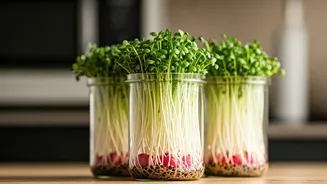
* **A Growing Container:** You have options. A dedicated microgreens tray (a shallow tray with drainage holes that sits inside another tray without holes) is ideal. Alternatively, you can use a simple glass jar with a sprouting lid or even a shallow takeout container with a few holes poked in the bottom.
* **A Growing Medium (Optional but Recommended):** For trays, a coco coir or hemp fiber mat is a clean, soil-free option. If you don't mind a little mess, a thin layer of potting soil works perfectly fine. For the jar method, you only need water.
* **A Spray Bottle:** For gently misting your seeds and shoots.
The Five-Day Window Garden
This process is incredibly simple. We’ll use the tray method here, as it’s the most common for “shoots” grown on a windowsill.
**Day 1: Soak & Sow.** Place about one tablespoon of broccoli seeds in a small bowl and cover them with cool water. Let them soak for 6-8 hours. This kickstarts the germination process. Afterwards, drain the seeds thoroughly. Prepare your tray by placing your growing mat or a thin layer of soil at the bottom. Lightly moisten it with your spray bottle. Sprinkle the soaked seeds evenly across the surface. Don't worry if they're close together.
**Days 2-3: The Blackout.** Cover the tray with its lid or another tray to create a dark, humid environment. This encourages the seeds to sprout and grow strong roots. Keep it at room temperature, away from direct sunlight. Check once a day to ensure the medium is still moist, misting lightly if it feels dry.
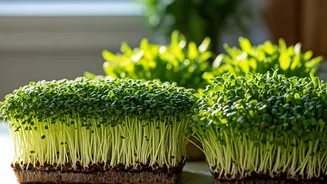
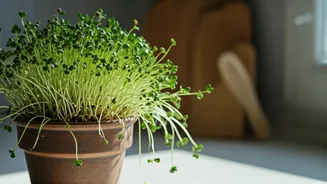
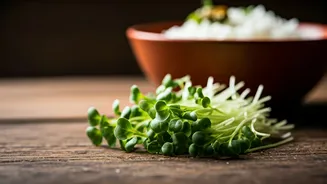
**Days 4-7: Greening Up.** Once you see tiny, yellowish shoots emerge (usually by day 3 or 4), it's time to introduce them to light. Uncover the tray and place it on a sunny kitchen windowsill. The shoots will quickly turn from yellow to a vibrant green as they photosynthesize. Mist them with water once or twice a day to keep them hydrated.
Harvesting and Enjoying Your Shoots
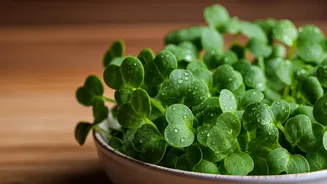
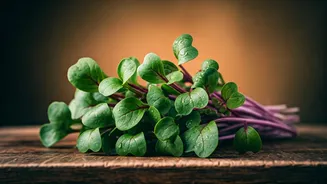
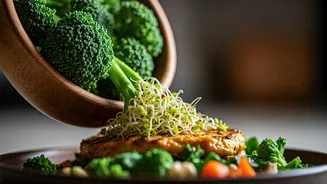
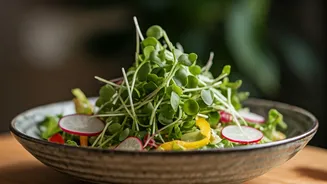
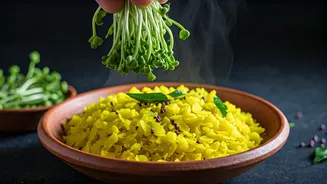
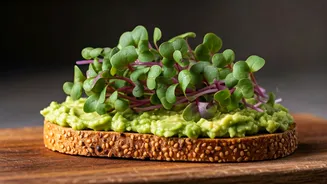
Your broccoli shoots are ready to harvest in about 5 to 7 days, or when they are 2-3 inches tall and have developed their first set of leaves (these are called cotyledons). To harvest, use a clean pair of scissors or a sharp knife and snip the shoots just above the growing medium. It’s best to harvest them right before you plan to eat them to get the freshest flavor and maximum nutritional benefit. Avoid rinsing them until you're ready to serve, as excess moisture can cause them to spoil faster. Store any unwashed, leftover shoots in a sealed container in the refrigerator for up to three days. Their peppery, fresh flavor is a fantastic addition to salads, sandwiches, wraps, and smoothies, or sprinkled on top of eggs, avocado toast, or soups for a finishing touch.