
Gather Your Tools and Materials
Before you begin, you'll need a few key items. The star of the show is your bottle—choose one with an interesting shape, colour, or story. You will also need a bottle lamp kit, which can be purchased online or at home improvement stores. These kits often
include the socket, cord, and plug, simplifying the electrical work. Some kits are designed as simple adaptors that fit into the bottle's opening without any drilling. For a more polished look where the cord exits from the base, you will need a drill and a special diamond-tipped or carbide drill bit designed for glass. Always prioritise safety: have safety glasses and gloves ready to protect yourself from glass shards.
Prepare the Bottle with Care
First, thoroughly clean your bottle inside and out to remove any residue and labels. Soaking it in hot, soapy water can help loosen stubborn adhesives. If you plan to run the cord through the base, the next step is drilling a hole. This is the most delicate part of the process. To prevent the drill bit from slipping, you can place a piece of painter's tape on the spot you intend to drill. The most critical tip for drilling glass is to keep it wet to prevent overheating, which can cause the glass to crack. You can do this by spraying water on the area as you drill or by submerging the bottle in a shallow basin of water. Apply light, steady pressure and let the drill do the work; it may take a few minutes to get through. Afterwards, sand the edges of the hole with a diamond file or sandpaper to smooth any sharpness.
Assemble and Wire Your Lamp
Once your hole is drilled and smoothed, it's time to wire the lamp. Feed the electrical cord from your lamp kit through the hole at the base and guide it up through the neck of the bottle. A piece of stiff wire or a coat hanger can be helpful for this. Lamp kits come with detailed instructions for connecting the wires to the socket—typically, the ribbed wire connects to the silver screw (neutral) and the smooth wire connects to the brass screw (hot). Once the socket is wired, secure it into the bottle's opening. Most kits provide rubber stoppers of various sizes to ensure a snug fit. After the socket is in place, you can attach the lampshade harp if your shade requires one.
Add Your Vintage-Style Touch
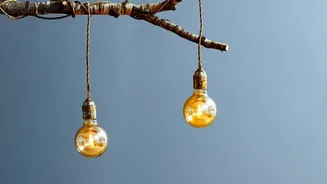
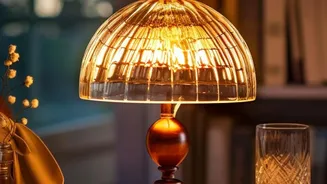
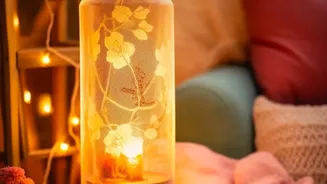
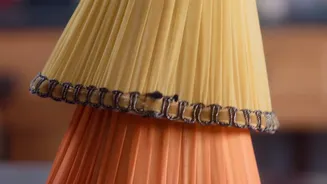
This is where you can truly get creative and define your lamp's vintage aesthetic. An Edison-style bulb with its visible filament instantly adds an old-world charm. For the base, consider filling the bottle with decorative items like small pebbles, sand, shells, or even vintage corks before you wire it. You can also paint the glass or use decoupage techniques to add patterns or images. The lampshade plays a huge role in the final look. A simple burlap or linen drum shade complements a rustic or farmhouse style, while a smaller, more ornate shade can create an art deco feel. Ensure the shade is appropriately proportioned—it should be wider than the bottle's base but not so large that it looks unbalanced.
Beyond the Desk: Ambient Lighting
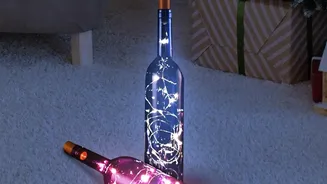
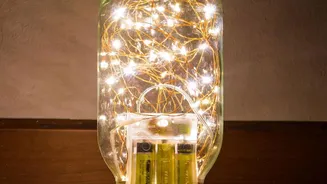
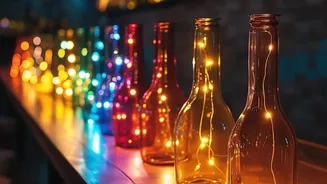
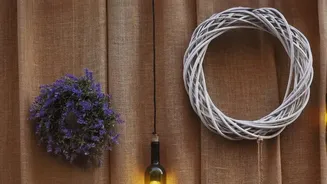
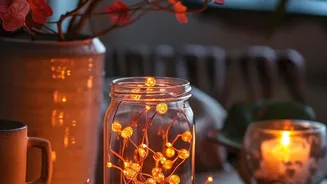
Don't just stop at one desk lamp. You can use these same techniques to create a variety of ambient lighting features. A cluster of pendant lamps made from different-coloured liquor bottles can create a dramatic statement over a bar or kitchen island. For a simpler project, you can fill bottles with battery-powered fairy lights for a soft, magical glow without any wiring. These are perfect for mantelpieces, bookshelves, or as centrepieces for a dinner party. By experimenting with different bottles, lighting sources, and decorative finishes, you can create a whole collection of unique, upcycled lighting for your home.