


Choosing the Right Indian Flour
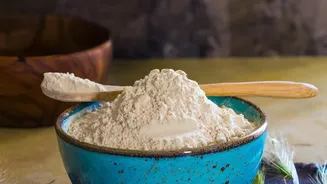
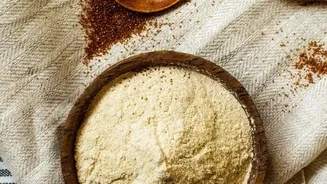
The foundation of any good starter is flour, and thankfully, common Indian flours work wonderfully. You can use chakki atta (whole wheat flour), maida (all-purpose flour), or a blend. For beginners, starting with atta is highly recommended. The bran in whole wheat flour naturally
carries more of the wild yeast and beneficial bacteria you're trying to cultivate, which can help your starter become active more quickly. Maida can be used, but it lacks the bran and germ, which strips away some of these helpful microbes. Many bakers find success with a 50:50 blend of atta and maida, which provides the nutrients from the whole wheat and a lighter texture from the refined flour. Don't worry about expensive imported brands; your regular chapati atta is a great place to start.
What You Will Need
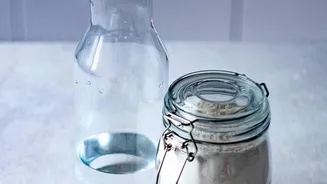
The beauty of sourdough is its simplicity. You don’t need any fancy equipment to get started. All you require is a clean glass jar (at least 500ml), your chosen flour, water, and a kitchen scale. Using a scale to measure your ingredients by weight is crucial for consistency. Filtered, unchlorinated water is best, as the chlorine in some tap water can inhibit yeast and bacteria growth. If you only have chlorinated water, simply leave it out on the counter for a few hours to allow the chlorine to dissipate. A rubber band to mark your starter's height on the jar can also be a very helpful visual tool to track its activity.
Day 1-3: Bringing Your Starter to Life
On Day 1, combine 50g of flour with 50g of lukewarm water in your jar. Mix thoroughly until there are no dry spots; the consistency should be like a thick paste. Cover the jar loosely (a cloth cover or placing the lid on without tightening it works well) and leave it in a warm spot in your kitchen. On Day 2, you may not see much activity, and that's perfectly normal. Simply add another 50g of flour and 50g of water and stir it in. By Day 3, you should start to see some small bubbles and a slight increase in volume. Now, it's time for the 'discard and feed' routine. Discard about half of the mixture and then feed the remainder with 50g of flour and 50g of water.
Day 4-7: Building Strength and Activity
Continue the process of discarding half and feeding your starter with equal parts flour and water once every 24 hours. During this period, you'll notice the starter's development. The smell will change from a simple flour-and-water scent to something more complex, often described as pleasantly sour, fruity, or tangy. You will see more and more bubbles, and the starter will begin to predictably rise and fall a few hours after feeding. The warmer your kitchen, the faster this process will happen. Indian climates can be a huge advantage here, as warmth accelerates fermentation. Your starter is ready when it at least doubles in size within 4-8 hours of feeding, is full of bubbles, and has a consistent, yeasty aroma.
Troubleshooting in a Warm Climate
A warm Indian climate is great for fermentation, but it can also speed things up too much. If you see a layer of dark liquid on top of your starter, this is called 'hooch'. It's a sign that your starter is very hungry. Simply stir it back in or pour it off and feed your starter. If this happens often, you may need to feed your starter twice a day, every 12 hours. A starter that smells like nail polish remover or vinegar is also just very hungry and needs to be fed. However, if you see any pink or orange streaks, or fuzzy black or green mold, this is a sign of bad bacteria, and the starter must be thrown away.
Long-Term Maintenance
Once your starter is active and strong, you don't have to feed it daily unless you plan to bake every day. For more casual bakers, you can store your starter in the refrigerator. This slows down fermentation dramatically. You will only need to feed it once a week to keep it healthy. To do this, take it out of the fridge, discard about half, feed it as usual, let it sit at room temperature for a couple of hours, and then place it back in the fridge. When you want to bake, take the starter out a day or two before, give it a couple of feedings at room temperature to 'wake it up', and it will be ready to use.