



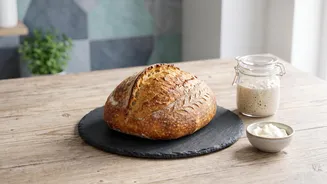
Unlock the magic of traditional baking by creating a living sourdough starter from scratch. It’s a rewarding journey that connects you to an ancient craft, using just two simple ingredients: flour and water. Let's begin the process today!
The Simple Ingredients & Tools
Before you begin,
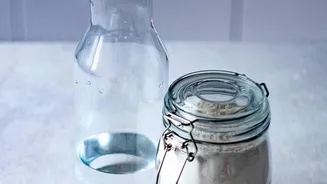
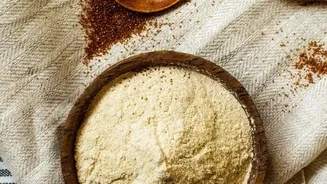
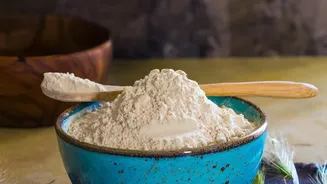
gather your minimal equipment. You don’t need fancy tools; your kitchen likely has everything required. You will need one clean glass jar (an old pickle or coffee jar works perfectly), a kitchen scale for accuracy, and a rubber band. For ingredients, you only need flour and water. A blend of whole wheat flour (atta) and all-purpose flour (maida) is an excellent choice for beginners. The bran in atta contains plenty of natural wild yeasts, which can help kickstart the fermentation process. It’s best to use filtered water that has been left to sit for an hour or so, as heavily chlorinated water can hinder yeast development.
Day 1: Creating the Mixture
This is the first and simplest step. In your clean glass jar, combine 50 grams of whole wheat flour (atta) and 50 grams of lukewarm water. Mix them thoroughly until no dry flour remains, creating a thick paste. Scrape down the sides of the jar. Loosely cover the jar with its lid or a piece of cloth and place a rubber band around the jar at the level of the mixture. This will help you see when it starts to rise. Leave it on your kitchen counter or another warm spot for 24 hours. In India's warmer climate, you will likely see activity faster than in cooler regions.
Days 2 & 3: The First Feeding
After 24 hours, you might see a few bubbles and a slight change in smell. This is a good sign! It's time for the first feeding. Discard about half of the mixture from the jar. Don't pour this down the sink, as it can cause clogs; dispose of it in the compost or trash. To the remaining starter, add 25 grams of atta and 25 grams of maida (for a total of 50g flour) and 50 grams of water. Mix well, scrape the sides, and move the rubber band to the new level. Cover loosely and let it sit for another 24 hours. Repeat this exact process on Day 3. The smell might be a bit pungent or unusual during these days, which is a normal part of the process as the yeast and bacteria colonies establish themselves.
Days 4 to 7: Building Strength
From Day 4 onwards, you may need to start feeding your starter twice a day, roughly 12 hours apart, especially if your kitchen is warm. The starter should be getting more active, with more predictable bubbles. At each feeding, discard all but about 50 grams of the starter. Feed it with 50 grams of flour (a 50/50 mix of atta and maida works well) and 50 grams of water. By Day 7, your starter should be consistently doubling in volume within 4 to 6 hours of being fed. It will have a pleasant, mildly sour, yeasty aroma, a bit like yoghurt or beer. This indicates it is becoming mature and strong enough for baking.
Troubleshooting Common Issues
Sometimes, your starter might not behave as expected. If you see a dark liquid on top, this is called 'hooch' and it simply means your starter is hungry. Just stir it back in or pour it off and feed your starter as usual. If your starter stops showing activity, it might be too cold. Try moving it to a warmer spot, like inside your oven with the light on (but the oven off). If you ever see any pink, orange, or fuzzy mould, this is a sign of contamination, and you must discard the starter and begin again.
Keeping Your Starter Alive
Congratulations, you have a living sourdough starter! To maintain it, you have two options. If you plan to bake frequently (several times a week), keep it on your counter and feed it once or twice daily. For less frequent baking, you can store your starter in the refrigerator. Feed it, let it sit on the counter for an hour, then place it in the fridge. You will only need to feed it about once a week to keep it healthy. When you want to bake, take it out a day or two before and give it a couple of feedings at room temperature to wake it up fully.