




Reading the Signs: When to Repot
Before you get your hands dirty, it's important to know if your plant actually needs a new pot. Repotting too often can stress a plant. The best time is typically in the spring, when plants are entering their active growth phase. Look for a few key signals.
One of the most obvious is roots growing out of the drainage holes at the bottom of the pot. Another sign is that the soil dries out extremely quickly after watering, meaning the root system has likely taken up most of the space. If you can slide the plant out of its pot and see a dense web of roots circling the bottom, it's definitely time for a new home. Slowed or stunted growth during the growing season is another indicator that your plant has become 'root-bound' and needs more space.
Gathering Your Repotting Toolkit
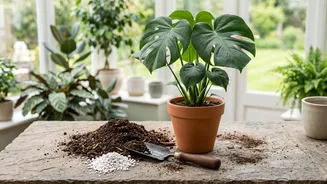
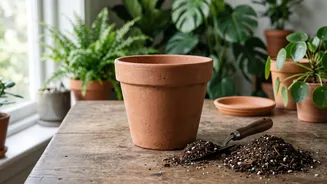
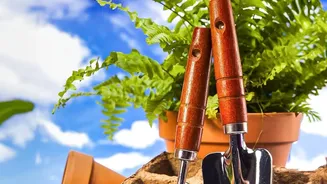
To make the process smooth and successful, gather your supplies before you begin. You will need a new pot, fresh potting mix, a small trowel or spoon, and possibly a pair of clean scissors. A watering can and a surface you don't mind getting messy, like an old newspaper or a repotting mat, are also helpful. Having everything on hand prevents you from leaving a half-potted plant sitting out while you search for a tool. For the soil, it's best to use a quality, fresh potting mix specifically designed for houseplants rather than garden soil, which can introduce pests and diseases. Most indoor plants thrive in a general-purpose mix containing ingredients like peat moss, perlite, and vermiculite that provide good drainage and aeration.
Choosing the Perfect Pot
Selecting the right container is crucial. The most common mistake is choosing a pot that is too large. A pot that is too big holds excess soil, which retains too much moisture and can lead to root rot. A good rule of thumb is to select a new pot that is only one to two inches larger in diameter than the current one. This provides enough room for growth without overwhelming the plant. Drainage is non-negotiable. Ensure your new pot has at least one drainage hole to allow excess water to escape. If you've fallen for a decorative pot without holes, you can either drill one yourself or use it as a 'cachepot' by placing a slightly smaller plastic pot with drainage inside it.
The Step-by-Step Repotting Process
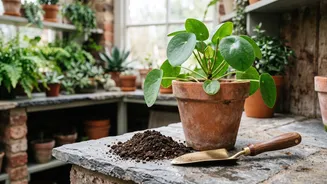
With your supplies ready, it's time to repot. Start by watering your plant about an hour or a day before you plan to move it; this helps reduce stress and makes it easier to remove. To get the plant out, gently tip the pot sideways and tap the bottom. Squeeze the sides if it's in a plastic nursery pot, or run a butter knife around the inside edge of a rigid pot to loosen it. Once free, inspect the root ball. If the roots are tightly coiled, gently tease them apart with your fingers to encourage them to grow outwards into the new soil. Don't worry if a few small roots break. Place a layer of fresh potting mix in the bottom of the new pot. Center the plant inside, ensuring the top of the root ball sits about an inch below the rim of the pot. Fill in the surrounding space with more soil, gently firming it down to eliminate air pockets.
Aftercare for a Happy Transition
The first couple of weeks after repotting are an adjustment period. Once your plant is in its new pot, give it a thorough watering until you see water run out of the drainage holes. This helps the new soil settle around the roots. Place the plant back in its usual spot with appropriate lighting, but expect it to look a little sad or wilted for a few days—this is known as transplant shock and is perfectly normal. Hold off on fertilizing for at least a month, as fresh potting soil contains plenty of nutrients and you don't want to burn the sensitive, newly disturbed roots. Avoid overwatering during this adjustment phase; check if the top inch or two of soil is dry before watering again. Soon, you should be rewarded with signs of new growth.