


Rediscovering a Healthy Staple
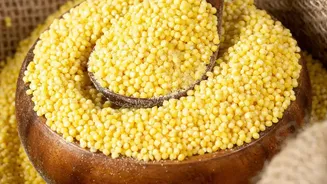
Kodo millet, known as 'Varagu' in Tamil and 'Kodra' in Hindi, is an ancient grain that’s making a major comeback in Indian kitchens. It's naturally gluten-free and packs a serious nutritional punch, boasting more protein and dietary fibre than white rice.
Rich in B vitamins and essential minerals like magnesium, iron, and calcium, it's a fantastic choice for those looking for a healthier carb source. Unlike rice, Kodo millet has a low glycemic index, making it particularly beneficial for managing blood sugar levels. But beyond its health benefits, its ability to be cooked into a fluffy, rice-like texture makes it an incredibly versatile substitute in your daily meals.
The Golden Rule: Soaking is Non-Negotiable
The single most important step to avoid mushy millet is soaking. Many people skip this, which is a key reason for disappointing results. Soaking Kodo millet for at least 4 to 6 hours, or even overnight, does two crucial things. Firstly, it softens the tough outer layer of the grain, allowing it to cook faster and more evenly. Secondly, it helps to break down phytic acid, an anti-nutrient that can interfere with the absorption of minerals like iron and zinc. Soaking makes the millet more digestible and its nutrients more available to your body. Always remember to discard the soaking water and give the millet a final rinse before cooking.
The Perfect Water-to-Millet Ratio
The next critical factor is the water ratio. This is where most people go wrong, often using the same ratio as they would for rice. Kodo millet needs more water. For a perfectly fluffy, separate-grain texture using the absorption method, the ideal ratio is 1 cup of soaked Kodo millet to 2.5 cups of water. Some recipes suggest a 1:2 ratio, but this can sometimes result in a slightly chewier grain. For a softer, slightly stickier consistency suitable for dishes like curd millet, you might increase the water to a 1:3 ratio. It's best to start with the 1:2.5 ratio for a rice-like result. A pinch of salt and a half-teaspoon of oil or ghee in the water can also help keep the grains from sticking.
Method 1: Stovetop Cooking
Cooking on the stovetop gives you the most control. Start by dry roasting the soaked and drained millet in a heavy-bottomed pot for about 3-4 minutes over medium heat. This step is optional but highly recommended, as it brings out a wonderful nutty flavour. After toasting, add your 2.5 cups of water for every 1 cup of millet and a pinch of salt. Bring the water to a rolling boil. Once it's boiling, give it one final stir, reduce the heat to the absolute lowest setting, cover the pot with a tight-fitting lid, and let it simmer for about 15-20 minutes. Do not stir the millet while it's simmering, as this can break the grains and release starches, making it mushy.
Method 2: Pressure Cooker Success
For a quicker, hands-off approach, the pressure cooker is your friend. Use the same 1 cup of soaked millet to 2 cups of water ratio; the pressure cooker is more efficient and requires slightly less water. Add the soaked and drained millet, water, and a pinch of salt to your pressure cooker. Secure the lid and cook on a medium flame for two whistles. After two whistles, turn off the heat completely. The most important part is to let the pressure release naturally. Do not force it open. This resting time is crucial as the millet continues to steam and absorb moisture, resulting in perfectly cooked grains.
The Final, Crucial Step: Let It Rest
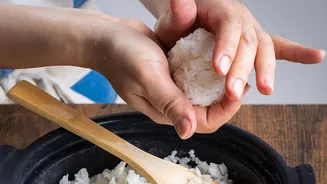
Whether you used a pot or a pressure cooker, do not fluff the millet immediately after cooking. Let it stand, covered, for at least 10 minutes off the heat. This resting period allows the steam to redistribute, firms up the grains, and prevents them from breaking when you fluff them. Once rested, gently fluff the Kodo millet with a fork. You will be rewarded with light, separate grains that are ready to serve. Mixing hot millet with a spoon can mash it, so a fork is the best tool for this job.
Serving Your Fluffy Kodo Millet
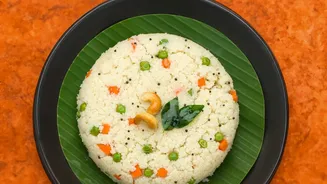
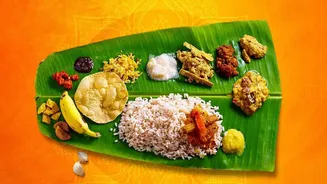
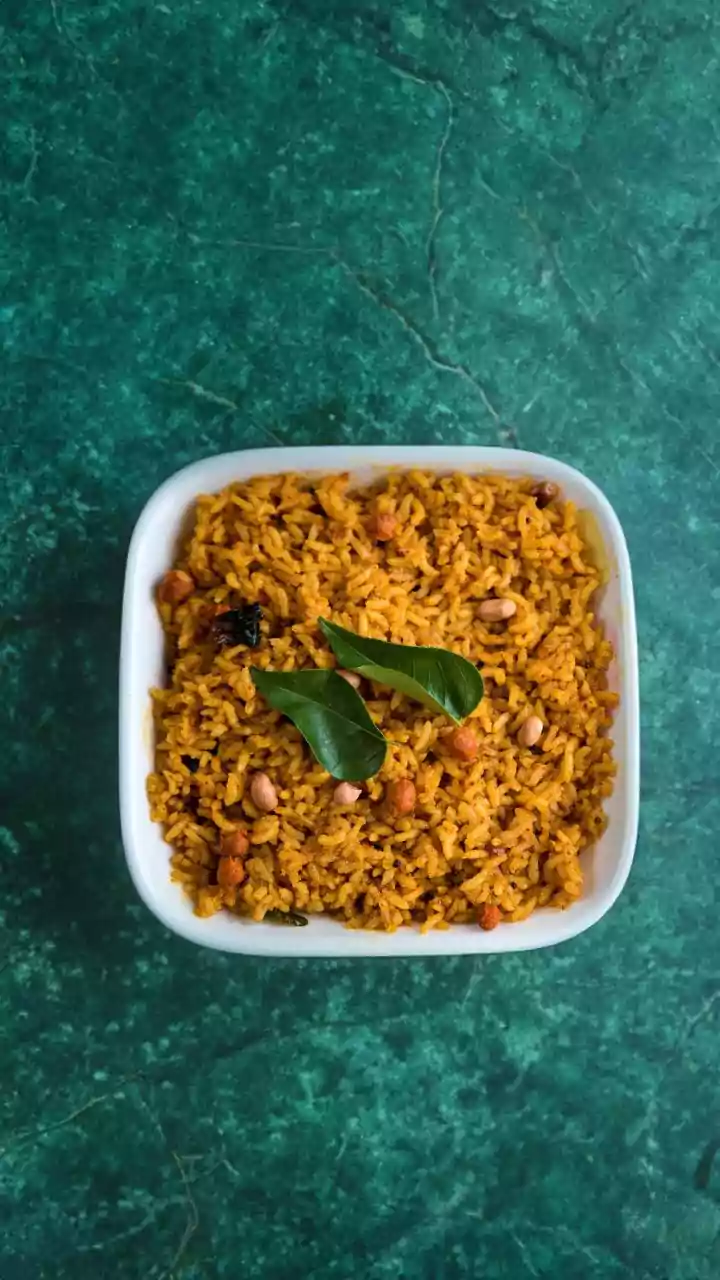
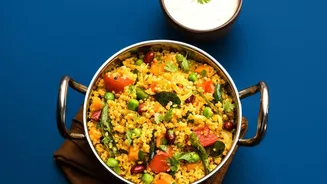
Now that you have mastered the art of cooking Kodo millet, the possibilities are endless. Use it as a direct substitute for rice with your favourite dals, curries, and sambhar. It makes for an excellent base in pulao, biryani, and fried 'rice' style dishes, as it absorbs flavours beautifully. You can also let it cool and toss it into salads for a nutritious, gluten-free grain element or use it to make wholesome breakfast dishes like upma and pongal.