
Your Essential Styling Toolkit
Before you begin, gathering the right tools will make all the difference. While different wave styles require slightly different approaches, this basic kit will set you up for success. You will need a heat protectant spray, a volumizing mousse or setting
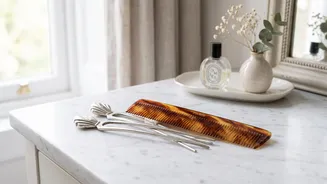
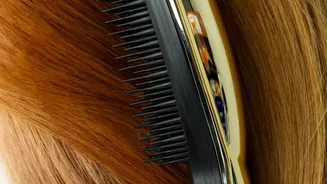
lotion, a fine-tooth comb, a boar bristle brush for smoothing, a 1 to 1.5-inch barrel curling iron, and several clips. For setting your waves, have either duckbill clips or double-prong pin curl clips on hand. A strong-hold hairspray will be your final step to lock everything in place.
Method 1: Classic Hollywood Waves
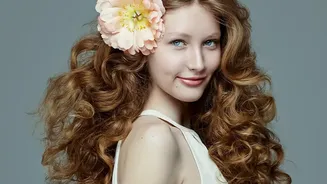
This is the iconic, soft, and uniform wave seen on red carpets for decades. Start with clean, dry hair and create a deep side part. Apply a heat protectant and section your hair. Working with 1- to 2-inch sections, curl all of your hair in the same direction. For a classic look, curl the hair toward your face. As you release each curl from the iron, carefully roll it back up and secure it against your scalp with a pin curl clip to let it cool and set. This step is crucial for creating a defined, lasting wave pattern. Once all sections are curled and pinned, lightly mist with hairspray and wait about 15 minutes for the curls to cool completely. Then, remove the clips and gently brush through your hair with a boar bristle brush. The separate curls will merge into a beautiful, uniform wave.
Method 2: Heat-Free Pin Curls
For a heat-free option that delivers authentic vintage waves, pin curls are the way to go. This method works best on damp, not soaking wet, hair. Apply a setting lotion or mousse throughout. Starting at your part, take a one-inch section of hair. Comb it smooth, then, starting from the end, wrap the hair around your finger to create a flat loop. Slide the coil off your finger and pin it flat against your scalp with a double-prong clip. It's important to pin across the circle, not through the middle, to avoid dents. Repeat this process across your entire head. To create a classic wave, alternate the direction of each row of curls. Once your hair is completely dry (this can take several hours or be done overnight with a protective scarf), remove the pins and brush out the curls to reveal soft, vintage waves.
Method 3: 1920s-Style Finger Waves
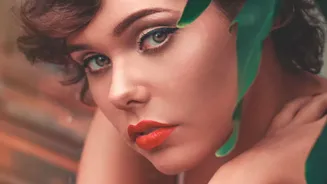
Finger waves are the sleek, S-shaped waves that defined the Jazz Age. This technique requires patience but creates a striking, authentic look. You'll need to start with very wet hair saturated with a strong-hold gel or styling lotion to make it pliable. Create a deep side part. Place your middle finger flat on the hair near the part. Take a fine-tooth comb, place it against your finger, and comb the hair forward to create the start of a C-shape. Then, lay the comb flat, press down, and push the hair back in the opposite direction, creating a ridge. Use your fingers to pinch this ridge and secure it with a long duckbill clip. Continue this process down the section of hair, creating an 'S' pattern. This style must dry completely, often under a hood dryer or left for several hours, before removing the clips.
Finishing and Setting Your Style
Regardless of the method you choose, the final steps are what make the style last. After brushing out your curls into waves, you can use your fingers or clips to help define the wave pattern and encourage the hair to sit in a uniform 'S' shape. Use a fine-tooth comb to smooth any flyaways. For Hollywood waves, you might want to gently backcomb the front section for a little extra volume. Once you are happy with the shape, apply a final, generous mist of a strong-hold hairspray to lock in your vintage masterpiece. This will provide shine and ensure your waves hold their shape throughout the day or night.