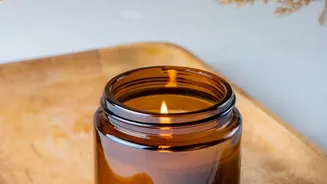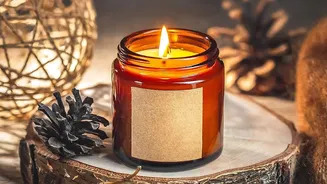







Creating a beautifully scented homemade candle is a rewarding craft. But the secret to a perfect, long-lasting candle isn't just the wax or fragrance; it's the often-overlooked wick. Proper placement is the key to a flawless burn.
Why Wick Placement is Crucial
The wick is the engine
of your candle. Its job is to draw melted wax up to the flame, providing a steady supply of fuel. When the wick is correctly sized and centered, it creates an even melt pool that extends to the edges of the container. This ensures a clean burn, an excellent fragrance 'throw' that fills the room, and a longer life for your candle. An improperly placed or sized wick can lead to a host of problems. An off-center wick causes uneven heating, which can make a glass container dangerously hot on one side and may even cause it to crack. It also leads to 'tunneling,' where the candle burns down the middle, leaving a thick wall of unused wax along the sides.
Choosing the Right Wick
Before you can place a wick, you must choose the right one. This decision depends on several factors. The most important is the diameter of your candle container. A wider jar needs a thicker wick, or sometimes multiple wicks, to generate enough heat to melt the wax all the way to the edges. The type of wax you use also matters; dense natural waxes like soy or beeswax often require larger wicks than traditional paraffin wax. Fragrance oils and dyes can also affect the burn, sometimes clogging the wick or requiring a size adjustment. Wick manufacturers provide sizing charts to help you find a starting point, but the only way to be certain is to conduct a test burn with your specific combination of wax, fragrance, and container.
The Golden Rule: Center is Key
For a single-wick candle, the golden rule is perfect centering. A centered wick is essential for both safety and performance. It ensures a symmetrical melt pool, which prevents tunneling and maximizes your candle’s burn time and scent diffusion. An off-center wick that leans against the side of a glass jar can create a concentrated hot spot, posing a serious safety risk. For jars wider than four inches, a single wick may not be enough to melt all the wax. In these cases, using two or three smaller wicks, spaced evenly, will provide the balanced heat distribution needed for a clean and complete burn.
A Step-byStep Guide to Securing Your Wick
Securing your wick properly ensures it stays straight and centered from the bottom of the jar to the top. First, take your prewaxed wick, which should have a small metal tab at its base. Apply a wick sticker or a small amount of hot glue to the bottom of this tab and press it firmly into the exact center of your container's base. Next, pull the wick taut and secure the top. The easiest way to do this is with a wick bar or centering tool, which is a small metal or wooden bar that rests across the rim of the jar and has a slot to hold the wick perfectly straight. If you don't have a special tool, two pencils or chopsticks laid across the jar with the wick held snugly between them can also work. Once the wick is secured at both the top and bottom, you are ready to pour your melted wax.
Troubleshooting Common Wick Problems
Even with careful placement, you might encounter issues. If your candle tunnels and leaves a ring of wax, your wick is likely too small for the container. If you see a large, flickering flame, excessive smoke, or black soot marks on the jar, your wick is probably too large. Another common issue is 'mushrooming,' where a black, bulb_like cap of carbon forms on the wick. This often happens when a wick is too large or hasn't been trimmed. The solution for many of these problems is simple: always trim your wick to about a quarter of an inch before every single burn. This habit controls the flame size, reduces soot, and ensures a cleaner, longer_lasting candle experience.