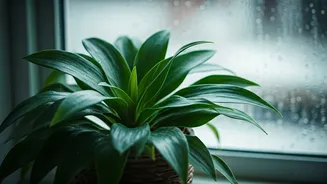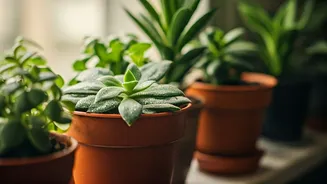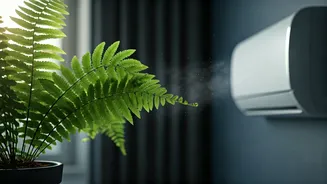


Why AC and Ferns Don't Mix
Ferns, with their lush, feathery fronds, evoke images of a damp, shaded forest floor. They thrive in environments with high humidity—typically between 40% and 60%. Your air conditioner, however, is designed to do the exact opposite. As it cools the air,
it also removes moisture, drastically lowering the humidity level in the room. This creates an arid, desert-like environment that is hostile to most tropical plants, especially delicate ferns like the Boston Fern or Maidenhair Fern. The constant flow of dry air robs the plant's leaves of their moisture faster than the roots can absorb it, leading to stress and dehydration.
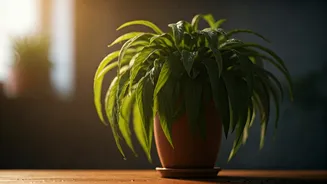
Spot the Warning Signs
An unhappy fern will give you clear signals. The most common sign of dehydration due to low humidity is crispy, brown tips on the fronds. You might notice the delicate leaflets starting to shrivel or turn yellow before dropping off entirely. The plant may look limp and droopy, even if the soil is moist. If you're seeing new growth, it might be small or weak. Ignoring these signs can lead to the plant's slow decline. Acting quickly when you first spot these symptoms is key to reviving your fern and creating a healthier environment for it.
The Daily Misting Ritual
One of the simplest and most immediate ways to help your fern is by misting it. Using a spray bottle with a fine nozzle, gently mist the fronds with room-temperature water. This provides a temporary boost in localised humidity around the plant. The best time to do this is in the morning, which gives the leaves a chance to dry off during the day, reducing the risk of fungal diseases that can thrive on damp foliage overnight. While misting provides quick relief, its effects are short-lived, so it works best when combined with other methods.
Create a DIY Humidity Tray
A pebble tray is a classic, low-tech solution for creating a constant source of humidity. It's incredibly easy to make. Find a shallow tray or saucer that is wider than the base of your plant's pot. Fill it with a layer of pebbles, small stones, or even decorative glass beads. Pour water into the tray until it reaches just below the top of the pebbles. Place your potted fern on top of the stones. The key is to ensure the bottom of the pot is not sitting directly in the water, as this can cause root rot. As the water evaporates from the tray, it creates a small, humid microclimate right where your fern needs it most.
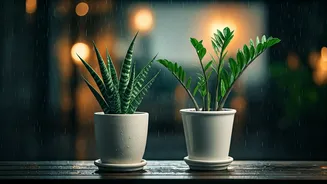
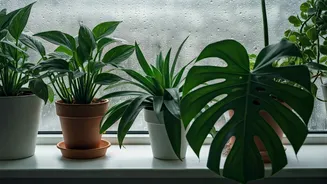
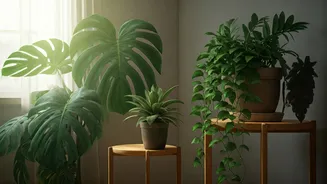
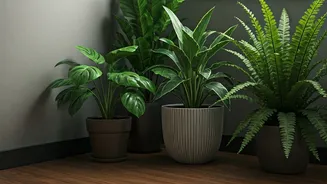
Harness the Power of Grouping
Your plants can help each other out. All plants release moisture into the air through a process called transpiration. By grouping several plants together, especially other humidity-lovers like calatheas, syngoniums, or other ferns, you can create a naturally humid micro-environment. This collective transpiration raises the humidity in the immediate vicinity, benefiting every plant in the cluster. Not only is it an effective strategy, but it also creates a beautiful, lush display in your home. Think of it as creating a tiny indoor jungle where your plants can support each other.
Strategic Placement and Watering
Where you place your fern matters. The direct, cold draft from an AC vent is the most dangerous spot for any tropical plant. Position your fern in a location within the room that is away from the direct line of fire. Additionally, the dry air will cause the soil to dry out more quickly than usual. While you should never let a fern's soil dry out completely, you also must avoid overwatering. Instead of sticking to a rigid schedule, check the soil every couple of days. When the top inch feels slightly dry to the touch, it's time to water thoroughly, allowing any excess to drain away freely.