



Why Your Houseplants Will Thank You
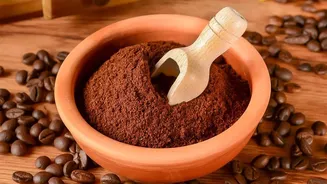
Kitchen scraps like coffee grounds and certain fruit peels are organic powerhouses. Used coffee grounds are an excellent source of slow-release nitrogen, which is vital for lush, green leafy growth. They also contain potassium and phosphorus, essential
for overall plant health. Banana peels are particularly famous for their potassium content, which supports strong stems and can aid in flowering. By composting these items, you're creating a natural, nutrient-dense soil amendment that improves soil structure, helps retain moisture, and feeds your plants gently over time.
Gathering Your Kitchen Treasures
Start by collecting your daily kitchen scraps. You'll want to focus on 'green' materials, which are fresh and moist. Spent coffee grounds are the star ingredient. For fruit peels, banana peels are excellent. Apple cores, berry tops, and melon rinds are also great additions. Chop larger items like rinds and cores into smaller pieces to speed up decomposition. It's best to avoid composting large quantities of oily or greasy foods, as well as meat and dairy, which can create odours and attract pests—a particular concern for indoor setups.
The Rules for Coffee Grounds
While beneficial, coffee grounds must be used correctly to avoid problems. Always use spent (brewed) grounds, as fresh grounds are highly acidic and can harm plants. The most crucial step is to dry them completely before use. Spread the wet grounds on a tray or newspaper for a few days until they are dry and crumbly. This prevents mould growth and keeps them from compacting, which can create a water-resistant barrier on your soil. When adding grounds to your mix, do so in moderation; they should make up no more than 15-20% of your total compost volume to maintain a balanced pH.
Preparing Fruit Peels Properly
Like coffee grounds, fruit peels need a little prep work. Always chop them into small, one-to-two-inch pieces. The smaller the pieces, the faster they will break down. While most fruit scraps are fine, be cautious with citrus peels like orange and lemon in an indoor compost mix. In large amounts, their high acidity can slow decomposition and harm beneficial microbes. If you do add them, use them sparingly and chop them very finely. For indoor use, focusing on less acidic scraps like banana peels, apple cores, and cucumber peels is a safer bet to start with.
Creating a Simple Indoor Mix
You don't need a large, complicated bin for this. A simple method is to use a small bucket or even a large flowerpot with drainage holes. Start with a base layer of 'brown' material, like shredded newspaper, cardboard, or dried leaves. This helps with aeration and balances the 'green' waste. Add a layer of your prepared coffee grounds and fruit peels. Then, add another layer of browns. Continue layering until your container is full, finishing with a top layer of brown material to discourage fruit flies and odours. To supercharge the process, you can mix in some existing soil or finished compost to introduce beneficial microbes. Keep the mixture lightly moist, but not waterlogged.
Applying Your Homemade Compost
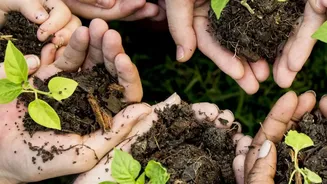
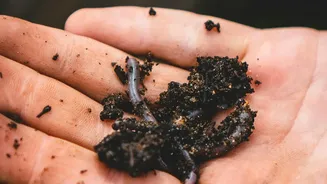
After a few weeks to several months, depending on your mix, the materials will break down into a dark, crumbly, soil-like substance. This is your 'black gold'. There are two main ways to use it for your houseplants. You can 'top dress' your plants by sprinkling a thin, half-inch layer of the compost over the surface of the soil in the pot, being careful to keep it away from the plant's stem. Alternatively, when you're repotting a plant, you can mix your homemade compost into the fresh potting soil. A good ratio is about one part compost to four parts potting soil. This infuses the entire root zone with gentle, slow-release nutrients.
Troubleshooting Indoor Composting
The two biggest concerns with indoor composting are pests and smells. The most common pests are fruit flies or fungus gnats, attracted to exposed food scraps. Always ensure your top layer is a 'brown' material like shredded paper or soil, and keep the container covered with a lid or plate. If the pile starts to smell sour or like ammonia, it's a sign that it's too wet and lacks air. To fix this, stir the mix to aerate it and add more dry 'brown' materials to absorb excess moisture. Properly balancing your green and brown materials is the key to a sweet, earthy-smelling compost pile.