


The Foundation of Flawless
Before a single drop of makeup touches your face, the real work begins. A flawless finish is built not on top of skin, but with it. Think of your face as a canvas; the smoother the canvas, the better the painting. Start with a clean, well-exfoliated base.
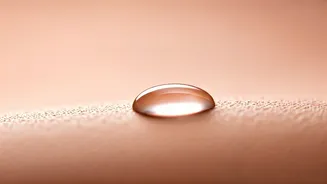
A gentle chemical exfoliant with AHAs or BHAs used a few times a week can slough away dead skin cells that cause patchiness. Follow this with hydration—and lots of it. Even if you have oily skin, don't skip this step. Use a lightweight, hydrating serum with hyaluronic acid, followed by a moisturiser suited to your skin type. Let your skincare sink in for at least five minutes before moving on. This prevents pilling and ensures your makeup has a plump, hydrated surface to adhere to.
Prime for Perfection
Primer is the essential bridge between your skincare and your makeup. It’s the secret weapon that does the heavy lifting for that airbrushed effect. The key is to choose the right one for your specific needs. If you have visible pores or fine lines, a silicone-based, pore-filling or blurring primer is your best friend. It creates a velvety-smooth film over the skin, effectively spackling any texture. For dry skin, a hydrating or illuminating primer will impart a healthy glow from within, preventing your foundation from looking flat or cakey. Apply a thin layer with your fingertips, pressing it into the skin, especially in areas where you need the most smoothing, like the T-zone.
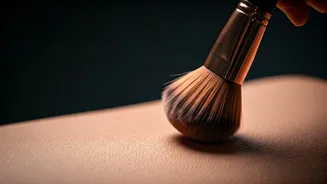
The Art of the Base
The magic of an airbrushed look is less about the amount of product and more about the technique. Start with a high-definition or satin-finish liquid foundation. These formulas are designed to look seamless under bright lights and on camera, which translates to a perfected finish in real life. The trick is to apply it in thin, buildable layers. Instead of dotting foundation all over your face, place a small amount on the back of your hand. Pick it up with a damp beauty sponge or a dense, flat-top kabuki brush. Press and stipple the product into your skin, rather than swiping or rubbing. This 'stippling' motion blends the product seamlessly without disturbing the texture of your skin or lifting the primer underneath. Concentrate coverage where you need it most (usually the centre of the face) and blend outwards.
Conceal Strategically
Once your foundation is on, assess where you need extra coverage. Instead of applying a thick layer of concealer, use a high-coverage liquid concealer and apply it only where necessary—under the eyes, around the nose, or on any blemishes. Use a small, precise brush or the tip of your sponge to gently tap and blend the edges until it melts into the foundation. For under-eyes, choose a shade slightly lighter than your foundation to brighten, but avoid going too light, which can create a reverse-racoon effect. The goal is to unify the canvas, not mask it completely.
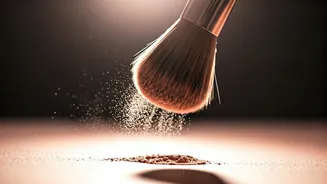
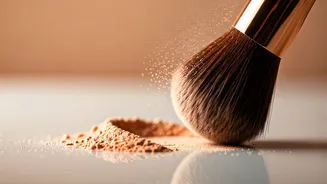
Set It and Forget It
Setting your makeup is the final step to lock everything in and achieve that soft-focus, airbrushed finish. The key is to use a finely milled translucent powder. Avoid heavy, tinted powders which can add texture and look cakey. Using a fluffy powder brush, lightly dust the powder over your entire face. For an even more filtered look, try the 'powder puff' technique popularised by makeup artists. Press a velour powder puff into your loose powder, tap off the excess, and gently roll and press it onto your skin, especially in the T-zone. This pushes the powder into the makeup, blurring pores and setting it for hours. Finally, a finishing spray is non-negotiable. A good mist will melt the powders into your skin, removing any lingering powdery look and giving you a truly seamless, skin-like finish that lasts all day.