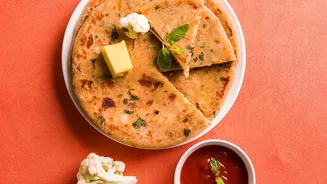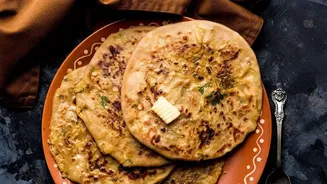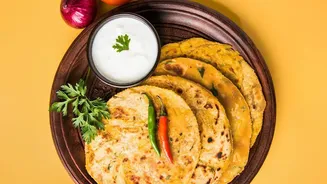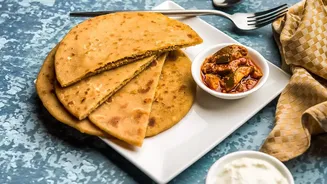



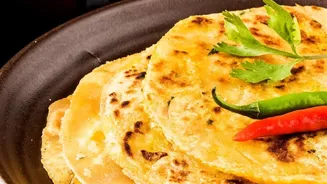

Imagine a single, perfect dish that effortlessly solves the 'what to cook' dilemma for two different meals. Enter the Paneer-Stuffed Reshmi Paratha: a golden, flaky flatbread with a creamy, spiced filling that is both comforting and convenient.
The Ultimate Two-in-One Meal
In the
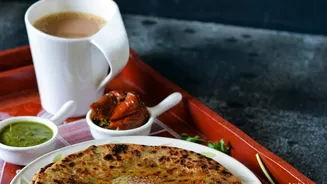
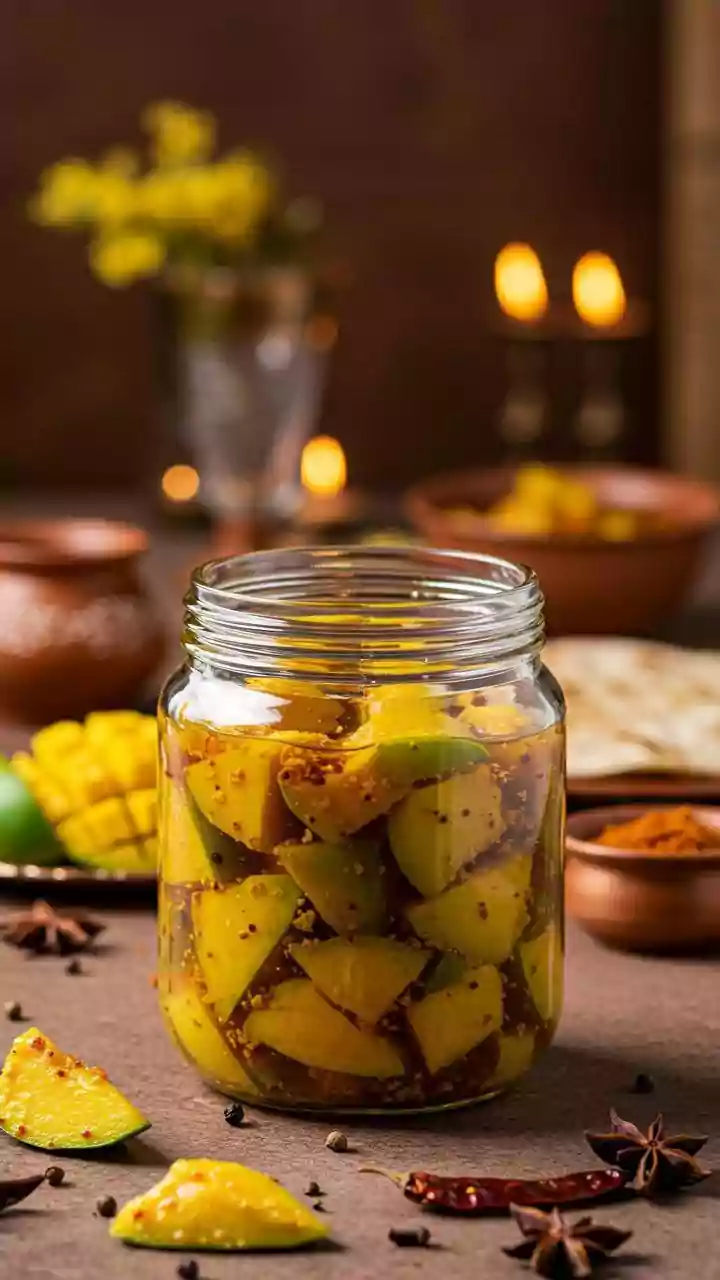
bustling rhythm of Indian households, a versatile recipe is worth its weight in gold. The Paneer-Stuffed Reshmi Paratha is precisely that—a culinary champion that fits seamlessly into a weekend breakfast spread or a weekday lunchbox. Its appeal lies in its dual identity. For breakfast, it's a substantial, energy-boosting start to the day, perfectly paired with a simple bowl of curd or a dollop of butter. For lunch, it transforms into a complete, satisfying meal that needs little more than a side of pickle or a light raita. This adaptability makes it a go-to for anyone looking to cook smarter, not harder. It eliminates the need for multiple preparations, offering a rich, wholesome, and delicious solution that satisfies cravings at any time.
What Makes a Paratha 'Reshmi'?
The word 'reshmi' translates to 'silky,' and that's the defining characteristic of this paratha. Unlike its rustic, whole-wheat counterparts, a reshmi paratha is prized for its incredibly soft, pliable, and melt-in-the-mouth texture. The secret lies in the dough. It is typically made with refined flour (maida), or a mix of maida and whole wheat flour, to achieve a lighter feel. The real magic, however, comes from the enrichment of the dough with ingredients like milk, yogurt (dahi), or a generous amount of ghee or oil. These fats and dairy components tenderize the gluten, resulting in a dough that is exceptionally smooth and easy to roll. When cooked, this special dough yields a paratha that is delicately layered, wonderfully soft, and anything but dry or chewy.
Crafting the Perfect Soft Dough
The foundation of a great reshmi paratha is its dough. To begin, take two cups of all-purpose flour (maida) in a large mixing bowl. For a slightly healthier version, you can use one cup of maida and one cup of whole wheat flour (atta). Create a well in the centre and add two tablespoons of ghee or oil, half a cup of warm milk, and a pinch of salt. Gently start mixing the ingredients, gradually adding warm water as needed to form a soft and pliable dough. It should be supple and smooth to the touch, not stiff. Knead for a good 8-10 minutes until it becomes elastic. This develops the gluten structure, which is key to a soft paratha. Finally, cover the dough with a damp cloth and let it rest for at least 30 minutes. This resting period is non-negotiable; it allows the gluten to relax, making the dough easier to roll without tearing.
The Creamy and Flavourful Paneer Filling
While the dough rests, prepare the star of the show: the paneer filling. You will need about 200 grams of fresh paneer, crumbled. To this, add one finely chopped onion, one or two finely chopped green chillies (adjust to your spice preference), and a handful of chopped coriander leaves. For the spices, a teaspoon of cumin powder, half a teaspoon of garam masala, a pinch of turmeric powder, and salt to taste work wonders. A little amchur (dry mango powder) or a squeeze of lemon juice can add a pleasant tang that cuts through the richness of the paneer. Mix everything gently but thoroughly. Avoid overnding or mashing the paneer, as you want to retain some of its texture. The filling should be flavourful and moist, but not watery, as excess moisture can make the paratha soggy and difficult to roll.
The Art of Stuffing and Rolling
Once the dough has rested, divide it into equalstized balls. Take one ball and flatten it into a small circle about 3rdnd inches in diameter using your fingers. Place a generous spoonful of the paneer mixture in the centre. Bring the edges of the dough together and pinch to seal, creating a small pouch. Gently flatten this stuffed ball and dust it with dry flour. Now using rolling pin roll it out into a paratha of your desired thickness Apply gentle and even pressure to prevent the filling from spilling out If you are new to this it is better to roll slightly thicker paratha A perfectly rolled paratha will have filling evenly distributed ensuring burst of flavour in every bite.
Cooking to Golden Perfection
Heat a tawa or a flat pan over medium heat Place the rolled paratha on hot tawa and cook for about minute or until you see small bubbles appearing on surface Flip it over and apply teaspoon ghee or oil on half cooked side Cook for another minute before flipping again Now apply ghee on other side Press down gently with spatula especially around edges to ensure it cooks evenly Keep flipping every thirty seconds or so until both sides are golden brown and have beautiful crisp spots The aroma of cooking ghee and spiced paneer is reward in itself Serve hot straight from tawa.