




A Sweet Steeped in Legend
The connection between Krishna and milk-based sweets is legendary. Stories of his childhood as a ‘Makhan Chor’ (butter thief) make dairy-based offerings particularly special for Janmashtami. The Mathura Peda holds a unique place, as its very name ties
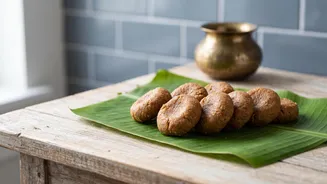
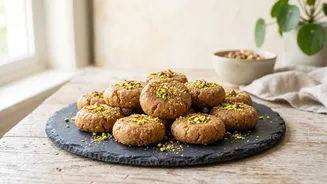
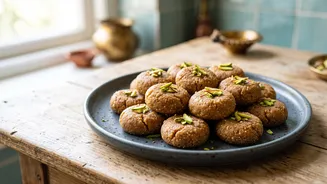
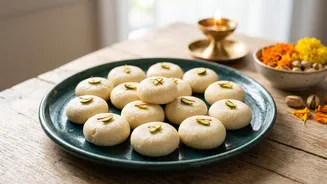
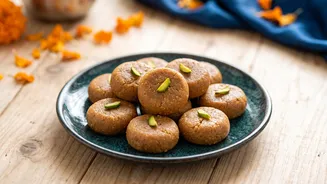
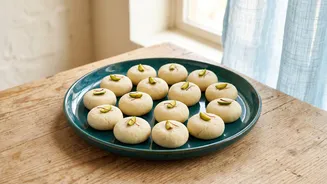
it to the holy city of his birth. This sweet is not just a dessert but a devotional offering, or 'prasad', believed to be a favourite of Lord Krishna himself. Its distinctive brownish colour and grainy texture come from slowly roasting milk solids until they caramelise, a process that gives it a rich, nutty flavour that is unlike any other peda.
Understanding the Key Ingredients
To achieve the authentic taste of Mathura Peda, two ingredients are crucial: mawa and bura. Mawa, also known as khoya, is essentially milk that has been slowly simmered until only the milk solids remain. It provides the rich, creamy base for the sweet. While you can make it from scratch by reducing full-fat milk, a process that can take hours, good quality store-bought mawa or an instant version made with milk powder works well. The second key ingredient is 'bura' or 'tagar', a special type of sugar. Unlike regular powdered sugar, bura is made by cooking sugar syrup until it crystallises, resulting in a porous, sandy texture that dissolves beautifully and gives the pedas their signature melt-in-the-mouth quality.
Recipe: Mathura-Style Peda
This recipe yields about 15-20 pedas and brings the authentic taste of Mathura to your home kitchen. Ingredients: - 250 grams Mawa (Khoya), grated - 1/2 cup Bura or Tagar (or powdered sugar if bura is unavailable) - 2 tablespoons Ghee (clarified butter) - 2-3 tablespoons Milk, as needed - 1/4 teaspoon Cardamom powder - A pinch of Nutmeg powder (optional) - Extra bura or granulated sugar for coating
Step 1: Roasting the Mawa
The most critical step for developing the iconic flavour and colour is roasting the mawa. In a heavy-bottomed pan, add the grated mawa and begin to roast it on low to medium heat, stirring continuously to prevent it from burning. After a few minutes, the mawa will start to melt and then dry out. Add the ghee at this stage. Continue to stir and cook patiently. The mawa will slowly change colour from off-white to a light golden and finally to a deep, uniform brown. This process can take 15-25 minutes. If the mixture becomes too dry, you can add a tablespoon of milk. Once it is richly browned and fragrant, remove it from the heat.
Step 2: Cooling and Mixing
Once the mawa is roasted, transfer it to a separate plate or bowl and allow it to cool down completely. This is a crucial step; adding sugar to hot mawa will cause it to melt and turn the mixture into a runny paste. Once the roasted mawa is at room temperature and has a crumbly, granular texture, add the bura (or powdered sugar), cardamom powder, and nutmeg powder. Mix everything together thoroughly with your hands, breaking up any large lumps until you have a uniform mixture.
Step 3: Shaping Your Pedas
Now, it's time to shape the pedas. Take a small portion of the mixture and press it firmly in your palm. If the mixture feels too dry to bind, add a teaspoon of milk at a time until it just comes together. Roll the portion between your palms to form a ball, then gently flatten it. Mathura Pedas are known for their rustic, slightly irregular shapes, so they don't need to be perfect. Roll each shaped peda in a bowl of bura or granulated sugar to coat it evenly. Let the finished pedas sit for about an hour to firm up before serving.