
Gathering Your Simple Supplies
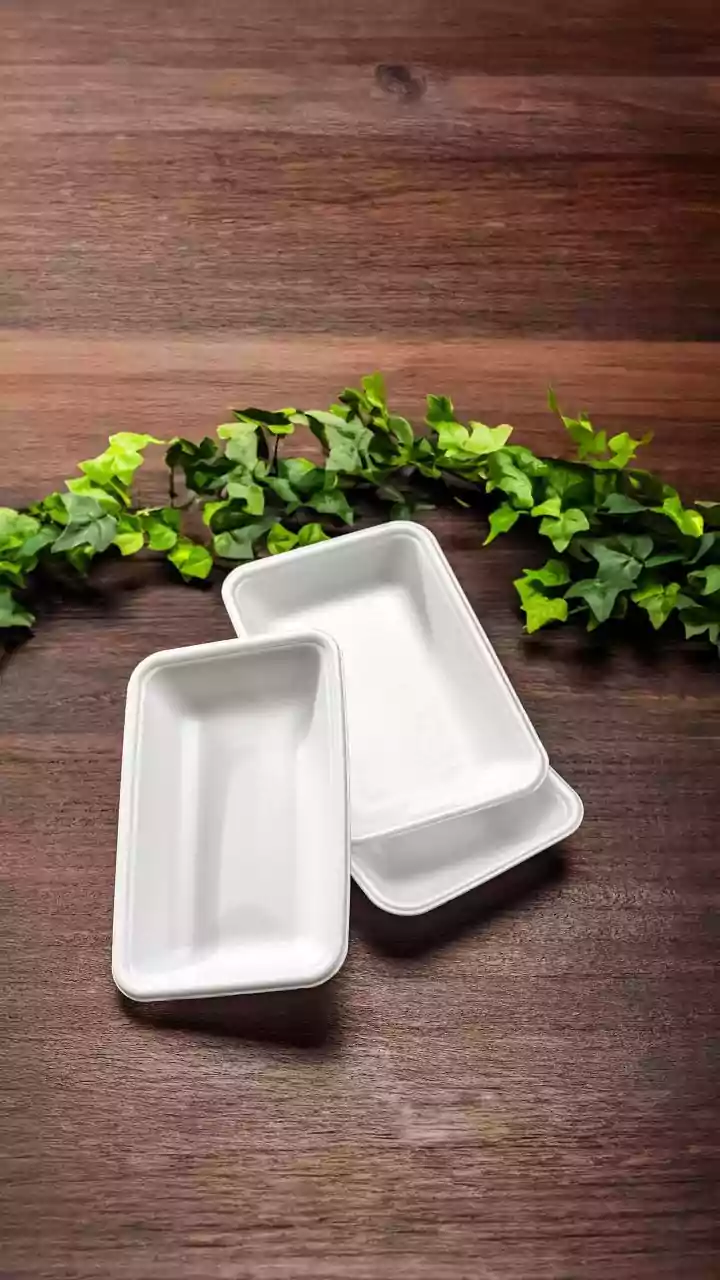
Growing microgreens doesn't require a garden or expensive equipment. In fact, you can get started with just a few basic items. You will need a shallow container, like a reusable plastic takeout box or a dedicated microgreens tray with drainage holes.
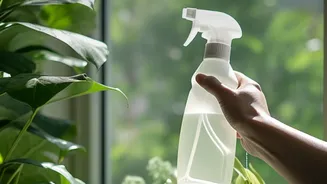
For your growing medium, you can use a seed-starting potting mix, coconut coir, or a simple hydroponic grow mat. You'll also need mustard microgreen seeds, a spray bottle for misting, and access to a sunny windowsill. While not essential, a second tray to cover the first one can be very helpful during germination.
Preparing Your Windowsill Farm
Your setup is straightforward. First, prepare your container. If you're using a recycled container, ensure it's clean and poke a few small holes in the bottom for drainage. Next, fill the tray with about one to two inches of your chosen growing medium, like potting soil or coir. Moisten the medium thoroughly with your spray bottle until it feels like a damp sponge but is not waterlogged. Gently press the surface to create a flat, even bed for your seeds. This simple preparation ensures your seeds have a good foundation to sprout from.
Sowing the Seeds
Now for the fun part. Sprinkle your mustard seeds evenly and densely across the entire surface of the moist soil. You want the seeds to be close together but not piled on top of each other. This encourages the greens to grow straight up towards the light. Once sown, gently press the seeds into the soil to ensure good contact. Some guides suggest covering them with a very thin layer of soil, while others just mist them well. A thorough misting at this stage is crucial.
The Crucial Blackout Period
For the first two to three days, your seeds need darkness, not light. This 'blackout' period is essential for germination. Cover your tray with a lid, a piece of cardboard, or another tray flipped upside down to completely block out the light. This mimics the experience of being buried in soil and encourages strong, uniform sprouting. Keep the tray in a warm spot, and check the moisture daily, misting as needed to keep the seeds from drying out. You might notice a strong, pungent mustard smell during this time; that is completely normal.
Let There Be Light
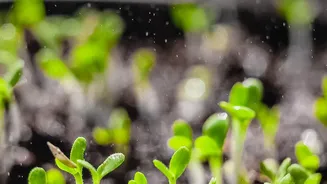
After about two or three days, you will see pale, yellowish sprouts pushing upwards. This is your cue to end the blackout period and introduce them to light. Remove the cover and place the tray on your sunniest windowsill. A south-facing window that receives at least four to six hours of daily sunlight is ideal. The pale sprouts will quickly turn a vibrant green as they begin to photosynthesize. If you don't have a sunny window, a simple LED grow light placed a few inches above the tray also works wonders.
Harvesting Your Spicy Bounty
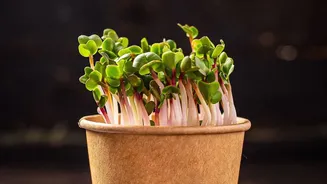
Mustard microgreens are one of the fastest crops you can grow, often ready to harvest in just 7 to 10 days from sowing. The perfect time to harvest is when the first set of true leaves begins to appear, just after the initial seed leaves (cotyledons) have fully opened. The greens should be about two inches tall. To harvest, use a sharp pair of scissors or a knife and cut the stems just above the soil line. It's best to harvest right before you plan to use them for maximum freshness and flavor.
Creating a Weekly Cycle
The headline promises a weekly harvest, and the speed of mustard microgreens makes this entirely achievable. To create a continuous supply, simply start a new tray every few days. By staggering your planting, you can have a fresh batch of spicy greens ready to harvest at the beginning of each week. Once a tray is harvested, you can compost the spent soil and roots, clean the tray, and start the process all over again. This simple rotation turns a small corner of your apartment into a productive and flavorful micro-farm.