





The dolphin push-up is a powerful exercise for building shoulder strength and core stability, but its effectiveness hinges on one key detail: controlled elbow movement. Nailing this technique is crucial for results and avoiding injury.
Understanding the Dolphin Push-Up
The dolphin push-up
is a dynamic bodyweight exercise that blends strength training with elements of yoga. It primarily targets the shoulders (deltoids), upper back, triceps, and core. The movement involves starting in a forearm plank, lifting your hips up and back into a position resembling a 'downward dog' on your elbows, and then shifting your weight forward. Unlike a traditional push-up, which places significant stress on the wrists, the dolphin push-up is performed on the forearms, making it a great low-impact alternative for many. Its unique motion not only builds muscle but also improves shoulder flexibility and stability, making it a fantastic preparatory exercise for more advanced movements like forearm stands.
The Crucial Role of Your Elbows
The 'controlled' aspect of the dolphin push-up lives almost entirely in how you manage your elbows and shoulders. The entire movement is a fluid press driven by the shoulders, not a bend at the elbows like in a triceps push-up. From the starting forearm plank, your elbows should be positioned directly under your shoulders, about shoulder-width apart. As you lift your hips up and back, you must actively press your forearms and elbows into the floor. This creates stability and engages the correct muscles, particularly the serratus anterior, which is vital for shoulder health. The goal is to keep the elbows anchored and stable, acting as a solid pivot point for the entire motion.
Step-by-Step Execution Guide
To perform a dolphin push-up with controlled elbow movement, follow these steps:
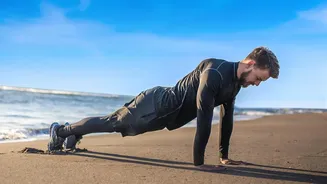
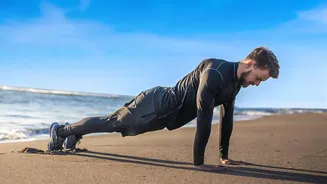
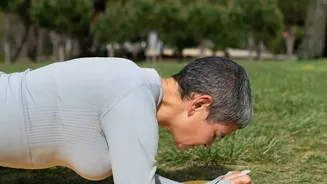
1. Start in a forearm plank position. Your elbows should be directly beneath your shoulders, and your hands can be clasped together or flat on the floor with palms down. Ensure your body forms a straight line from your head to your heels.
2. Engage your core. Brace your abdominal muscles to prevent your hips from sagging.
3. Press into your forearms and lift your hips high, moving your body into an inverted V-shape. Keep your legs as straight as possible without locking your knees, and let your head hang naturally between your arms, looking toward your feet.
4. From this peak position, begin to shift your weight forward. Guide your shoulders past your elbows and lower your head towards your hands. The movement should be smooth and controlled, driven by your shoulders.
5. Just before your head or nose touches the floor, reverse the motion by powerfully pushing through your shoulders and forearms to send your hips back up to the starting inverted V position. That completes one repetition.
Common Mistakes to Avoid
Proper form is essential to get the benefits and avoid strain. One of the most common mistakes is allowing the elbows to flare out to the sides. Your elbows should remain shoulder-width apart throughout the exercise. Widening them puts unnecessary stress on the shoulder joints. Another frequent error is sagging the hips or lower back, which indicates a lack of core engagement. This breaks the stable line of your body and reduces the exercise's effectiveness. Finally, avoid shrugging your shoulders up towards your ears. Instead, think about keeping your shoulder blades pulled down and back, away from your neck, to properly engage your back and shoulder muscles and prevent neck strain.
Tips for Mastering Control
If you're finding it difficult to maintain control, it's best to slow the movement down. Focus on the feeling of pressing the floor away with your forearms rather than just rocking back and forth. You can also modify the exercise by bending your knees, which takes some pressure off the hamstrings and shoulders, allowing you to focus purely on the upper body mechanics. To ensure your elbows aren't flaring out, you can practice in front of a mirror or even place a yoga block between your forearms to provide a physical cue to squeeze them together. As you build strength and control, you can progress to the full version of the exercise with straight legs.