

Your Essential Equipment
Getting started in lunar photography, or astrophotography, is surprisingly straightforward. You need three key items: a telescope, any basic model will do; your everyday smartphone; and a smartphone adapter. While you can try holding your phone to the
telescope's eyepiece by hand, it’s a wobbly and frustrating experience. An adapter is a small, crucial accessory that clamps your phone securely to the eyepiece, ensuring the camera is perfectly aligned and steady. Many affordable adapters are available and are designed to fit a wide range of phones and telescope eyepieces. Some even come with a Bluetooth remote shutter, which is a fantastic bonus for taking photos without physically touching the phone, further reducing shake.
Choose the Right Time and Place
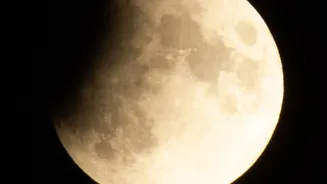
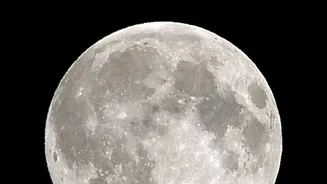
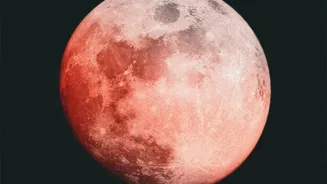
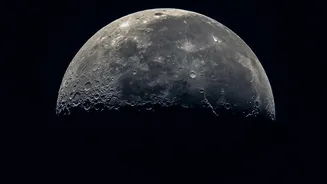
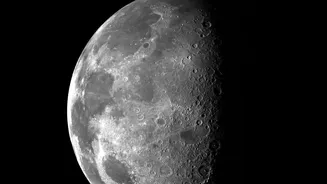
Contrary to popular belief, a full moon is actually one of the worst times to photograph craters. When the sun is shining directly on the moon's surface, it looks flat and lacks shadows. The best details are found during the crescent or quarter phases. Look for the 'terminator'—the line between the moon's lit and dark sides. Here, long shadows cast by the low-angled sunlight make craters and mountains stand out in dramatic relief. As for location, find a spot with a clear view, away from the heat radiating from rooftops or roads, which can make the air wavy and your images blurry. A stable tripod for your telescope is non-negotiable for keeping your view steady.
Setting Up for a Sharp Shot
First, get your telescope aimed and focused on the moon using your eyes. Use a low-power eyepiece (like a 25mm) to find and centre the moon easily. Adjust the telescope's focus knob until the details appear as sharp as possible. This step is vital and should be done before attaching your phone. Once you are happy with the focus, you can attach your smartphone using the adapter. Ensure the phone's camera lens is perfectly centred over the eyepiece hole; this should give you a full, round image on your phone's screen. If you see dark edges, you may need to adjust the phone's position slightly.
Mastering Your Smartphone's Camera
This is where the real magic happens. Open your phone's camera app and switch to 'Pro' or 'Manual' mode. Automatic settings will almost always overexpose the moon, turning it into a featureless white blob. Here are the key settings to adjust: ISO: Set this to the lowest possible value, usually ISO 50 or 100. This reduces digital noise and graininess, making your photo cleaner. Shutter Speed: The moon is very bright, so you'll need a fast shutter speed, like 1/125s or 1/250s, to avoid overexposure. Experiment to see what works. Focus: Tap on the moon on your screen to focus. If you can, use manual focus and set it to infinity. White Balance: Set this to 'Daylight' for a more natural grey colour. Finally, use the camera's self-timer (3-10 seconds) or a Bluetooth remote. This simple step prevents the camera from shaking when you press the shutter button, which is essential for a sharp image.
Capturing the Craters
With your setup and settings dialled in, you're ready to shoot. Take lots of photos. This technique, known as 'lucky imaging' in astrophotography, is about increasing your chances of getting a perfect shot when the atmosphere is momentarily still. Take short bursts or multiple single shots. You can even shoot a short video and later extract the sharpest frames. Don't be afraid to experiment. Try different eyepieces for different levels of magnification, but remember that higher magnification also amplifies any atmospheric shimmer or wobble. Don't use your phone's digital zoom, as it simply crops the image and reduces quality. It's always better to shoot wider and crop the photo later.
A Touch of Editing for Extra Pop
Even professional astrophotographers edit their images. You don't need complicated software; a few simple tweaks in your phone's built-in editor or a free app can make a huge difference. The main goal is to bring out the details you worked so hard to capture. Try increasing the 'Contrast' and 'Sharpness' slightly to make the crater rims and shadows more defined. Lowering 'Highlights' or 'Exposure' can help reveal texture on the brightest parts of the moon's surface. Adjusting 'Shadows' can bring out subtle details in the darker regions. A small adjustment to 'Clarity' or 'Structure' can also help make the surface features pop, resulting in a truly impressive image.