


From Kitchen Scrap to Garden Pot
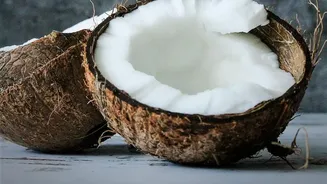
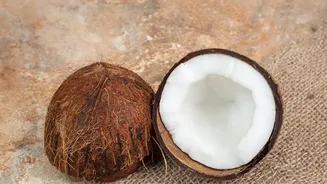
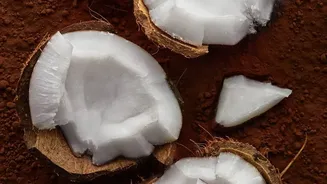
Before it can house a plant, your coconut shell needs a little preparation. Start with a clean, empty half-shell. If you're starting with a whole coconut, be sure to clean out all the white flesh after you've cracked it open. A quick sanding of the inside
and the outer rim can smooth any rough or splintery edges. The shell itself is a fantastic, biodegradable material. Its fibrous nature means it's durable and breaks down very slowly, often lasting a couple of years before needing to be composted. Some people even rub the outside with mineral oil to bring out its rich brown colour, though this is purely for aesthetics.
The Non-Negotiable: Drainage Holes
If there is one step you absolutely cannot skip, this is it. Without proper drainage, water will pool at the bottom of the shell, leading to root rot, which is a swift end for most plants. A coconut shell is naturally watertight, so you must create a way for excess water to escape. Using a power drill is the easiest method. A few small holes drilled into the lowest point of the shell's base will do the trick. This ensures that whenever you water your plant, the soil can drain freely, keeping the roots healthy and oxygenated.
Finding a Stable Footing
By their very nature, half-coconut shells are rounded and prone to tipping over. This instability is no good for a plant with delicate roots. You have two primary options for creating stability. The first is to create a flat base by carefully sanding the bottom of the shell until it sits level on a surface. The second, and more popular option, is to turn it into a hanging planter. By drilling three or four small, evenly spaced holes around the upper rim, you can thread twine or wire through to create a hanger. This not only solves the stability issue but also turns the planter into a beautiful piece of vertical decor.
Choosing the Right Plant
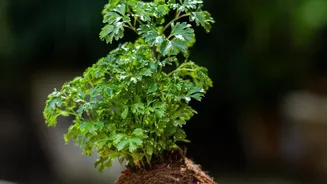
A coconut shell is a small container, so it's best suited for plants that don't mind having their roots a bit confined. Because of the excellent drainage you've created, plants that prefer drier conditions are ideal candidates. Succulents and cacti are a perfect match, as they are compact, low-maintenance, and thrive in well-draining environments. Small herbs, air plants, and trailing varieties like string of pearls or pothos also work wonderfully, especially in hanging planters where their foliage can cascade over the sides. Avoid plants that require deep soil or consistently moist conditions.
The Perfect Potting Mix
Because coconut shells are small and drain quickly, the right soil mix is crucial for retaining just enough moisture. A standard potting mix can be used, but it’s better to amend it for optimal performance. A great DIY recipe is to combine regular potting soil or coconut coir with perlite or sand. The coir or soil holds moisture, while the sand or perlite improves aeration and drainage, preventing compaction. This creates a balanced environment that mimics the needs of the succulents and small plants that are best suited for these pots.
Watering and Long-Term Care
The porous nature of the coconut shell means it can dry out faster than a plastic or ceramic pot. You'll need to monitor your plant's water needs closely, especially in warm or dry weather. A good rule of thumb is to let the top inch of soil dry out completely before watering again. Since the shell itself is organic, it will eventually begin to break down. A coconut planter typically lasts for two to four years before it becomes too soft and needs to be replaced. At that point, you can simply toss the old shell in your compost pile and start fresh with a new one.