


Gather Your Styling Toolkit
To create soft, lasting waves and a perfectly styled fringe, you'll need a few key items. Having the right tools and products on hand makes the process smoother and ensures a better result. Before you begin, make sure you have a heat protectant spray,
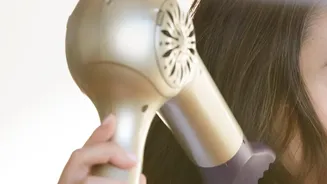
a flat iron or a 1-inch curling iron, a light-hold hairspray, and a texturizing spray. A round brush is also helpful for shaping your fringe, and clips will make sectioning your hair much easier. Always start with completely dry hair, as styling wet or damp hair with hot tools can cause significant damage.
Step 1: Prep and Protect
The foundation of any great heat-styled look is protection. Lightly mist a heat protectant spray throughout your hair, from roots to ends. This crucial step shields your strands from heat damage and helps fight frizz. Brush your hair thoroughly to remove any tangles and ensure the product is evenly distributed. Then, use clips to separate your hair into manageable sections. Working in sections prevents you from going over the same strands multiple times and gives you more control for a uniform look.
Step 2: Style the Fringe
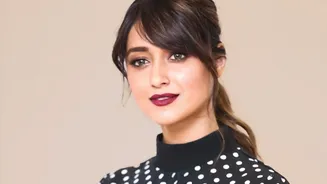
Your fringe frames your face, so giving it the right shape is essential. For a soft, blended look, use a round brush while blow-drying to pull the bangs forward and give them a slight curve. If you're using a flat iron, you can achieve a similar effect. Clamp the fringe section near the roots and gently bevel the iron downwards and under, creating a soft bend rather than a poker-straight finish. The goal is to make the fringe look integrated with the rest of your hair, not like a separate, stiff element. For curtain bangs, part them in the middle and use the iron or brush to sweep each side outwards.
Step 3: Create the Loose Waves
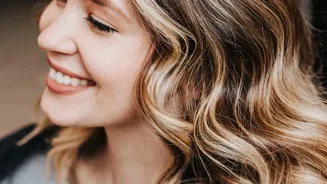
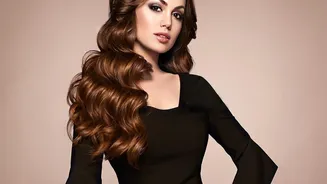
Now for the waves. The key to an 'everyday' look is creating loose, 'S' shaped waves rather than tight curls. Using a flat iron is a popular and quick method. Take a one-to-two-inch section of hair and clamp the straightener near the root. As you glide it down the hair shaft, twist your wrist away from your face in a half-turn. Continue gliding down a few inches, then twist your wrist back toward your face. Alternate this motion to create a fluid, 'S' shaped wave. Leave the last inch or so of your hair straight for a more modern, undone finish. If using a curling iron, wrap sections of hair around the barrel, leaving the ends out, and hold for only a few seconds to create a loose bend. For a more natural look, alternate the direction of the waves as you work through each section.
Step 4: Finish and Set
Once all sections are waved, let the hair cool completely. This is a vital step that helps the style set and last longer. After a few minutes, gently run your fingers through your hair to break up the waves and blend them together for a softer, more cohesive look. Avoid using a brush, which can pull out the waves entirely. To add volume and that perfectly imperfect texture, spray a texturizing spray or dry shampoo at the roots and throughout the mid-lengths. Finally, apply a light mist of flexible-hold hairspray to lock in the style without making it feel crunchy or stiff.