






Looking for a unique way to refresh your space? Origami wall art offers a stunning, textured, and deeply personal touch. The magic lies in repetition, turning simple folded paper into a captivating pattern that breathes life into any room.
The Allure of Folded Paper
Origami wall
art transforms the humble sheet of paper into a sophisticated decorative element. Unlike flat prints or paintings, it adds depth, shadow, and texture to your walls. The core idea is simple: create multiple identical origami units and arrange them to form a larger, cohesive design. This technique, often using modular origami, allows for endless creativity. You can create geometric mosaics, flowing abstract shapes, or even stylized representations of nature. The beauty is that the complexity of the final piece emerges from the simple, repeated action of folding, making it a meditative and rewarding process for creators at any skill level.
Choosing Your Foundational Shape
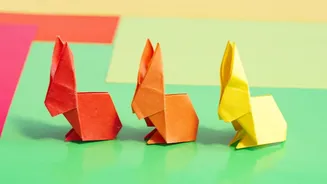
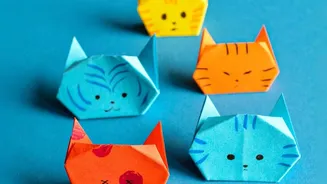
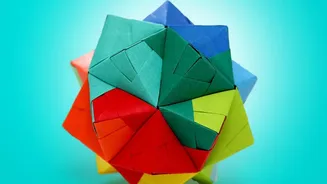
The foundation of your patterned artwork is the single folded unit you choose to repeat. For beginners, it’s best to start with a simple shape that is easy to fold consistently. The double pyramid, also known as a Sonobe unit, is a fantastic starting point. These units are straightforward to make and interlock to form larger geometric patterns. Other popular choices include simple triangles, hexagons, or classic figures like the crane or butterfly. The key is to select a model that you enjoy folding, as you will be making many of them. Practice the fold until you can produce clean, crisp, and uniform pieces; this consistency is vital for a polished final look.
The Power of Paper and Pattern
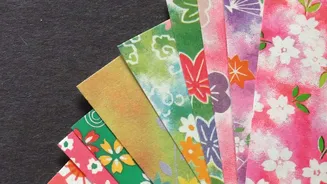
Your choice of paper will dramatically influence the final aesthetic. Standard origami paper, called 'kami', is thin, crisp, and comes in a vast array of colours, making it perfect for beginners. For a more robust and textured feel, 'Tant' paper is an excellent option as it holds creases exceptionally well and is ideal for geometric and modular builds. Consider using a gradient of colours to create an ombré effect, or patterned paper for a more eclectic look. Once you have your paper, plan your pattern. You could arrange your shapes in a simple grid, a honeycomb tessellation, a radiating spiral, or a free-form cluster. Sketching your idea on paper first can help you visualize the final arrangement and determine how many units you will need to fold.
The Folding and Assembly Process
Set aside a clean, flat surface for folding. To achieve sharp creases, especially with thicker paper, a bone folder can be a helpful tool. Embrace the folding process as a form of active mindfulness. Put on some music or a podcast and work in batches to avoid feeling overwhelmed. Once you have a substantial number of folded units, you can begin arranging them. Many modular units have pockets and flaps that allow them to interlock without adhesive. For other designs, you might lay them out on a backing board, like stiff card or foam board. Play with the layout until you are satisfied before committing to glue.
Mounting Your Masterpiece
When your pattern is complete and assembled, the final step is to display it. If you have arranged your pieces on a backing board, you can simply frame it or add hanging hardware to the board itself. This method makes the artwork easy to move. For a more integrated look, you can attach the origami pieces directly to the wall. This requires careful planning and a level to ensure your lines are straight. Lightweight pieces can be mounted with removable adhesives like washi tape or poster tack, which are ideal for renters or those who like to change their decor often. For a more permanent solution, small dabs of paper glue or a hot glue gun will secure the pieces firmly.