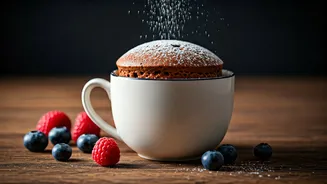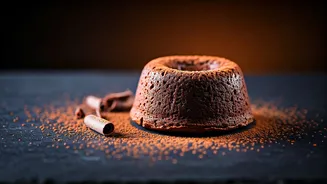

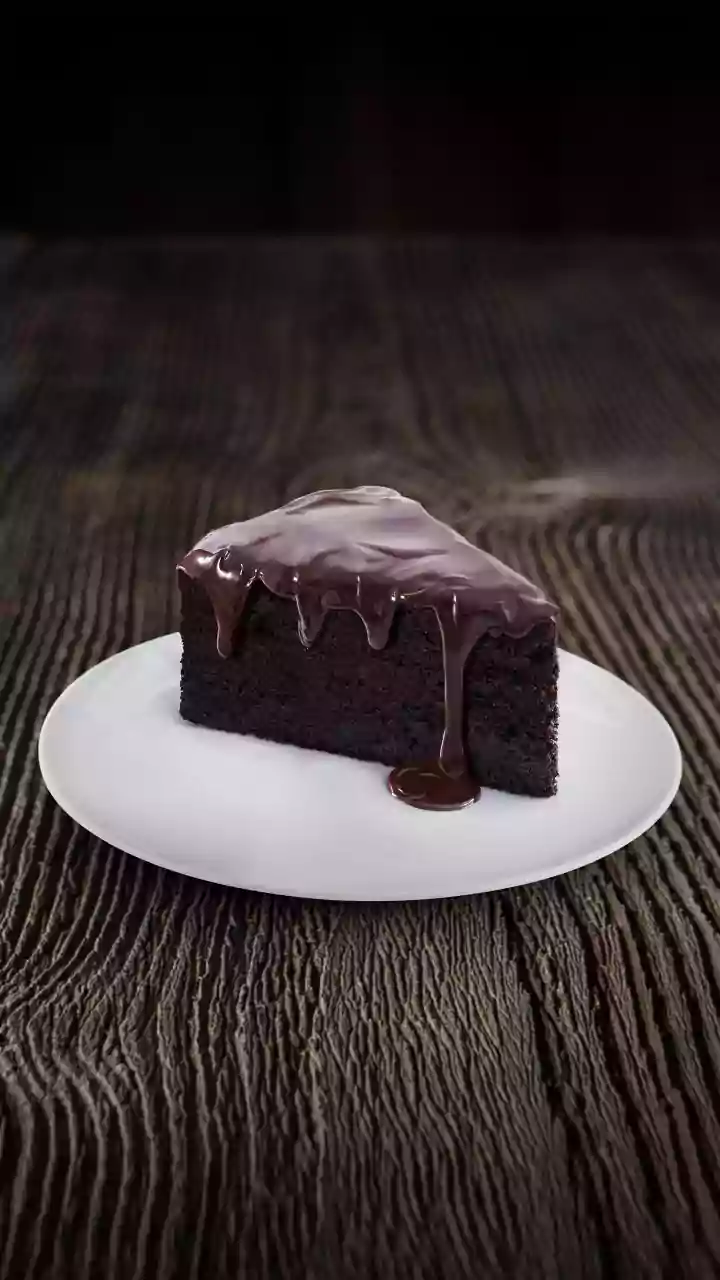

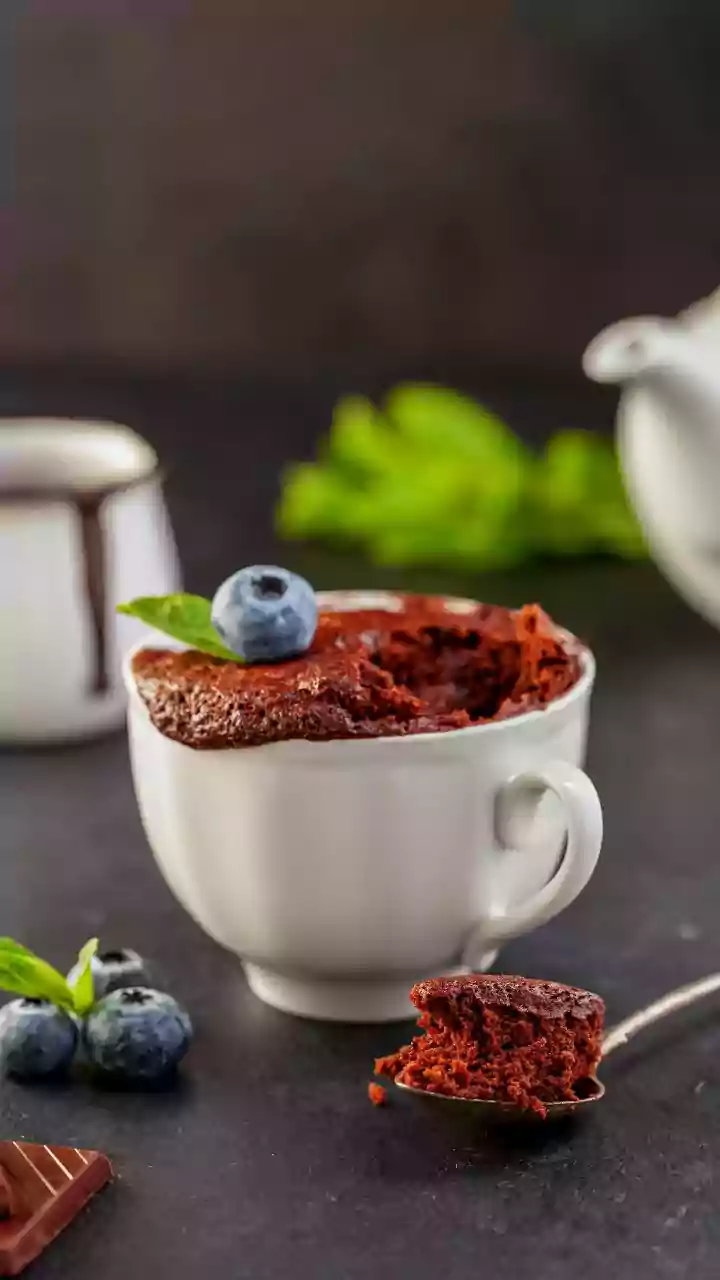


1. The Classic Chocolate Mug Cake
The undisputed champion of instant gratification, the microwave mug cake is a modern marvel. It delivers a rich, gooey, and deeply satisfying chocolate fix without the need for an oven or a mixing bowl bigger than your favourite coffee cup. The magic
lies in a simple, single-serving batter that cooks in a flash. Forget waiting for a cake to bake and cool; this one is designed to be eaten warm, spooned directly from the mug. It’s the perfect solution for a solo dessert emergency. **Ingredients:** * 4 tablespoons all-purpose flour (maida) * 4 tablespoons sugar * 2 tablespoons unsweetened cocoa powder * 1/4 teaspoon baking powder * A pinch of salt * 3 tablespoons milk * 3 tablespoons vegetable oil or melted butter * A few drops of vanilla extract * 1 tablespoon chocolate chips (optional, but highly recommended) **Method:** 1. In a large, microwave-safe mug, whisk together the dry ingredients: flour, sugar, cocoa powder, baking powder, and salt. Make sure there are no lumps. 2. Add the wet ingredients: milk, oil, and vanilla extract. Mix with a fork until the batter is smooth. 3. If using, gently stir in the chocolate chips. You can even leave a few to sprinkle on top. 4. Microwave on high for 70 to 90 seconds. The cake will puff up significantly. Start with 70 seconds and add 10-second increments if it still looks wet on top. Be careful not to overcook, as it can become rubbery. Let it cool for a minute before digging in.
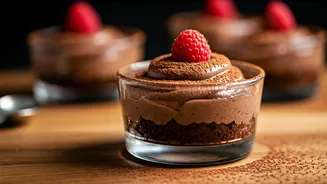
2. Speedy Berry & Yogurt Parfait
For those who crave something a little lighter and fruitier, a parfait is your answer. It requires no cooking whatsoever, just strategic layering. This version is all about texture and temperature contrast: creamy yogurt, crunchy granola, and sweet, juicy berries. It looks elegant enough to be a planned dessert but comes together in the time it takes to grab the ingredients from your fridge and pantry. It's also easily customisable based on what you have on hand. **Ingredients:** * 1/2 cup thick yogurt (Greek yogurt or dahi hung curd works best) * 1/2 cup mixed berries (fresh or frozen; if frozen, thaw for 30 seconds in the microwave) * 2-3 tablespoons granola or crushed digestive biscuits * 1 teaspoon honey or maple syrup (optional) **Method:** 1. Grab a clear glass or a small bowl. This is all about the layers! 2. Place half of the yogurt in the bottom of the glass. 3. Top with a layer of half your berries, followed by a layer of half your granola. 4. Repeat the layers: the rest of the yogurt, the remaining berries, and finally, the last of the granola on top for crunch. 5. If you like it sweeter, drizzle a little honey or maple syrup over the top. Serve immediately to ensure the granola stays crisp.
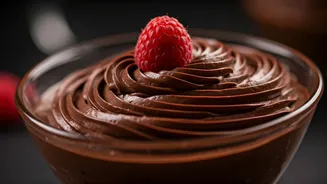
3. Instant Peanut Butter Banana 'Nice' Cream
This one feels like an indulgence but is surprisingly healthy. 'Nice' cream is a vegan, dairy-free ice cream alternative made from frozen bananas. When blended, they develop an incredibly creamy, soft-serve-like texture. The key is to have frozen banana slices ready to go in your freezer—a great way to use up bananas that are starting to over-ripen. With a decent blender, this dessert comes together in under a minute of active time. **Ingredients:** * 1 large ripe banana, peeled, sliced, and frozen * 1 heaping tablespoon of peanut butter * 1-2 tablespoons of milk (any kind), only if needed to help blending **Method:** 1. Place the frozen banana slices and peanut butter into a small blender or food processor. 2. Blend on high. At first, it will look crumbly, but be patient. Keep blending, and it will magically transform into a smooth, creamy consistency, just like soft-serve ice cream. 3. If your blender is struggling, add a tiny splash of milk to help it along, but use as little as possible to keep the texture thick. 4. Scrape the 'nice' cream out of the blender into a bowl and eat immediately. For a fun twist, top with a sprinkle of crushed peanuts or a few chocolate chips.