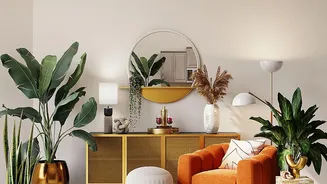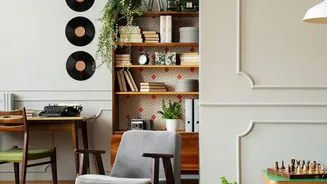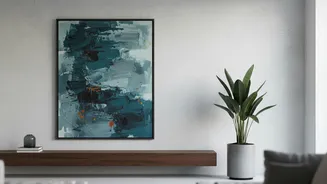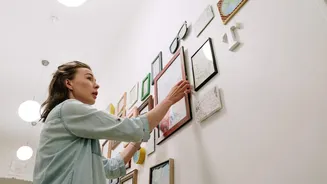




The Trend: Curated and Personalised Walls
One of the most popular ways to update a space is by personalising the walls. This goes beyond a single piece of art; it’s about creating curated collections. Gallery walls, which mix and match frames of different sizes, are a go-to for displaying family
photos, art prints, and mementos. Another fast-growing trend is the use of modular floating shelves, perfect for showcasing small plants, books, and treasured objects. These small-scale decor projects are appealing because they make a big impact without requiring a complete room overhaul. They allow homeowners to express their personality and create a unique focal point. The idea is to build a display that feels collected and intentional, turning a blank wall into a conversation starter.
The Frustration of Mismatched Holes
The joy of a new decor project can quickly fade when you realise the holes you just drilled don't line up with the hardware on your new frame or shelf. This common mistake often happens in a rush of enthusiasm. You unbox your item, eyeball the placement, and start drilling, only to find you were a few millimetres off. The result is not just a crookedly hung item, but also unnecessary damage to your wall. Multiple misplaced holes can look messy and require patching and repainting, turning a simple refresh into a repair project. Forgetting to account for spacing is one of the most frequent errors in DIY decorating, leading to cluttered, unbalanced, or disjointed displays.
Measure Twice, Drill Once: The Golden Rule
The old carpenter’s adage, “measure twice, cut once,” is just as relevant for hanging decor. Before a drill or hammer even touches the wall, your first step should always be to measure the hole spacing on the item you intend to hang. This applies to everything from a simple picture frame with two D-rings to a complex shelving unit with multiple mounting points. Proper measurement is what separates a professional-looking installation from a frustrating amateur attempt. It ensures that every piece hangs straight, is securely fastened, and aligns perfectly with the other elements in your display. Taking a few extra minutes to measure eliminates guesswork and prevents the headache of wall repairs later on.
Your Simple Toolkit for Perfect Placement
You don’t need a professional toolbox to ensure accurate placement. A few basic items are all it takes to get the job done right. First, a reliable tape measure is essential. You’ll also need a pencil for marking and a spirit level to make sure everything is straight. Perhaps the most useful tool, however, is painter's tape. It allows you to mark your wall without leaving a permanent trace. For creating a foolproof guide, a large piece of paper or cardboard is also incredibly helpful for making a template. This simple kit empowers you to plan your layout visually before committing to any permanent holes.
A Foolproof Method for Marking Holes
The easiest way to transfer hole spacing to your wall is by creating a template. Lay a piece of paper or cardboard over the back of your frame or shelf and poke holes through the paper where the mounting holes are. You now have a perfect replica of the spacing. Use painter’s tape to stick this template on the wall. Use your level to ensure the template is straight, then step back to confirm you’re happy with the height and placement. A general rule is to hang art so its centre is about 57 to 60 inches from the floor, which is average eye level. Once you're satisfied, mark the wall through the holes in your template with a pencil. Remove the paper, and you have your precise drilling points.
Tips for a Flawless Finish
For gallery walls, plan the entire layout on the floor first to see how the different pieces interact before making any marks on the wall. Aim for consistent spacing between frames, typically two to three inches, to give the composition a cohesive and uncluttered look. When hanging items above furniture like a sofa or a bed, a good guideline is to leave about four to eight inches between the bottom of the frame and the top of the furniture to ensure the pieces feel connected, not disconnected and floating. Finally, always choose the right hardware for the weight of your item and the type of wall you have, whether it's drywall, plaster, or brick. Using the correct anchors will ensure your decor stays securely in place.