



Your Millet Flour Toolkit
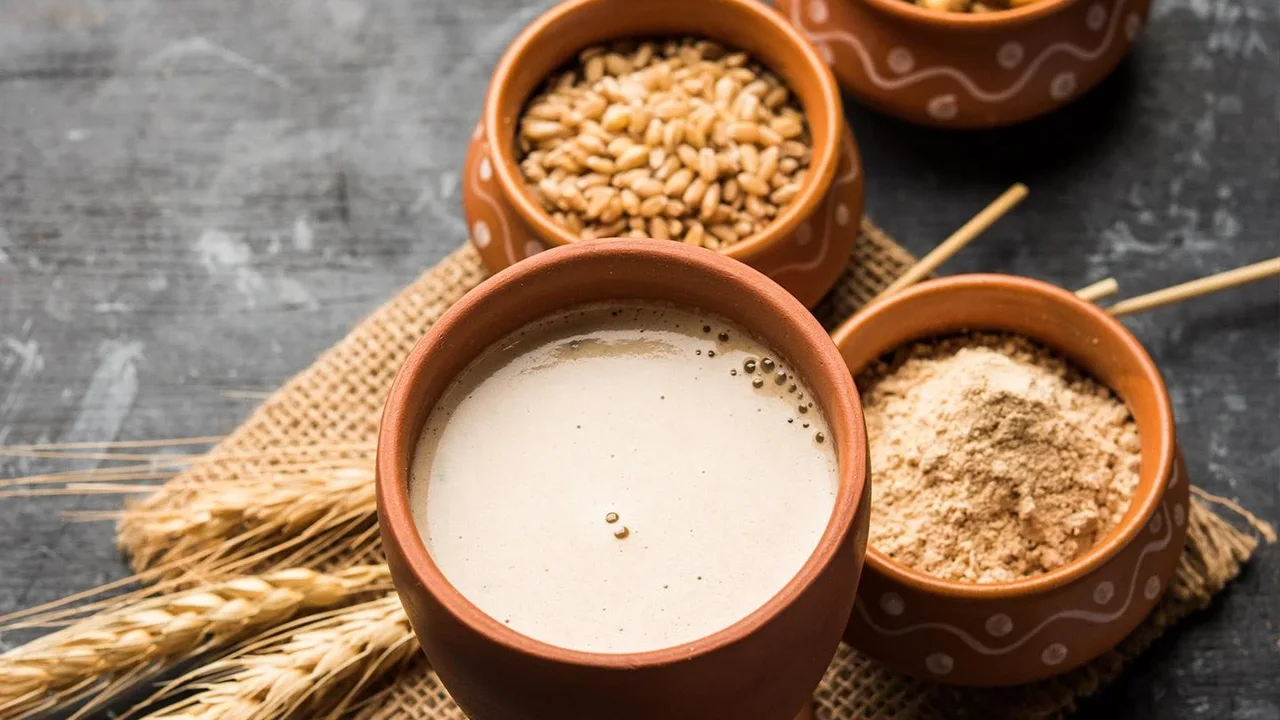
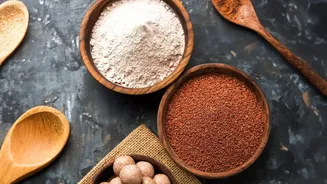
Before you start cooking, it helps to know your flours. Millets are not a single grain but a family of them, and each flour has a unique personality. The three most common ones you'll find are Jowar (sorghum), Bajra (pearl millet), and Ragi (finger millet).
Jowar is known for its mild, slightly sweet taste and creates some of the softest gluten-free rotis. Bajra has a bold, nutty, and earthy flavour, making it a warming choice for winter months. Ragi is recognised for its rich, malty taste and deep colour; it's a nutritional powerhouse, especially rich in calcium. Starting with Jowar or Ragi is often recommended as they are generally easier to work with.
The Golden Rules of Millet Cooking
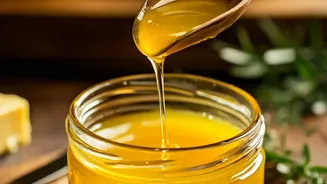
Working with millet flour is different from wheat because it's gluten-free. Gluten provides elasticity, so you need a few tricks to get soft, pliable results. The most important rule is to use hot water—not warm, but boiling or very hot. Hot water helps to gelatinise the starches in the flour, which essentially mimics the binding action of gluten, making the dough easier to handle and preventing it from cracking. Another key is to let the dough rest. After mixing the flour with hot water, cover the bowl and let it sit for 10-15 minutes. This allows the flour to fully absorb the moisture, resulting in a softer final product. When kneading, do so while the dough is still warm. If the dough feels sticky, a little oil or ghee can help make it more pliable.
Perfecting Millet Rotis and Bhakris
The true test for any flour in an Indian kitchen is the roti. For Jowar and Bajra rotis, the hot water technique is non-negotiable for softness. A good starting ratio is often 1 cup of flour to 1 cup of boiling water, though this can vary depending on the flour's age and grind. After kneading the warm dough, don't try to roll it as thin as a wheat chapati; millet rotis are best when slightly thicker to prevent them from breaking. If you struggle with rolling, a helpful trick is to place the dough ball between two sheets of parchment paper or on a greased plastic sheet and gently press or roll it out. Cook on a medium-hot tawa. High heat can harden the outside before the inside cooks through. Once you see small bubbles, flip it and press gently with a cloth to encourage it to puff up.
Dosas, Cheelas, and Pancakes
Millets are wonderfully versatile for batters. To make an instant Ragi dosa or cheela, you can create a thin, watery batter. A common mix is ragi flour, a bit of rice flour for crispness, and semolina (rava) for texture, along with spices like cumin, chopped onions, and green chillies. The batter should be very runny and allowed to rest for 15-20 minutes before pouring onto a hot tawa. You don't spread this batter like a regular dosa; you pour it from the outside in to create a lacy, crisp texture. Another easy method is to simply add a few tablespoons of ragi flour to your existing leftover dosa batter to boost its nutritional value. Just mix it in, add water to get the right consistency, and proceed as you would with your normal dosa.
Adding Binders When Needed
While hot water does most of the work, sometimes a little extra help is needed, especially if you're a beginner. If your dough feels too crumbly, adding a binder can make it more forgiving. A tablespoon of whole wheat flour can make a bajra or jowar dough much easier to roll. For a fully gluten-free option, a tablespoon of psyllium husk, ground flaxseed, or even a bit of mashed potato or sweet potato can be mixed into the dough to improve elasticity and moisture. These binders are especially useful when making parathas or theplas, where you're adding other ingredients like leafy greens or spices.