






Gather Your Simple Tools
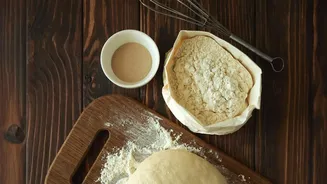
Before you begin, you don't need much. The beauty of sourdough is its simplicity. You will need a clean glass jar (at least 500ml), a kitchen scale for accuracy, a spoon or spatula, and a breathable cover like a small plate or a piece of cheesecloth.
For your ingredients, you just need flour and water. Filtered water is best, as the chlorine in some tap water can inhibit yeast growth. If you only have tap water, let it sit out for a few hours to allow the chlorine to evaporate.
Choosing Your Indian Flour
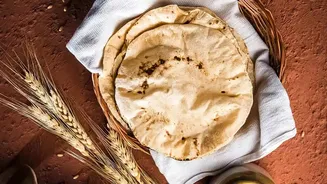
The key to this guide is using flours readily available in any Indian kitchen. You can successfully create a starter with either whole wheat flour (atta) or all-purpose flour (maida), or a blend of both. Many bakers find that starting with atta or another whole wheat flour is easier. Whole grains contain more natural yeasts and nutrients, which can help kickstart the fermentation process more effectively. You can later switch to feeding with maida if you prefer a lighter-coloured bread.
Day 1-2: The Beginning
In your clean glass jar, combine 50g of whole wheat flour (atta) with 50g of filtered, room-temperature water. Mix thoroughly until there are no dry spots, scraping down the sides. Cover the jar loosely and place it in a warm, but not hot, spot in your kitchen for 24 hours. The ideal temperature is between 24-28°C. On Day 2, you might see a few tiny bubbles, or you might see nothing at all. Both are perfectly normal. Simply give the mixture a good stir, cover it, and leave it for another 24 hours.
Day 3-6: The Feeding Routine
By Day 3, you should start seeing more activity and notice a slightly sour or fruity smell. Now, it's time for the first feeding. Discard about half of the mixture. To the remaining starter, add 50g of flour (you can use a 50/50 mix of atta and maida now, or stick with atta) and 50g of water. Mix well, cover, and wait. Repeat this process every 24 hours. If your kitchen is very warm, as it often is in India, your starter will ferment faster. If you notice it rising and falling rapidly within a day, you may need to start feeding it twice every 24 hours (roughly 12 hours apart).
Day 7 and Beyond: A Mature Starter
After about a week, your starter should be active and predictable. A healthy, mature starter will double or triple in volume within a few hours of being fed. It will look bubbly and have a pleasant, slightly sour smell. To check if it's ready for baking, drop a small spoonful into a glass of water. If it floats, it's ready to use. Once your starter is mature, you don't need to feed it daily unless you bake every day. You can store it in the refrigerator. Feed it once a week to keep it healthy by taking it out, discarding half, and giving it its usual 50g flour and 50g water meal. Let it sit at room temperature for an hour or two before putting it back in the fridge.
Tips for the Indian Climate
The warmth and humidity in most parts of India can make your starter very active, which is great, but it also needs management. Fermentation happens much faster in the heat. If your starter seems sluggish in extreme heat, it might be stressed; try moving it to a slightly cooler spot. If it smells overly sour or like alcohol, it's just hungry—a sign you may need to feed it more frequently. In very humid weather, you can slightly reduce the water in your feedings to get a stiffer starter, which slows fermentation. Using cool water can also help slow things down on very hot days.