


The Heart of the Dosa: Batter Consistency
The single most important factor for a thin and even oats dosa is the batter consistency. If the batter is too thick, it will be impossible to spread thinly and will cook into a pancake-like texture. If it's too watery, it may not hold together. For an instant,
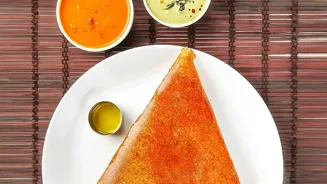
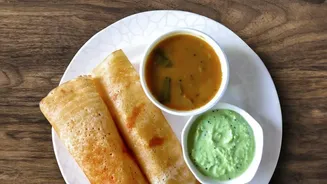
crispy, lace-like oats dosa, the batter should be very thin and of a pouring consistency, almost like milk or buttermilk. This type is poured onto the hot pan from a height rather than spread. For a softer dosa that you spread in a circular motion, the batter should be slightly thicker, similar to a traditional dosa batter, but still easily spreadable. Adding a small amount of rice flour or fine semolina (suji/rava) can provide structure and enhance crispiness.
The Type of Oats and Soaking
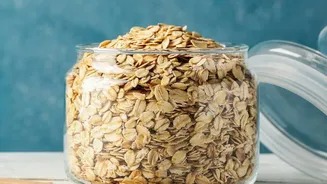
The type of oats you use matters. Rolled oats are often preferred as they create a smoother batter when ground. Instant oats can also be used, but may require slight adjustments to the water ratio. Regardless of the type, many successful recipes involve soaking the oats for at least 10-15 minutes, or even up to a few hours, before grinding. Soaking softens the oats, ensuring they blend into a fine, smooth batter without a gritty texture. This hydration step is crucial for achieving a dosa that doesn't break or become dry when cooked. If your recipe includes urad dal, it should be soaked separately for several hours before being ground with the oats.
Mastering Tawa Temperature
The temperature of your tawa (griddle) is the second most critical element. A common mistake is pouring batter onto a pan that isn't hot enough, which causes the dosa to steam and turn soggy instead of crisping up. On the other hand, a smoking-hot pan will cause the batter to set the instant it touches the surface, preventing you from spreading it evenly. The key is to find the perfect middle ground. Heat your tawa on a medium-high flame until it is properly hot. A good test is to sprinkle a few drops of water; if they sizzle and evaporate immediately, it's ready. Just before pouring the batter, reduce the flame slightly and wipe the tawa with a damp cloth or half an onion. This cools the surface just enough to allow you to spread the batter thinly before it sets.
The Art of Pouring and Spreading
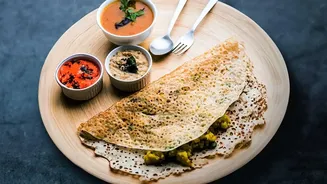
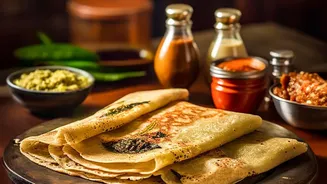
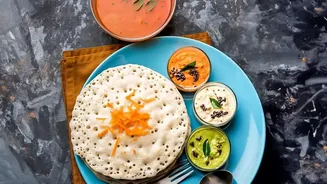
Your technique will depend on your batter's consistency. For a very thin, watery batter (like a rava dosa), do not try to spread it with a ladle. Instead, pour the batter from a height, starting from the outer edge of the tawa and moving towards the center to create a lacy, perforated texture. Fill in any large gaps with a little more batter. For a slightly thicker, spreadable batter, pour a ladleful into the center of the hot tawa. Working quickly, use the back of the ladle to spread the batter in a circular motion, moving from the center outwards to create a thin, even circle. Avoid applying too much pressure, which can cause the dosa to tear.
Patience and the Final Crisp
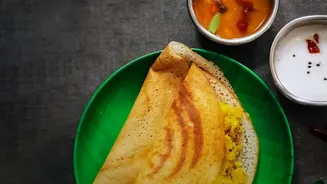
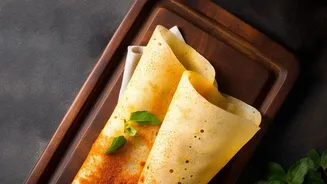
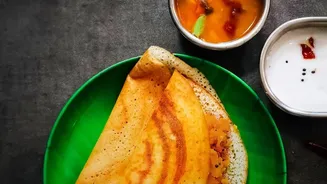
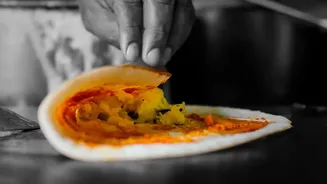
Once the dosa is on the pan, let it cook undisturbed on medium heat. Don't be in a hurry to flip it. Drizzle a little oil or ghee around the edges to help it crisp up and prevent sticking. You'll know it's ready when the edges start to lift away from the pan and the surface looks cooked and golden brown. A lacy oats dosa often doesn't need to be flipped and can be folded and served once the top is cooked through. A spread dosa should be cooked until the bottom is golden and crisp before folding. Trying to flip it too early is a common reason for it breaking apart.