


Signs Your Plant Needs a New Home
Before you get your hands dirty, it's crucial to know if your plant actually needs a new pot. Repotting unnecessarily can stress a plant, so look for clear signals. One of the most obvious signs is roots growing out of the drainage holes at the bottom
of the pot. This is a clear indication that the plant is root-bound and searching for more space. Another clue is when the soil dries out very quickly, forcing you to water more frequently than usual. If a plant has stopped growing during its active season (spring and summer), or if the new leaves are smaller than older ones, it's often a cry for help. The soil's nutrients may be depleted. Finally, if your plant becomes top-heavy and tips over easily, it's a good sign that the root system can no longer support its size and it's time for an upgrade.
Gathering Your Repotting Supplies
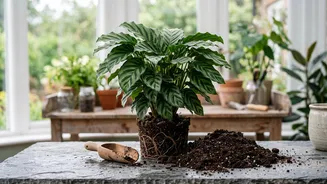
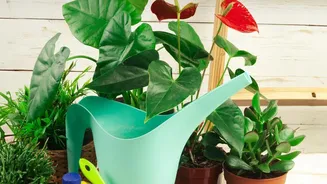
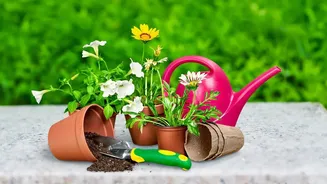
Being prepared makes the process smooth and stress-free for both you and your plant. First, you'll need a new pot. Choose one that is only about 1-2 inches wider in diameter than the current one. A pot that is too large can hold excess moisture, leading to root rot. Ensure the new pot has drainage holes. Next is the soil. For most common Indian indoor plants, avoid using plain garden soil, which compacts in pots and suffocates roots. A good, beginner-friendly potting mix consists of garden soil, cocopeat, and compost. A common ratio is 40% garden soil, 30% cocopeat, and 30% compost. Adding perlite can improve drainage and aeration. You'll also want a trowel, a pair of gloves, and a watering can.
Step 1: Gently Remove the Plant
It's best to water your plant a day before repotting, as this helps reduce stress and makes the removal process easier. To remove the plant, turn the pot sideways, hold the plant gently by the base of its stem, and try to slide it out. If it’s stuck, don't yank it. Instead, tap the sides and bottom of the pot to loosen the soil and roots. If it's still being stubborn, you can run a knife or trowel around the inner edge of the pot to free it. The goal is to get the entire root ball out in one piece with as little disturbance as possible.
Step 2: Inspect and Loosen the Roots
Once the plant is out, examine the root system. If the roots are tightly coiled and circling the bottom—a condition known as being 'root-bound'—you'll need to gently tease them apart with your fingers. This encourages them to grow outwards into the new soil instead of continuing to circle. Don't be afraid to prune any roots that are dead, mushy, or black, as this can be a sign of root rot. A little trim of the circling roots is healthy, but try to keep the main root ball intact.
Step 3: Settle It Into the New Pot
Now for the new home. If your new pot is much deeper, add a layer of fresh potting mix at the bottom to raise the plant to the correct height. You want the top of the root ball to sit about an inch below the rim of the new pot; this space is important for watering. Place the plant in the centre of the pot, ensuring it is upright. Then, begin backfilling around the root ball with your fresh potting mix, gently firming it down as you go to remove any large air pockets. Don't compact the soil too tightly, as this can restrict water and air flow.
Step 4: Water and Aftercare
After your plant is snugly in its new pot, give it a thorough watering until you see water running out of the drainage holes. This helps settle the new soil around the roots. For the next few weeks, your plant will be in recovery from what is known as 'transplant shock'. It's best to place the plant back in its usual spot but avoid direct, harsh sunlight which can add stress. Hold off on fertilising for at least four to six weeks; the fresh soil has plenty of nutrients, and fertilising too soon can burn the sensitive, recovering roots. Keep the soil consistently moist but not waterlogged as the plant adjusts. With a little patience, your plant will soon show signs of new growth, thanking you for its spacious new home.