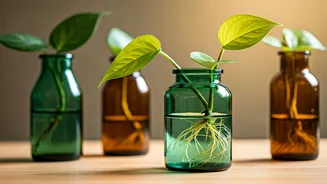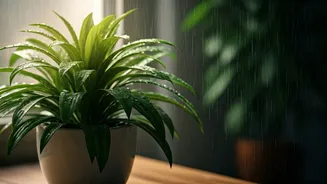


Why Choose Glass Propagation?
Propagating plants in water is a time-honoured technique, but using clear glass vessels for rare anthuriums elevates it from a mere horticultural task to a design statement. The primary advantage is visual: you can monitor root development in real-time,
catching any potential issues like rot early. This transparency is not just practical; it’s beautiful. Watching the fine, white roots emerge and grow creates a captivating, minimalist display that showcases the plant's life force. It turns your propagation station into a focal point, celebrating the journey from a single cutting to a new plant.
Gathering Your Essential Tools
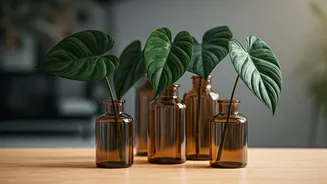
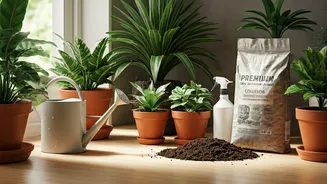
Success begins with preparation. Before you make the first cut, assemble everything you need to ensure a clean, stress-free process for both you and your plant. You will require: * **A Healthy Mother Plant:** Choose a robust velvet anthurium (like *A. clarinervium*, *A. crystallinum*, or *A. magnificum*) with multiple leaves and visible nodes. * **A Sharp, Sterilised Tool:** A clean pair of pruning shears, a sharp knife, or a razor blade is crucial. Wipe it down with rubbing alcohol to prevent introducing bacteria to the fresh cut. * **A Clear Glass Vessel:** Select a vessel with a neck narrow enough to support the cutting and prevent it from being fully submerged. A small vase, a clean jar, or a dedicated propagation flask works perfectly. * **Filtered or Distilled Water:** Tap water can contain chlorine and other minerals that may hinder root growth. Room-temperature, non-chlorinated water is best.
Identifying and Making the Cut
This is the most critical step. Look for a healthy stem on your anthurium. You need to identify a 'node'—a small, often slightly swollen bump on the stem where leaves and aerial roots emerge. Your cutting must include at least one node, as this is where new roots will sprout. A cutting with one or two leaves is ideal; more leaves can stress the cutting as it tries to support them without a root system. Once you've selected your spot, make a clean, swift cut with your sterilised tool about an inch below the node. A clean cut heals faster and is less prone to infection. If the leaf on your chosen cutting is very large, you can cut it in half horizontally to reduce water loss through transpiration, allowing the cutting to focus its energy on root production.
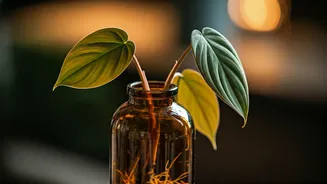
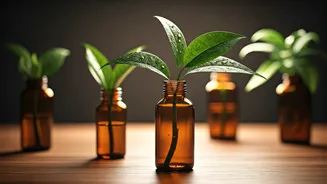
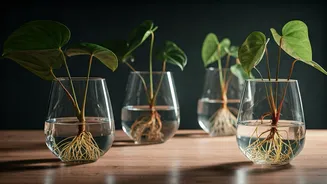
Setting Up Your Propagation Station
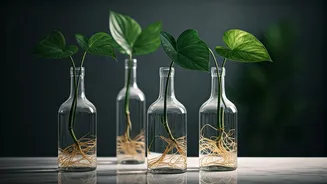
Now, it's time to bring your vision to life. Fill your chosen glass vessel with room-temperature water. Place the anthurium cutting into the vessel, ensuring the node is fully submerged but the leaves remain above the waterline. The petiole (the stalk that connects the leaf to the main stem) should not be sitting in water, as it is prone to rot. The vessel's rim should support the cutting, keeping the leaves dry and airy. Find a suitable location for your new creation. It needs bright, indirect light. A spot a few feet away from an east-facing window is often perfect. Direct sunlight will scorch the leaves and can encourage algae growth in the water.
Patience and Maintenance
Velvet anthuriums are not known for their speed. Root development can take several weeks, or even a couple of months. During this time, your main job is maintenance and observation. Change the water every 5-7 days to keep it fresh, oxygenated, and free from bacteria. Each time you change the water, gently rinse the submerged part of the stem. This is also your chance to inspect for any signs of rot (dark, mushy tissue), which should be carefully trimmed away if found. Don't be discouraged if nothing seems to be happening for a while. As long as the leaf remains healthy and green, the cutting is working its magic beneath the surface.
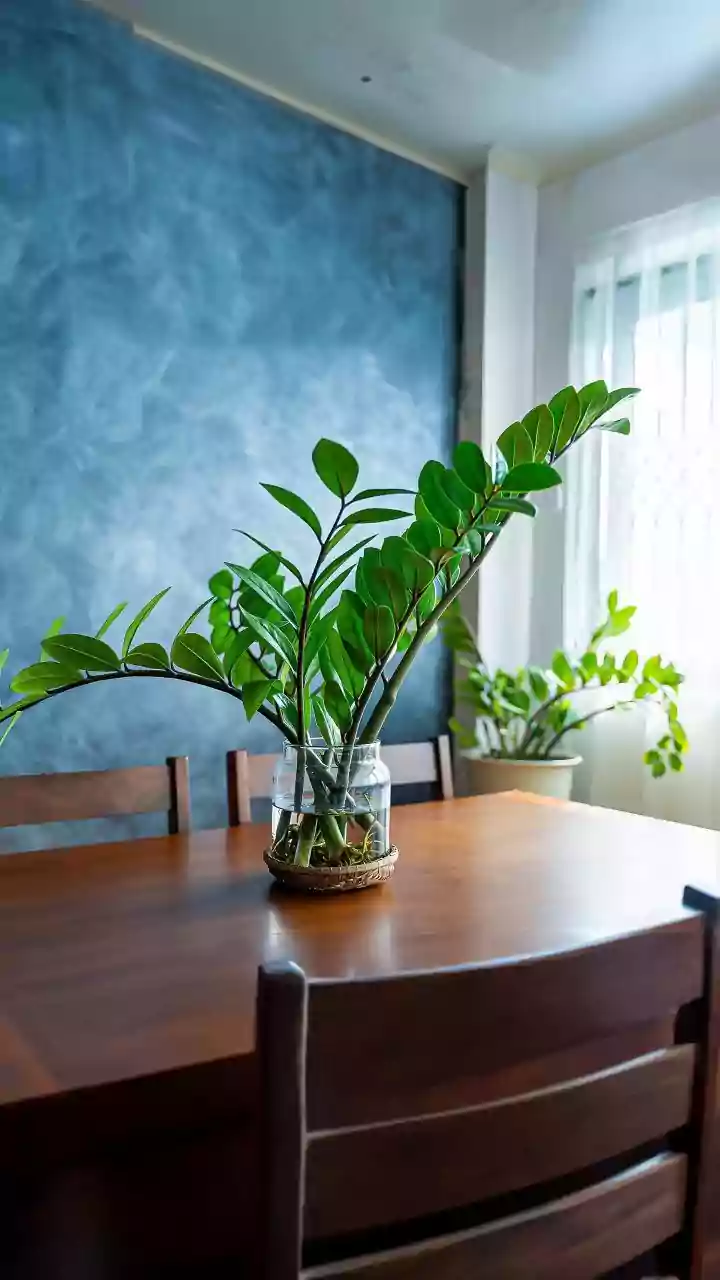
Transitioning to a Permanent Home
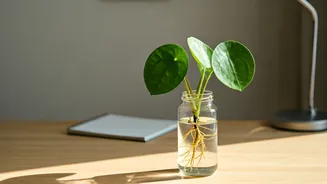
The exciting moment arrives when your cutting has developed a healthy network of secondary roots, typically when they are at least two to three inches long. It's now ready to be transferred to a potting medium. Water-grown roots are different from soil-grown roots, so this transition must be handled gently. Choose a well-draining, airy potting mix suitable for aroids—a chunky blend of orchid bark, perlite, coco coir, and a little charcoal is ideal. Pot the cutting in a small container, carefully burying the new roots. Water it thoroughly and keep the medium consistently moist (but not waterlogged) for the first few weeks to help the roots acclimate to their new environment.