


The Quest for Perfect Paneer
We all love paneer. It’s the versatile, comforting heart of countless vegetarian meals across India. From simple bhurji to elaborate tikkas, it rarely disappoints. Yet, there’s one dish that often feels just out of reach for the home cook: the truly regal,
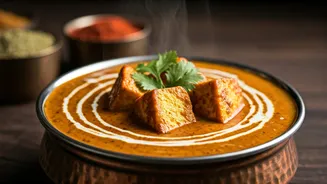
restaurant-style Shahi Paneer. Not the everyday, tomato-heavy version, but the authentic, Mughlai-inspired white gravy that is silky, fragrant, and utterly luxurious. Most homemade attempts end up too spicy, too thin, or simply lacking that 'wow' factor. This recipe changes that. It demystifies the process, focusing on the techniques that create a gravy so rich and velvety, you'll feel like you’ve unlocked a secret chef’s handshake. This is the paneer dish you bring out to impress guests, celebrate a special occasion, or simply to treat yourself like royalty.
Gathering Your Ingredients
The magic of this dish lies in a few key ingredients that create its signature texture and flavour. Don’t be intimidated by the list; it’s all about balance. **For the Paneer:** - 250 grams paneer, cut into 1-inch cubes - 2 cups warm water + 1/2 tsp salt (for soaking) **For the Gravy Base (The 'Shahi' Secret):** - 2 medium onions, roughly chopped - 1/4 cup cashews (kaju) - 2 tbsp melon seeds (magaz) - 2-3 green chillies, slit (adjust to taste) - 1-inch piece of ginger - 4-5 cloves of garlic **For the Gravy:** - 2 tbsp ghee or butter - 1 bay leaf (tej patta) - 2 green cardamoms (elaichi) - 1-inch cinnamon stick (dalchini) - 1/2 cup plain yogurt (dahi), whisked well - 1/2 cup milk or more, to adjust consistency - 1/4 cup fresh cream (malai) - 1 tsp sugar - Salt to taste - 1/2 tsp garam masala - 1 tsp kasuri methi (dried fenugreek leaves)
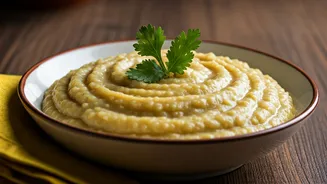
Step 1: The Silky Gravy Base
This is the most crucial step. Don’t rush it. The goal is a smooth, white paste without browning the onions, which would alter the colour and taste of the final dish. First, in a small bowl, soak your paneer cubes in the warm, salted water. This keeps the paneer incredibly soft. Set aside. Next, in a saucepan, add the chopped onions, cashews, melon seeds, green chillies, ginger, and garlic. Pour in about 1.5 cups of water, just enough to cover everything. Bring it to a boil and then let it simmer for 10-12 minutes. The onions will become translucent and soft. This process removes the raw, pungent bite of the onion and garlic. Once done, turn off the heat and let the mixture cool down completely. Discard the water (or save it for another curry). Transfer the boiled solids to a blender and grind to an exceptionally smooth, fine paste. Add a splash of water if needed to get the blades moving. This paste is the foundation of your royal gravy.
Step 2: Building the Royal Curry
Now, let’s bring it all together. Heat the ghee or butter in a kadai or heavy-bottomed pan over medium heat. Once warm, add the bay leaf, green cardamoms, and cinnamon stick. Sauté for about 30 seconds until they release their fragrance. Carefully add the prepared onion-cashew paste. Cook this paste on low heat for 5-7 minutes, stirring continuously. You don't want it to brown, just to cook through and lose its raw taste. The paste will thicken and start to leave the sides of the pan. Now, turn the heat to the absolute lowest setting. This is important to prevent the yogurt from splitting. Slowly add the whisked yogurt, stirring vigorously until it's fully incorporated. Cook for another 2-3 minutes. Next, pour in the milk, sugar, and salt. Stir well and let the gravy come to a gentle simmer. Let it cook for 5 minutes, allowing the flavours to meld.
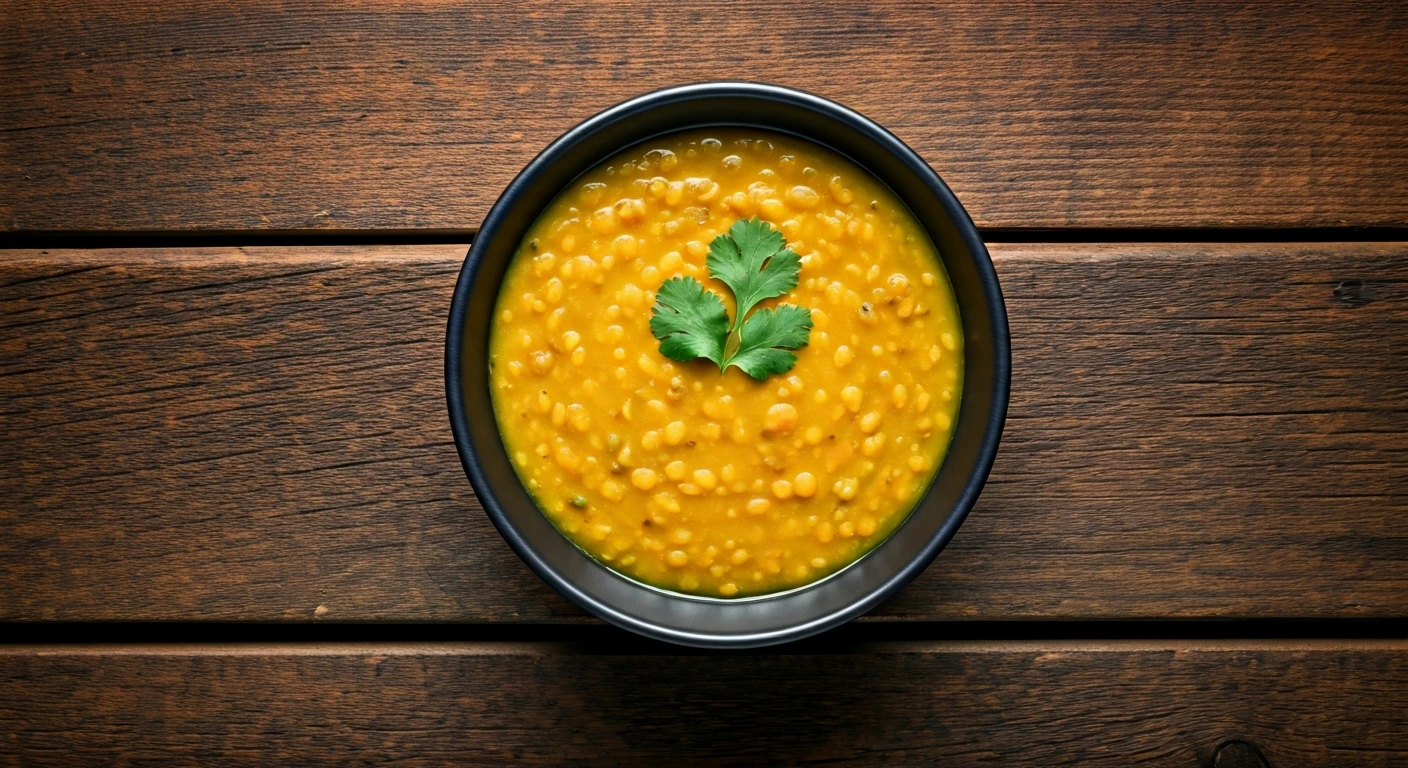
Step 3: The Grand Finale
It’s time to complete your masterpiece. Drain the paneer cubes and gently add them to the simmering gravy. Stir to coat them. Add the fresh cream and the garam masala. The cream adds the final touch of richness. Give it a good, gentle stir. Finally, take the kasuri methi, crush it between your palms to release its aroma, and sprinkle it over the gravy. This adds a beautiful, distinct flavour that cuts through the richness. Let the curry simmer for just one more minute on low heat, then turn off the stove. Do not overcook after adding the paneer, as it can make it tough. Your Shahi Paneer is ready to serve. Garnish with a swirl of cream or a few strands of saffron soaked in warm milk for an extra-special touch.