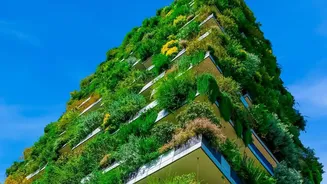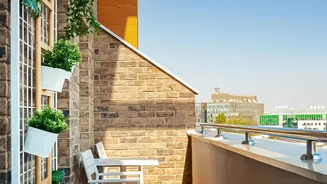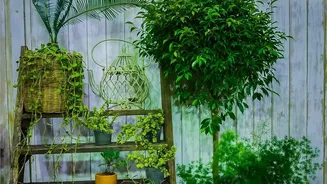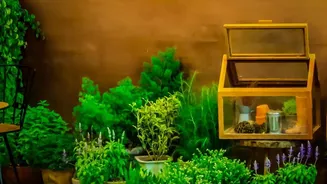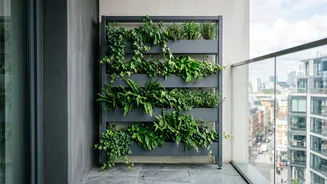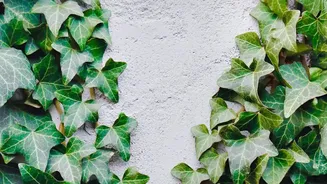





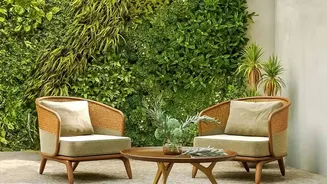

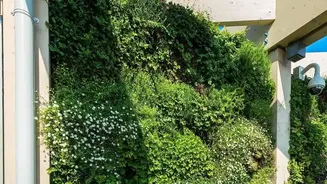
Vertical gardens transform bare walls into lush, living art. They save space, purify the air, and bring nature home. But a thriving wall garden begins not with a plant, but with a plan. Here’s how to get started.
Location, Location, Location
Before you buy a single pot, assess your
wall. The most critical factor is sunlight. Most plants need at least five to six hours of daylight to thrive. Observe the spot throughout the day. Is it a sun-drenched, south-facing wall or a shadier, north-facing one? This will determine your plant choices. Also, check the wall’s structural integrity; it must be strong enough to support the weight of the frame, wet soil, and mature plants. Proximity to a water source is another key consideration, as vertical gardens can dry out quickly and require regular watering.
Choose Your System
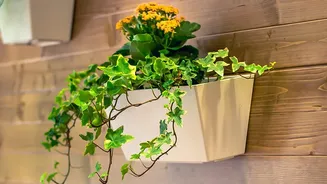
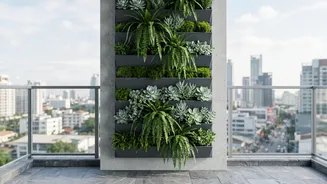
Vertical garden systems come in several types. Modular systems use pre-planted panels or containers made from lightweight materials that are fixed to a frame. These offer a quick way to create a 'living wall'. Another popular option is a pocket system, which uses felt or fabric pouches to hold soil and plants. These are often easy to install. For a simpler approach, you can use a trellis or mesh and train climbing plants to grow up from pots at the base. Container-based systems involve attaching individual pots or planters to a frame or directly to the wall. Your choice depends on your budget, DIY comfort level, and the look you want to achieve.
Pick the Right Plants
Plant selection is crucial and depends entirely on your chosen location's light and your local climate. For sunny, hot walls in India, consider heat-tolerant plants like Portulaca, Vinca (Sadabahar), and trailing Bougainvillea varieties. For shadier spots, Money Plant (Pothos), Philodendron, Syngonium, and various ferns are excellent choices as they thrive in indirect light and humidity. Many herbs, such as mint and basil, and leafy greens like lettuce also do well. It's wise to group plants with similar light and water needs together. For a dynamic look, mix plants with different textures, colours, and growth habits, such as upright plants with trailing ones.
Prepare for Installation
Once you have your system and plants, gather your tools. You'll likely need a drill, screws, wall anchors appropriate for your wall type (brick, concrete, or wood), and a spirit level to ensure everything is straight. Most systems require a frame, often built from treated wood to prevent rot, which creates a vital air gap between the planter and the wall to prevent moisture damage. Use a high-quality, lightweight potting mix amended with materials like cocopeat and perlite, which help with both moisture retention and drainage—a common challenge in vertical systems.
Watering and Feeding
Consistent moisture is the heart of a healthy vertical garden. Because they have less soil and are more exposed to sun and wind, these gardens dry out faster than traditional ones. Watering each pot or pocket individually and slowly is one method. For larger installations, installing a drip irrigation system connected to a timer is highly recommended. This ensures all plants, from top to bottom, receive adequate water. Since nutrients can wash out of the containers quickly, you’ll need to fertilize periodically during the growing season. A liquid fertilizer added to the irrigation system (fertigation) is an efficient method.
Ongoing Maintenance
To keep your garden looking its best, regular care is needed. Prune plants to encourage bushier growth, remove any dead or yellowing leaves, and control any overgrowth to ensure all plants get enough light. Regularly inspect for common pests like aphids and spider mites, which can thrive in densely planted areas. If you spot any, it's best to deal with them early. Depending on the plants, you might need to trim them back once or twice a year to maintain the desired shape and prevent them from becoming overgrown.