

Safety and Supplies First
Before you begin turning trash into treasure, it’s wise to gather some basic supplies. For most of these projects, you will need a good quality hot glue gun, sharp scissors, and of course, your bottles and fabric scraps. For projects involving wiring,
it's essential to use certified lamp kits and follow instructions carefully. If you’re a beginner, there are many no-drill options available. When working with electricity, always ensure your lamp is unplugged. Using LED bulbs is also a smart choice, as they don't get hot, which is safer for both fabric and glue.
The Enchanting Fairy Light Bottle
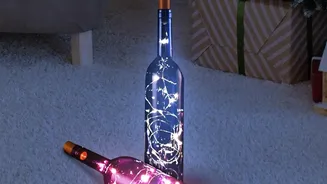
This is perhaps the simplest yet most magical way to upcycle a glass bottle. Start by thoroughly cleaning any glass bottle; wine, gin, or even shapely vinegar bottles work wonders. Once clean and dry, carefully feed a string of battery-operated micro LED fairy lights inside. You can find these lights attached to a cork-shaped battery pack that neatly fits into the bottle's opening, making the project incredibly straightforward. For an added touch of elegance, you can fill the bottle with glass beads or water before adding a waterproof light to create a beautiful, diffused glow. These make for wonderful nightlights or ambient decor for a bookshelf or mantelpiece.
The Classic Wine Bottle Table Lamp
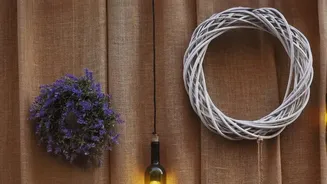
Creating a functional table lamp from a favourite bottle is a highly rewarding project that looks surprisingly professional. You have two main options: a no-drill method or one that requires drilling a hole for the cord. The no-drill approach uses a special bottle lamp adapter that fits into the mouth of the bottle, with the cord running out from the top. For a cleaner look, you can drill a small hole near the base of the bottle to thread the electrical cord through. This requires a special drill bit for glass and must be done slowly with water to keep the area cool and prevent cracking. Once the cord is in place, you simply wire it to the socket, add a harp and a lampshade, and you have a custom piece of decor.
A New Life for Old Lampshades
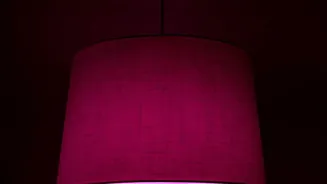
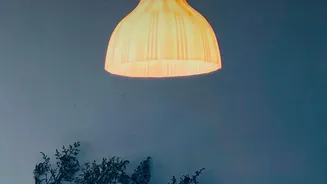
Fabric scraps are perfect for giving a tired, old lampshade a complete makeover. For a simple, no-sew option, you can cut your fabric into strips and use a hot glue gun to attach them. One popular technique is to create pleats as you go, gluing only the top edge of the fabric to the lampshade frame for a soft, cottage-style look. For a more finished appearance, you can wrap the fabric smoothly around the shade and glue the seam, then cover the top and bottom raw edges with a coordinated ribbon or a neatly folded strip of fabric. This is a fantastic way to introduce new colours and patterns into a room without spending a fortune.
Whimsical Fabric Scrap Garland Lights
If you have a collection of colourful fabric scraps, this is the perfect project. It requires no sewing and very few tools. Simply take a standard set of string lights and a pile of fabric cut into small, even strips. Tie each strip of fabric in a simple knot around the wire between each bulb. You can alternate colours and patterns to create a vibrant, festive garland. This is a wonderful way to add a touch of bohemian charm to a bedroom, a living room, or even an outdoor patio for a special occasion. The result is a soft, decorative light source that is full of personality and handmade charm. Another variation involves using fabric scraps and glue to cover small plastic cups, which then act as individual shades for each bulb on a light string.