


The Right Gear for the Night
While professional astrophotographers have bags full of expensive equipment, you can get started with surprisingly little. The non-negotiable items are a camera with manual controls (most DSLRs or mirrorless cameras), a wide-angle lens, and a sturdy tripod.
The camera needs to allow you to set the aperture, shutter speed, and ISO yourself. A lens with a wide aperture (a low f-number, like f/1.8 or f/2.8) is ideal as it lets in more light. Finally, the tripod is crucial. You'll be using long shutter speeds, and any camera shake will turn your stars into blurry streaks. A remote shutter release or using your camera’s self-timer is also a great way to prevent vibrations when you press the shutter button.
Location, Location, Light Pollution
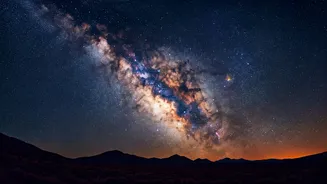
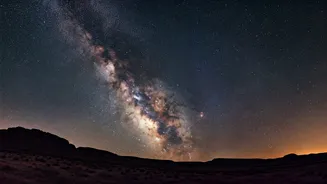
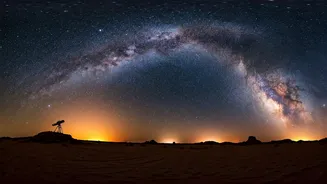
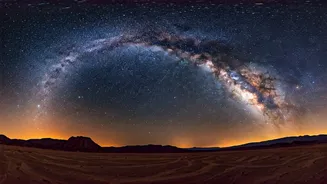
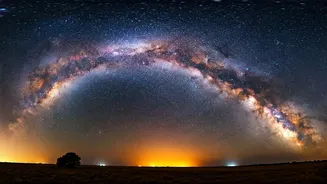
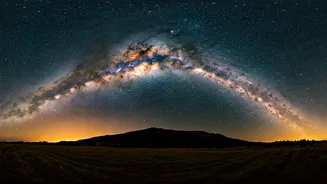
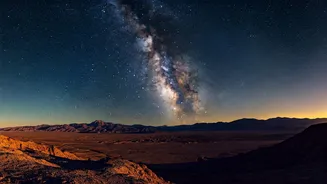
Your biggest enemy in this quest is light pollution from cities. To see the Milky Way's core in all its glory, you need to get away from urban centres. Think remote. In India, places like Ladakh, Spiti Valley, parts of the Rann of Kutch, or even remote areas in the Western Ghats and Coorg during clear seasons are prime locations. Use online light pollution maps (like darksitefinder.com) to find a 'dark sky' location near you. The darker the sky is to the naked eye, the more your camera sensor will be able to pick up the faint light of the galaxy. Plan your trip, scout the location during the day, and find a spot with an interesting foreground—like a lone tree or a mountain silhouette—to make your photo more compelling.
Timing Your Galactic Shoot
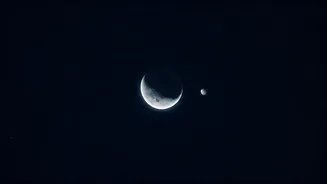
The Milky Way's bright, dramatic core isn't visible all year round from the Northern Hemisphere. In India, the 'Milky Way season' typically runs from March to October. During these months, the core is above the horizon during the night. The second crucial timing element is the moon. You need a moonless night. A full moon is so bright it will wash out the entire galaxy. The best time to shoot is during the New Moon phase or when the moon has already set or has not yet risen. Use a sky-viewing app like Stellarium or PhotoPills to see exactly where the Milky Way will be in the sky at your chosen location and time, and to check the moon phases.
Dialing in the Magic Settings
This is where the technical skill comes in, but it's simpler than it sounds. Set your camera to Manual (M) mode. First, set your aperture to its widest setting (lowest f-number) to gather maximum light. Next, set your shutter speed. A good starting point is 15-25 seconds. To avoid blurry stars (star trails), you can use the '500 Rule': divide 500 by your lens's focal length. For example, with a 20mm lens, 500 / 20 = 25 seconds. This is your maximum shutter speed. Finally, set your ISO. Start at ISO 1600 and experiment. If the image is too dark, push it to 3200 or even 6400, but be aware this adds 'noise' or grain. Lastly, switch your lens to manual focus. Use the live view screen on your camera, zoom in on the brightest star you can find, and manually adjust the focus ring until that star is a sharp, tiny point of light. Now you're ready to shoot.
Bringing the Galaxy to Life
Your photo straight out of the camera might look a bit flat and grey—that's normal! The real magic happens in post-processing. Shoot your images in RAW format, not JPEG, as it captures much more data for editing. Using software like Adobe Lightroom, Skylum Luminar, or even free mobile apps like Snapseed, you can bring out the details. Start by adjusting the white balance to correct any colour casts. Then, gently increase the contrast, whites, and clarity sliders. This will make the bright core 'pop' against the dark sky. You can also use a noise reduction tool to clean up the grain from the high ISO. A few simple tweaks can transform a good shot into an extraordinary one, revealing the vibrant colours and dust lanes of our home galaxy.