



The Renter’s Secret Weapon
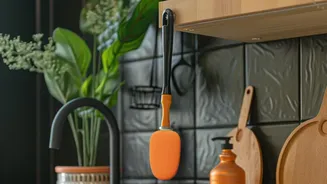
The core challenge for any renter is making a space feel like home without making permanent changes. This is where modular pegboard systems shine. Traditionally found in garages and workshops, these versatile panels are being reimagined as stylish home decor.
Their biggest advantage for renters is the ability to utilize vertical space, turning a blank wall into a dynamic, green feature. Because they can often be installed without drilling, they are an ideal solution for temporary living situations. The modularity means you can customize the layout with shelves, hooks, and containers, rearranging your garden as your plants grow or your tastes change.
Choosing Your Pegboard System
Pegboards come in various materials, including traditional hardboard, modern plywood, and robust metal. For hanging plants, which can get heavy with soil and water, metal pegboards are often the strongest and most durable choice, sometimes holding up to 88 lbs or more per panel depending on installation. Many systems are sold as kits with multiple panels, allowing you to build a configuration that fits your specific wall space. The most crucial factor for a renter is the installation method. Look for freestanding systems that are supported by the floor or systems that can be securely mounted using high-strength, removable adhesive strips, which prevent wall damage.
Selecting the Right Plants
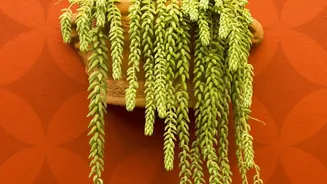
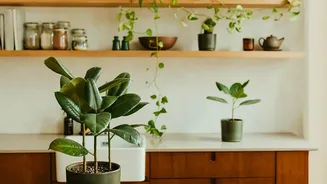
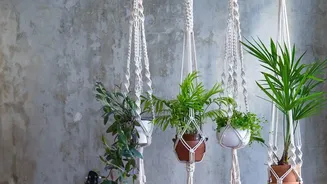
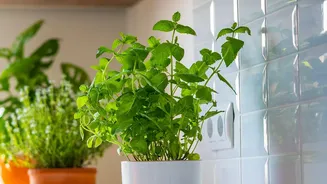
Not all houseplants are suited for a vertical pegboard garden. The best choices are typically low-maintenance, thrive in smaller pots, and don’t have extremely deep root systems. Vining plants like Pothos (Epipremnum aureum) and Philodendrons are perfect, as their cascading leaves create a lush, dramatic effect. Spider plants (Chlorophytum comosum) are another excellent option, as they are hardy and produce offshoots that can be easily propagated. For a functional twist, consider a vertical herb garden in your kitchen with basil, mint, and parsley. Succulents and air plants also work well, provided they receive adequate light. Always consider the light conditions of your chosen wall and select plants accordingly.
Assembling Your Vertical Garden
Once you have your pegboard, accessories, and plants, the assembly is straightforward. Start by installing the pegboard according to its instructions, whether that involves adhesive strips, freestanding stands, or tension rods. Next, plan your layout. Arrange the shelves and hooks, considering the size and growth habits of your plants. Heavier pots should be placed on shelves that distribute weight evenly, while lighter ones can hang from individual hooks. Use pots that have drainage holes, and place small drip trays underneath them to catch excess water and protect your walls and floors. Finally, place your plants on the board, stepping back frequently to assess the overall aesthetic balance.
Maintenance and Care Tips
Maintaining a pegboard garden requires a few specific considerations. Watering can be tricky; it's often easiest to remove the plants from the board, water them in a sink, and allow them to drain completely before returning them. This prevents drips and ensures the plants aren’t sitting in water. Regularly dust the leaves and the pegboard itself to keep your garden looking fresh and to ensure the plants can photosynthesize effectively. As plants grow, you may need to prune them or move them to larger pots. The beauty of the modular system is that you can easily adjust your setup to accommodate these changes without having to redo the entire wall.