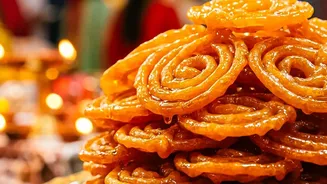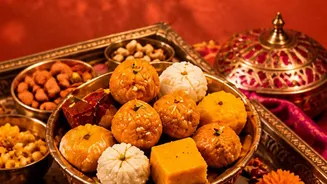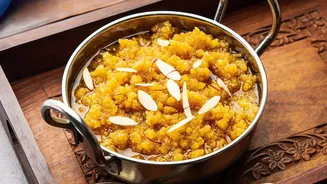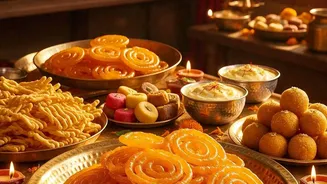




Gujiya, the crescent-shaped pocket of joy, is a quintessential festive delight. Its flaky, crisp pastry giving which way to a sweet, aromatic filling is the taste of celebration itself. This guide breaks down every step to make it simple.
The Soul of Festive Feasting
Gujiya is more
than just a sweet; it is an experience woven into the fabric of Indian festivals, particularly Holi and Diwali. Known by different names across the country—Karanji in Maharashtra, Ghughra in Gujarat, or Pedakiya in Bihar—this sweet dumpling carries the essence of tradition. Each pocket consists of a delicate, flaky pastry made from all-purpose flour (maida) and ghee, which is then filled with a rich mixture. The act of making gujiyas is often a communal one, with family members gathering to stuff, fold, and fry these treats, filling the home with laughter and the irresistible aroma of celebration. While it may seem intricate, mastering this beloved sweet is a rewarding process that brings authentic festive flavour right into your kitchen.
Gathering Your Ingredients
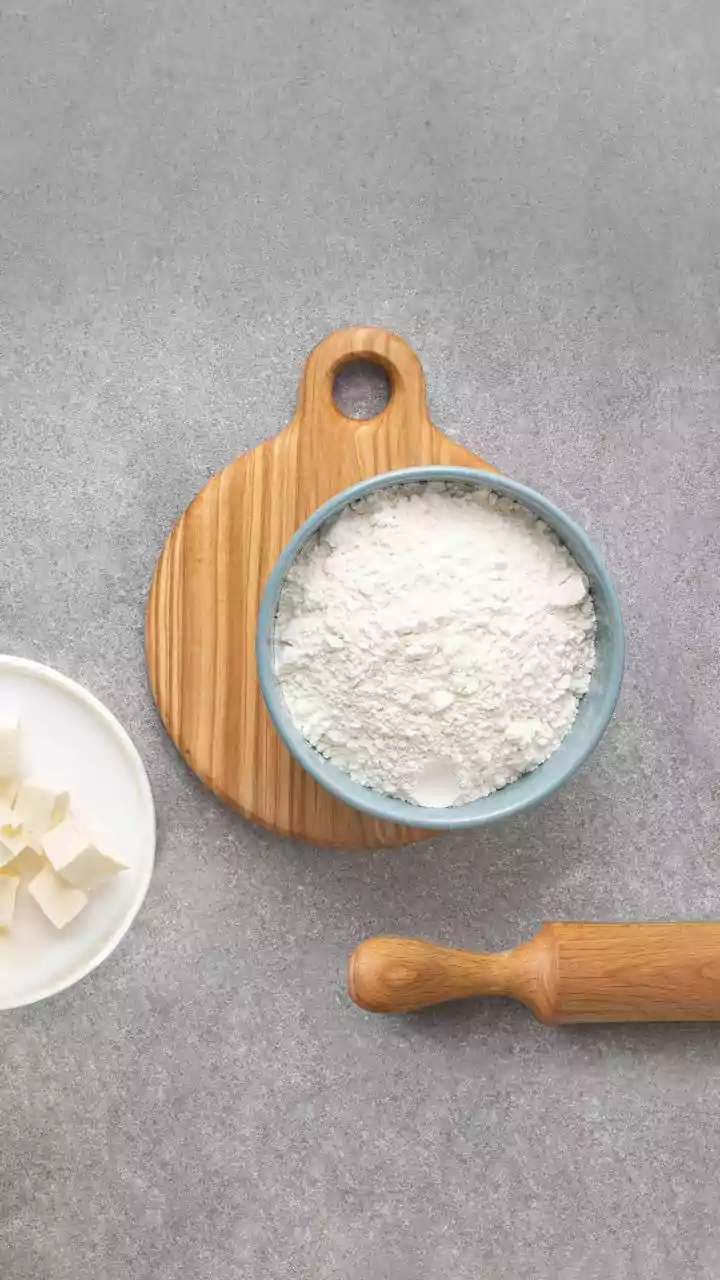
A great gujiya begins with quality ingredients. Precision is less important than proportion, especially for the dough. For the pastry, you will need approximately 2 cups of all-purpose flour (maida), 1/4 cup of ghee (clarified butter) for 'moyan' or shortening, and about half a cup of water, added gradually. For the classic mawa filling, you'll need 1 cup of crumbled mawa (khoya or dried milk solids), 3/4 cup of powdered sugar (adjust to taste), half a cup of finely chopped nuts like almonds, cashews, and pistachios, 2 tablespoons of desiccated coconut, and half a teaspoon of cardamom powder for fragrance. A pinch of nutmeg can also be added for extra warmth. Having everything measured and ready makes the entire process flow smoothly.
Perfecting the Pastry Dough
The secret to a crispy, flaky gujiya lies in the dough. Start by combining the maida and ghee in a large bowl. Rub the ghee into the flour with your fingertips until the mixture resembles breadcrumbs. This process, known as 'moyan', is crucial for creating a non-greasy, crisp outer layer. To check if it's right, take a small amount of the flour mixture in your fist; it should hold its shape. Now, begin adding water, a little at a time, and knead it into a firm, yet pliable dough. It should not be soft like chapati dough. Once kneaded, cover it with a damp cloth and let it rest for at least 30 minutes. This resting period allows the gluten to relax, making the dough easier to roll out without shrinking.
Crafting the Aromatic Filling
While the dough rests, prepare the sweet filling. In a heavy-bottomed pan, gently roast the crumbled mawa on low heat for a few minutes until it loosens up and releases a pleasant aroma. Be careful not to brown it. Transfer the roasted mawa to a bowl and let it cool completely. If it's still warm when you add sugar, the mixture will become watery. Once cooled, add the powdered sugar, chopped nuts, desiccated coconut, and cardamom powder. Mix everything together until well combined. For a popular variation, you can create a filling with roasted semolina (suji) instead of, or in addition to, mawa for a different texture and longer shelf life.
The Art of Shaping and Sealing
This is where the magic happens. After the dough has rested, knead it once more and divide it into small, equal_sized balls. Take one ball and roll it into a thin circle, about 4_5 inches in diameter. You can either use a gujiya mould or shape them by hand. If using a mould, place the rolled circle over the open mould, place about a tablespoon of the filling on one half, and lightly moisten the edges with water. Close the mould firmly, pressing to seal and trim the excess dough. If shaping by hand, place the filling on one half, fold the other half over to create a semi_circle , and press the edges firmly to seal . You can then create a decorative pattern by pinching and twisting the sealed edge , a design known as 'gothna'. A tight seal is essential to prevent the filling from spilling out during frying.
Frying to Golden Perfection
The final step is frying , which must be done with patience . Heat oil or ghee in a deep kadai or pan over medium_low heat . The temperature is critical ; if the oil is too hot , the gujiyas will brown quickly without cooking through , and won't develop the characteristic small bubbles on the crust . To test , drop a small piece of dough into the oil . It should sizzle gently and rise to the surface slowly . Carefully slide $3$-$4$ gujiyas into $the$ oil at $a$ time , ensuring not to overcrowd $the$ pan . Fry them on low heat , flipping occasionally , until they are golden brown and crisp on all sides . This can take $10$-$12$ minutes per batch . Once done , remove them with $a$ slotted spoon and place them on $a$ paper towel to absorb any excess oil . For $a$ lighter version , you can bake $the$ gujiyas at $180°C$ ($350°F$) for about $20$-$25$ minutes , turning them halfway through .