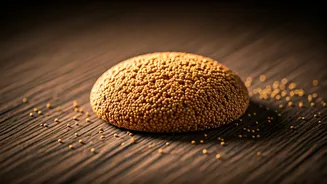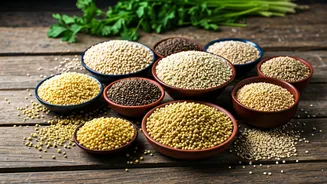


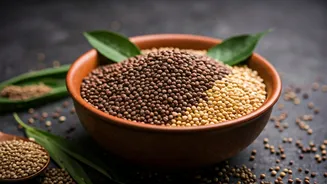


The Secret: Nutrient-Packed Ragi
Before we get to baking, let’s talk about what makes this cake a smarter choice for your sweet cravings: ragi. Also known as finger millet, ragi is a gluten-free whole grain that has been a staple in Indian households for centuries. It’s celebrated for its
impressive nutritional profile. Ragi is an excellent source of calcium, crucial for bone and teeth health, making it a great food for growing children and adults alike. It's also rich in dietary fibre, which aids digestion and helps you feel full for longer, potentially assisting in weight management. For those looking to manage blood sugar, ragi has a low glycemic index, meaning it releases sugar into the bloodstream slowly. Furthermore, it is a good source of iron, which can help combat fatigue and prevent anemia. By swapping out refined flour for ragi, you’re not just making a cake; you’re whipping up a dessert with genuine health benefits.
Gather Your Ingredients
This single-serving recipe requires just a few pantry staples. For the best results, have your ingredients ready before you start mixing. You will need: * 3-4 tablespoons Ragi Flour (Finger Millet Flour) * 1.5 tablespoons Unsweetened Cocoa Powder * 2 tablespoons Jaggery Powder or Coconut Sugar (adjust to taste) * 1/4 teaspoon Baking Powder * A tiny pinch of Salt * 3 tablespoons Milk (dairy or plant-based work well) * 1 tablespoon Neutral Oil or Melted Butter * 1/4 teaspoon Vanilla Extract * 1 tablespoon Chopped Dark Chocolate or Chocolate Chips (optional, but highly recommended for fudginess)
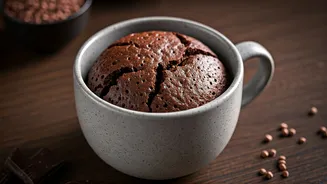
The 90-Second Method
The beauty of a mug cake is its simplicity. The entire process, from mixing to 'baking', happens in one mug, which means minimal cleanup. 1. **Choose Your Mug:** Select a microwave-safe mug that holds at least 350 ml (about 12 ounces). Using a mug that’s too small can cause the batter to overflow as it rises. 2. **Mix the Dry Ingredients:** In your chosen mug, add the ragi flour, cocoa powder, jaggery powder, baking powder, and salt. Whisk them together thoroughly with a fork or a small whisk, ensuring there are no lumps of cocoa or baking powder left. 3. **Add the Wet Ingredients:** Pour in the milk, oil, and vanilla extract. Stir everything together until you have a smooth, well-combined batter. Be careful not to overmix; just stir until there are no dry streaks left. 4. **Add Chocolate:** If using, gently fold in the chopped dark chocolate or chocolate chips. You can even push a small piece of chocolate into the center of the batter for a molten core. 5. **Microwave and 'Bake':** Place the mug in the microwave and cook on high power for 90 seconds. Microwave wattages vary, so your timing might differ slightly. A lower-wattage microwave may need up to two minutes, while a higher-wattage one might be done in 75 seconds. The cake is ready when the top looks set and springs back lightly when touched.
Tips for Perfect Results
A few small adjustments can take your mug cake from good to great. First, avoid overcooking at all costs, as this is the primary cause of a rubbery, dry cake. It’s better to undercook it slightly and add 10-second intervals until it’s just right. For an even richer flavour, add a pinch of instant coffee powder along with the dry ingredients to enhance the chocolate taste. Don't be afraid to customize. Add a tablespoon of chopped nuts like walnuts or almonds for some crunch, or top the finished cake with a scoop of vanilla ice cream, a dusting of powdered sugar, or a drizzle of melted chocolate for an extra-decadent finish. Let the cake rest for a minute after it comes out of the microwave; it will be extremely hot and this rest allows it to finish cooking and firm up slightly.