







First Step: Choose the Right Test
Before you even think about booking a date, the first crucial check is ensuring you are taking the right test. For Indian students and professionals, the main options are IELTS, TOEFL, and PTE Academic. While all are widely accepted, universities or immigration
departments in countries like the USA, UK, Canada, and Australia may have specific preferences. For example, TOEFL has historically been preferred by many US universities, while IELTS is a very common requirement for the UK and Canada. PTE is often chosen for its fast, 48-hour results and is popular for Australian applications. Always visit the official admissions page of your target institution or the visa requirements page for your destination country to confirm which tests they accept and the minimum scores required. This single check can save you time, money, and a lot of stress.
Registration: Your Details Must Be Perfect
A common and costly mistake is a mismatch between your registration details and your identification. When you register for any English test, you must use your full name exactly as it appears on your valid passport. Do not use nicknames or abbreviations. A tiny difference can lead to you being denied entry to the test centre, and you will likely forfeit your test fee. Double-check the test module you are booking—IELTS, for instance, offers an Academic test for higher education and a General Training test for work or migration. Booking the wrong one will make your scores invalid for your purpose. Finally, test centres, especially in major Indian cities, can get booked up weeks or months in advance. Plan ahead and book your slot well before your application deadlines.
ID Check: The Non-Negotiable Passport Rule
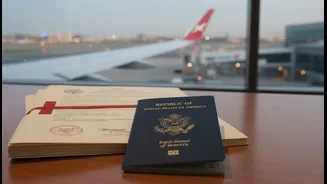
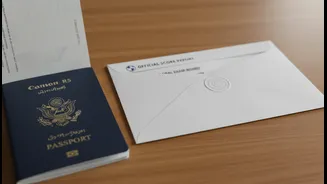
For Indian citizens taking the IELTS, TOEFL, or PTE exam in India, there is only one acceptable form of identification: your original, valid passport. An Aadhaar card, driver's license, or PAN card will not be accepted. Before you book your test, check your passport's expiry date. It must be valid on the day of your test. An expired passport, even if you have a renewal receipt, will not be accepted, and you will not be allowed to take the exam. On test day, you must bring this original passport with you—not a photocopy. Test centres have a strict "no passport, no test" policy. This is the single most important physical item you need, so check its validity and keep it safe.
The Week Before: Final Preparations
With one week to go, your focus should shift from cramming new information to consolidation and logistics. This is the time to do a final check of your test centre’s location and plan your travel route, accounting for potential traffic delays. Arriving more than 15 minutes late could mean you are denied entry. Pack your bag the night before with your essential documents: your original passport and a printout of your test confirmation email. While test centres provide stationery for computer-based tests, check the rules for your specific exam. Prepare comfortable clothing that you can layer, as test room temperatures can be unpredictable. Most importantly, ensure you get adequate sleep and eat well. Arriving tired and stressed is a recipe for underperformance.
On Test Day: Stay Calm and Focused
On the morning of the exam, have a light but nutritious breakfast. Arrive at the test centre at least 30-45 minutes before your scheduled start time to allow for the check-in process, which is thorough. This will include ID verification, having your photo taken, providing a digital signature, and in some cases, a palm vein scan. You will be required to store all personal belongings—including your phone, wallet, bags, and even watches—in a locker. Do not bring anything into the testing room except for what is permitted, which is typically just your ID and, in some cases, a clear water bottle with no label. Once you are seated, listen carefully to all instructions from the invigilator. Following the rules and staying calm are just as crucial as knowing your grammar and vocabulary.