


Your First Line of Defence: The Pack Liner
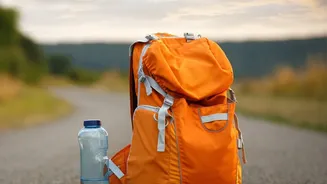
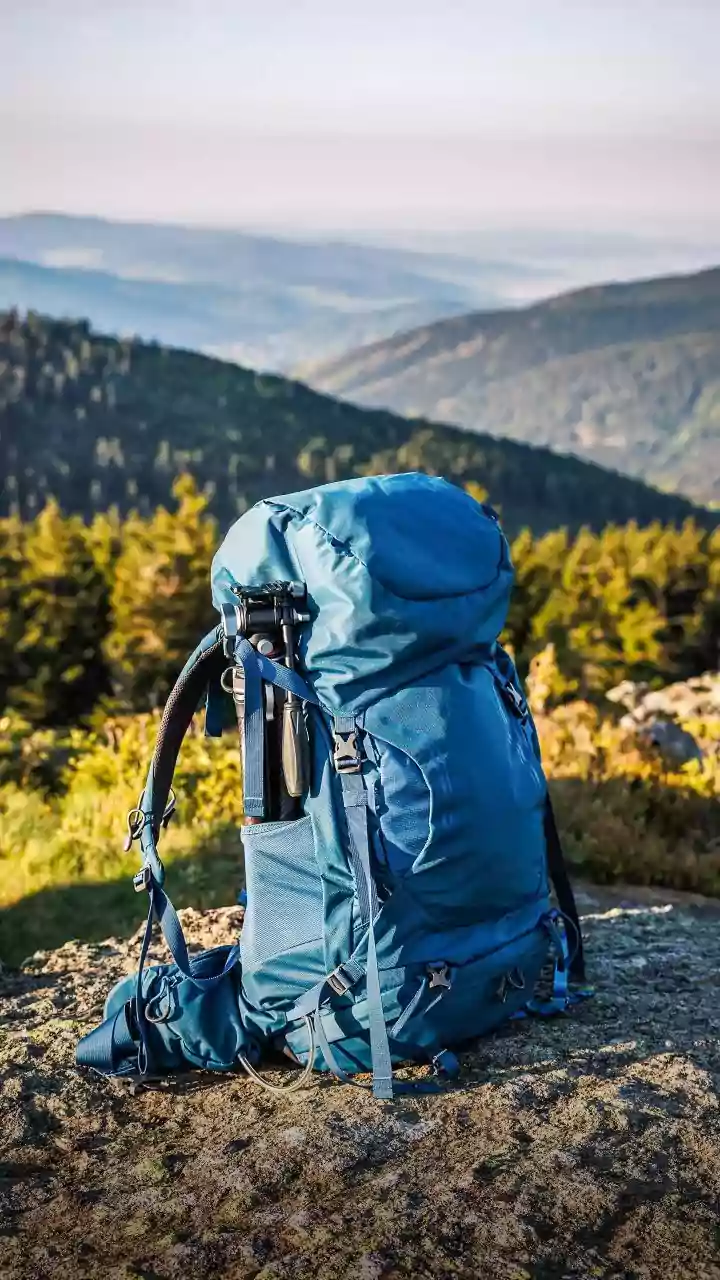
The simplest and most effective hack is to treat a large dry bag as an internal liner for your backpack. Most backpacks are only water-resistant, meaning water will eventually seep through seams and zippers. By placing a single, large dry bag—or a dedicated
waterproof pack liner—inside your main compartment before you pack, you create a reliable waterproof barrier. Pack your gear directly into the liner. Once full, squeeze out the excess air, twist the top, and roll it down securely before clipping it shut. This method ensures the bulk of your belongings stay bone-dry even if the backpack's exterior gets completely saturated.
The Modular Method: Organise and Protect
For the organiser who loves efficiency, the modular method is a game-changer. Instead of one large liner, use multiple smaller dry bags to compartmentalise your gear. This technique, often called 'modular packing,' not only waterproofs your belongings but also keeps them perfectly organised. You can use different coloured bags for different categories: one for clothes, one for food, and another for toiletries. This makes finding what you need quick and easy without unpacking your entire bag. It also provides redundant protection; if one bag somehow fails or isn't sealed properly, the rest of your gear remains safe.
Double Down on Electronics
Your most valuable and water-sensitive items—phones, cameras, battery packs, and laptops—deserve an extra layer of security. While a pack liner offers good protection, placing electronics in their own dedicated small dry bags before putting them inside the main pack is a crucial step. This double-bagging technique provides peace of mind, ensuring that your expensive gadgets are shielded from any potential moisture that might breach your primary defenses. For smaller items like phones and wallets, even high-quality zip-top freezer bags can work in a pinch, but a proper roll-top dry bag offers far more reliable protection.
Mastering the Perfect Seal
A dry bag is only as good as its seal. The standard method for creating a watertight closure is the roll-top system. To do it correctly, press out as much excess air as possible, then fold or roll the top edge down at least three to four times before fastening the buckle. This creates a tight seal that water can't penetrate. It’s a good practice to test your bags before a big trip; seal them with some air inside and squeeze them. If you can hear or feel air escaping, water will be able to get in. Also, be mindful of sharp objects inside your pack that could puncture a dry bag; try to pack them in the center, cushioned by softer items like clothing.
Beyond Waterproofing: More Dry-Bag Hacks
Lightweight dry bags are incredibly versatile. Beyond just keeping things dry, they can serve multiple purposes on a road trip. Need a makeshift laundry bag to keep dirty, damp clothes separate from your clean items? A dry bag is perfect. In a pinch, you can even fill one with clothes to create a surprisingly comfortable camp pillow. Some travellers have used them to carry water back to a campsite or even as a portable washing machine for a few small items. Their strength and waterproof nature make them one of the most adaptable pieces of gear you can carry.