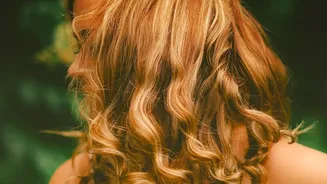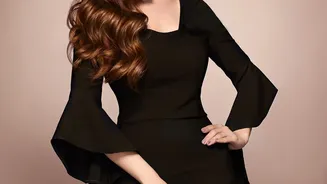

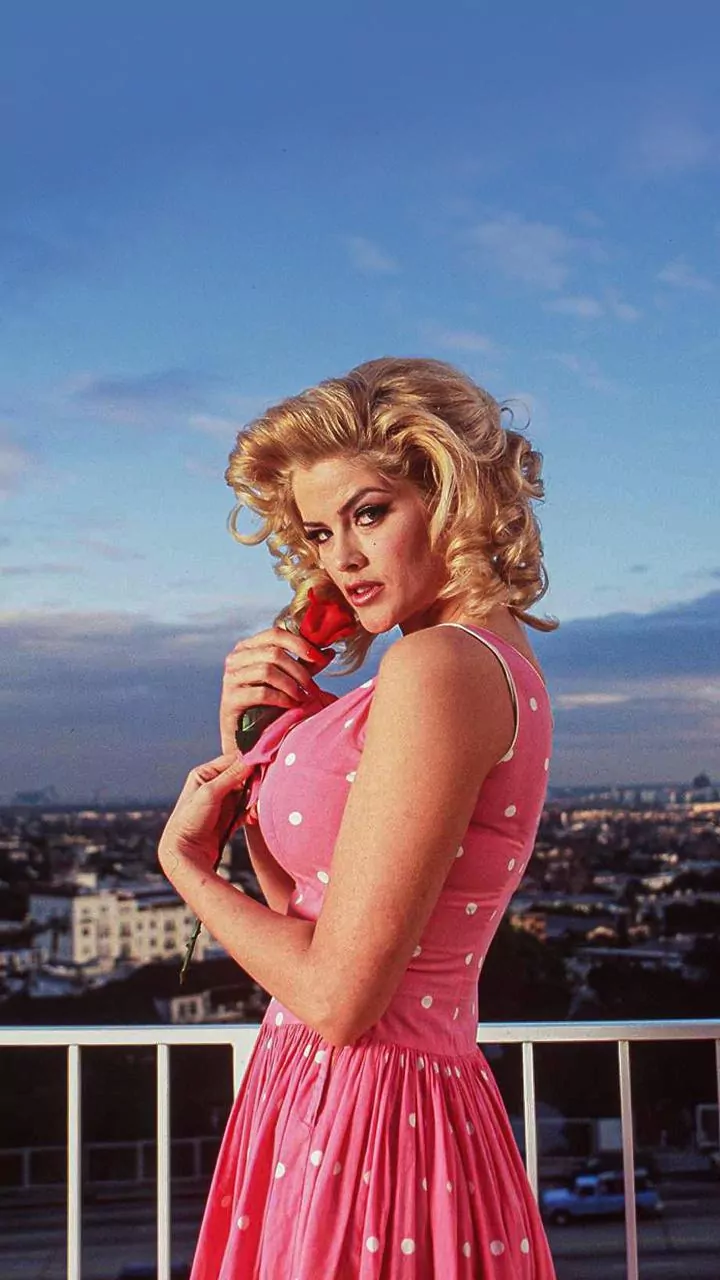



The glamour of Old Hollywood feels timeless, and nothing captures that spirit quite like a head of soft, bouncy curls. Pin curls are the classic, heatless technique behind these iconic looks, and they're more achievable than you might think.
Gather Your Essential Tools
Before you
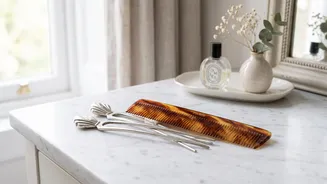
start, gathering the right supplies will make the process much smoother. You don’t need a lot of fancy equipment to begin. Your basic kit should include a rat-tail comb for creating clean sections, a spray bottle with water, and a good number of clips. While bobby pins can work, single or double-prong pin curl clips are recommended because they secure the curl without leaving creases. You'll also want a setting product—like a light mousse, styling gel, or traditional setting lotion—to give your curls memory and hold. Finally, have a soft bristle brush ready for the final styling stage.
Prepare Your Hair for Setting
The traditional method for pin curls starts with clean, damp hair. Hair should be towel-dried until it's no longer dripping but still evenly moist. If you’re starting with dry hair, use your spray bottle to lightly mist each section before you roll it. Apply your chosen setting lotion or mousse, combing it through to ensure it’s distributed from root to tip. This step is crucial for helping your hair hold its new shape. Once your product is applied, use your comb to create a neat side part, which works beautifully for most vintage styles, and clip away the hair you aren't working on yet.
Mastering the Basic Curl
The core of this style is the curling technique. Take a small section of hair, about one inch wide. Hold the section smooth and, starting from the ends, begin wrapping the hair around your pointer finger. The key is to create a flat, circular shape, much like a rolled-up ribbon; avoid twisting the hair strand like a rope, as this can cause frizz. Once you've created a small loop with the ends tucked neatly inside, continue rolling the coil flat against your scalp. Secure the curl by sliding a pin curl clip through the base, ensuring it holds the curl firmly against your head. For more volume, you can create 'standing' curls by pinning them so the barrel of the curl is elevated off the scalp.
Creating Your Setting Pattern
The direction you roll your curls determines the final shape of your hairstyle. For a classic soft wave, a consistent pattern is key. Work in neat rows from front to back. Many vintage styles use an alternating pattern; for example, the top row of curls might all be rolled toward your face, while the next row is rolled away from it. This creates a more dynamic and natural-looking wave once brushed out. Continue this process until your entire head is covered in neat pin curls. The back of your head can be tricky, but with practice, your arms will get used to the motion.
Patience Is a Virtue: The Drying Process
This is the most crucial waiting game. Your hair must be 100% dry before you take the pins out. Removing them while your hair is still damp will cause the curls to fall out almost immediately. The most common method is to let them air dry overnight. Wrapping your hair in a silk or satin scarf will protect the curls from frizzing while you sleep. If you're short on time, you can sit under a hooded dryer or use a diffuser on a low, gentle setting to speed things up. Check a test curl in a hidden spot to ensure it's completely dry before proceeding.
The Grand Reveal: Brushing Out Your Curls
Once your hair is completely dry, gently remove all the clips. Your hair will likely look like a mass of tight ringlets—don't panic, this is normal. First, gently run your fingers through your hair to break up the individual curls. Now, it's time for the brush. Using a soft bristle brush is essential for transforming the tight curls into soft, cohesive waves. Brush gently, using your other hand to smooth the hair and guide it into shape. The more you brush, the softer and more blended the waves will become. Don't be afraid to keep brushing until you achieve that glamorous, flowing look.