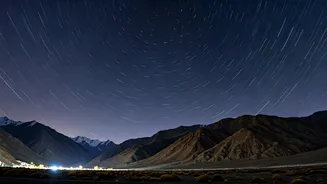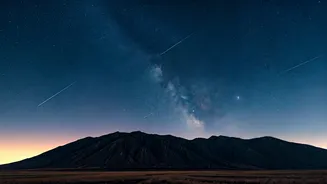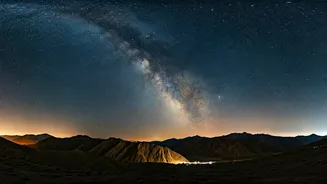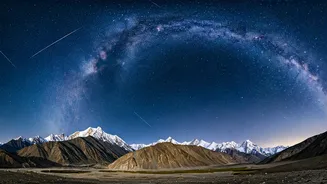


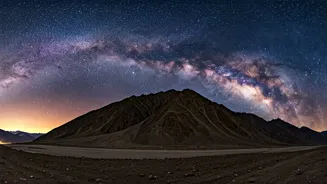
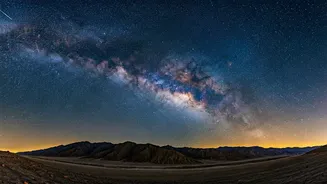
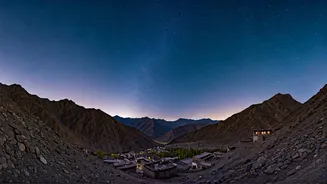


Why Ladakh Is a Stargazer's Paradise
Ladakh's magic isn't just in its majestic mountains and serene monasteries; it's in what happens after the sun sets. With most of the region sitting above 10,000 feet, the high altitude means a thinner, drier atmosphere. This combination, along with its remote
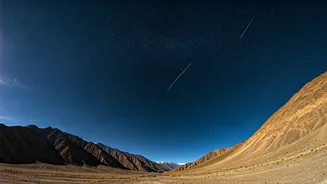
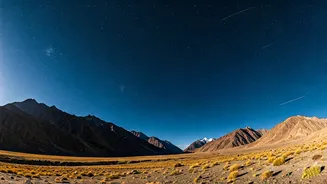
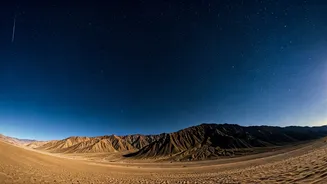
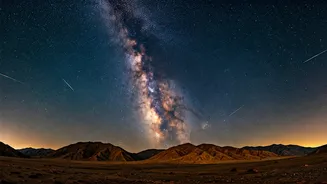
location far from urban light pollution, creates exceptionally clear and dark skies. On a moonless night, the Milky Way isn't just a faint smudge; it’s a brilliant, textured river of light stretching across the horizon. This makes it one of India's premier destinations for astronomy, where you can spot constellations, planets, and the fleeting beauty of meteor showers with breathtaking clarity.
Planning Your Trip: When to Go
The best time for a stargazing trip to Ladakh is between May and September. During these months, the high-altitude passes are open, weather is relatively stable, and the skies are consistently clear. For the best views of the Milky Way's galactic core, aim for June through August. To maximize your chances of seeing faint stars and meteors, plan your visit around the new moon phase, when the sky is at its darkest. Ladakh is a prime location for watching annual meteor showers, such as the Perseids in August and the Geminids in December, though winter travel is extremely challenging due to cold and road closures.
The Itinerary: A Journey Across the Stars
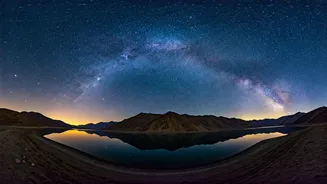
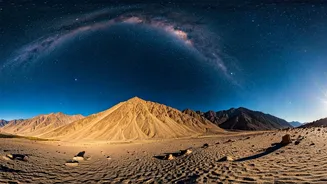
This route is designed to gradually increase in altitude, helping you acclimatize while taking you to some of the darkest skies in the world. Days 1-2: Acclimatize in Leh (11,500 ft) Flying into Leh is the most common approach, but your body needs time to adjust to the altitude. The Leh District Administration mandates a 48-hour acclimatization period for all air arrivals. Use these two days to rest, hydrate (drink 3-4 litres of water daily), and take short walks around Leh's market. This step is non-negotiable for preventing Acute Mountain Sickness (AMS). Days 3-4: Nubra Valley (10,000 ft) After acclimatizing, drive over the spectacular Khardung La pass to Nubra Valley. The valley's lower altitude offers a slight respite, and its wide-open spaces around villages like Hunder and Diskit provide stunning, unobstructed views of the night sky. The sand dunes against a backdrop of snow-capped peaks offer a surreal setting for your first real night of Ladakhi stargazing. Days 5-6: Pangong Tso (14,270 ft) Journey from Nubra to the iconic Pangong Lake, a shimmering expanse of blue that stretches to the horizon. At night, the experience is even more magical. On a clear, still night, the stars and the Milky Way reflect on the lake's surface, creating a dual celestial view that is simply unforgettable. This is an excellent spot for astrophotography, capturing both the sky and its watery mirror. Days 7-8: Hanle (14,700 ft) - The Crown Jewel Your final and most spectacular stop is Hanle, home to India's first official Dark Sky Reserve. This remote village in the Changthang region is one of the best places on Earth for astronomy, which is why the Indian Astronomical Observatory is located here. With virtually zero light pollution, the sky's clarity is unparalleled. You can see the Milky Way in vivid detail with the naked eye, along with countless stars and, if you're lucky, several meteors streaking across the pristine sky. Staying in a local homestay offers an authentic and responsible way to experience this protected area.
Essential Tips for Your Dark-Sky Quest
Permits: As you'll be travelling near border areas, an Inner Line Permit (or Protected Area Permit for foreign nationals) is required for Nubra Valley, Pangong Tso, and Hanle. These can be obtained online or through your travel agent in Leh. Packing: Nights in Ladakh are cold, even in summer, with temperatures often dropping below freezing at higher altitudes. Pack multiple warm layers, including thermals, a down jacket, a warm hat, and gloves. A headlamp with a red-light mode is crucial to preserve your night vision while stargazing. Astrophotography Basics: To capture the night sky, you'll need a camera with manual settings, a wide-angle lens with a low aperture (like f/2.8), and a sturdy tripod. Use a high ISO, a long shutter speed (15-25 seconds), and a remote shutter to avoid camera shake. Remember to bring extra batteries, as the cold can drain them quickly.