




Gather Your Basic Tools
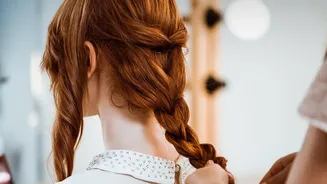
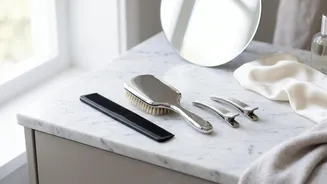
Before you begin crafting your crown, make sure you have the essentials on hand. The best part is you likely already own them. For most of these styles, all you need is a good comb for parting, some small, clear hair elastics to secure the ends of your braids,
and a handful of bobby pins to tuck and hold everything in place. If your hair is particularly fine or silky, a little texturizing spray or dry shampoo can provide some helpful grip. Having these simple items ready will make the process smooth and stress-free.
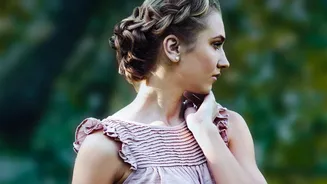
1. The Classic Halo Braid
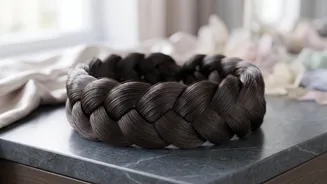
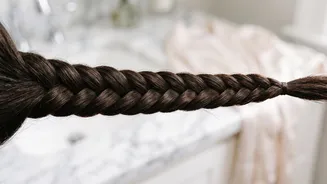
This is the foundational style that creates a beautiful, continuous crown. Start by parting your hair down the middle into two equal sections. Braid each section into a simple three-strand plait, starting behind the ear and securing the ends with an elastic. Once both braids are complete, bring one braid up and over the top of your head, like a headband, and pin it securely on the other side. Do the same with the second braid, laying it alongside the first and tucking the end of the first braid underneath it. Pin everything securely, ensuring the ends are hidden to create the illusion of a single, seamless halo.
2. The Dutch Halo Braid
For a bolder, more defined look, the Dutch halo braid is your answer. Unlike a classic braid where you cross strands over the middle, a Dutch braid involves crossing the strands under the middle. This technique makes the braid pop, creating a raised, 3D effect that sits on top of your hair. You can create this style by making two Dutch braids and pinning them up as you would with the classic version, or by starting a single Dutch braid at your temple and working it all the way around your hairline, incorporating new hair as you go. The result is a striking and voluminous crown that makes a statement.
3. The Bohemian Halo Braid
If a perfectly polished look isn't your vibe, embrace the relaxed and romantic bohemian halo. This style is all about texture and an effortlessly chic finish. Start with one of the methods above—either the two-braid technique or a continuous French or Dutch braid. Once the braid is secured, gently pull on the edges of the braided sections to loosen them up and create more volume. This is often called 'pancaking' the braid. Don't be afraid to let a few strands fall around your face to frame it softly. This forgiving style is perfect for second-day hair and gives off a carefree, romantic look.
4. The Half-Up Halo Braid
For those who love the elegance of a halo but want to leave some of their hair down, the half-up halo is the perfect compromise. This style works beautifully with both straight and wavy textures. To create it, part your hair as you normally would. Take a section of hair from one side of the part, near the front, and braid it back towards the crown of your head. Repeat on the other side. Then, simply cross the two braids over the back of your head and pin them in place, leaving the rest of your hair to flow freely underneath. It's a versatile look that adds a touch of intricate detail without committing to a full updo.
5. The Twisted Rope Halo
If you struggle with traditional three-strand braiding, the twisted rope halo is a fantastic and easy alternative. This technique uses only two strands of hair. Part your hair and create two pigtails. Split one pigtail into two sections. Twist each section individually in the same direction (for example, to the right), and then wrap them around each other in the opposite direction (to the left). This keeps the twist from unraveling. Secure the end, repeat on the other side, and then pin the two twisted ropes up and over your head just like a classic halo braid. The final look is textured, unique, and just as elegant.