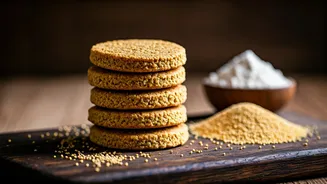


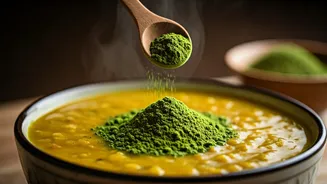


The Nutritional Power of Ragi
Before we get to the pan, let’s understand why ragi, or finger millet, is worth your attention. For centuries, this humble grain has been a nutritional cornerstone in many parts of India. Unlike refined all-purpose flour (maida), which is stripped of most
of its nutrients, ragi is a whole grain that comes packed with benefits. It’s most famous for its high calcium content, which is crucial for bone health. But the headline promises iron, and ragi delivers. It’s a good plant-based source of iron, which is vital for maintaining healthy energy levels and preventing anaemia. Furthermore, ragi is rich in dietary fibre, which aids digestion, promotes a feeling of fullness, and helps manage blood sugar levels. For those with gluten sensitivities or celiac disease, ragi is also a fantastic naturally gluten-free option.
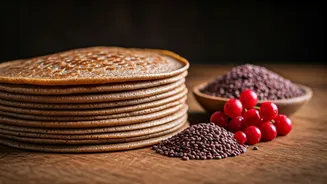
From Maida to Millet: What to Expect
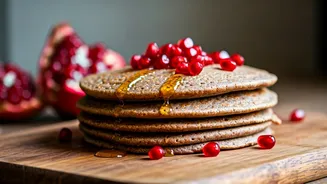
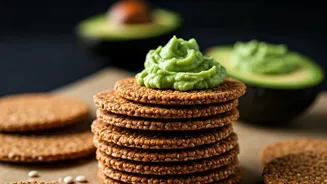
Making the switch from maida to ragi will change your crepes, but in a wonderful way. It’s important to set your expectations. Maida crepes are pale, very soft, and have a neutral flavour. Ragi crepes, on the other hand, will have a beautiful, deep reddish-brown hue and a much richer, earthier, and slightly nutty flavour profile. This isn’t a flaw; it’s a feature! The texture is also different. Ragi flour is denser and lacks the gluten that gives maida its elasticity. As a result, ragi crepes will be a bit more tender and less 'stretchy' than their traditional counterparts. They hold their shape well but have a heartier, more satisfying mouthfeel that stands up beautifully to both sweet and savoury fillings.
Mastering the Ragi Batter
The secret to a great ragi crepe is in the batter. Ragi flour absorbs more liquid than maida, so you can’t do a simple one-to-one substitution. Here are the key principles for success. For your first attempt, consider a blend. A 50/50 mix of ragi flour and whole wheat flour (atta) is a great starting point. This gives you some of the familiar structure of wheat while introducing the benefits of ragi. If you’re gluten-free or feeling adventurous, you can go 100% ragi. When mixing, add your liquid (milk, water, or a plant-based alternative) gradually until you reach a thin, pourable consistency, similar to heavy cream. The most crucial step is to let the batter rest for at least 20-30 minutes. This allows the ragi flour to fully hydrate, which results in a smoother batter and more tender crepes.
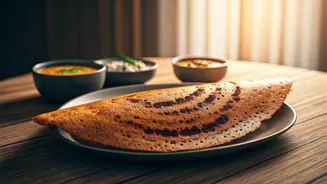
Technique for Tender Crepes
Cooking ragi crepes requires a gentle hand. A good non-stick pan is your best friend here. Lightly grease the pan with a little oil or ghee and heat it over medium-low heat. Too high a heat will cause the crepe to set before you can spread it thinly. Pour a small ladleful of batter into the centre of the pan and quickly swirl it to create a thin, even circle. Let it cook for about 60-90 seconds. You’ll see the edges start to lift and the surface will look dry. This is your cue. Because they are more delicate, use a wide, thin spatula to carefully flip the crepe and cook for another 30-40 seconds on the other side. Don’t worry if your first one isn’t perfect—it’s affectionately known as the chef’s treat!
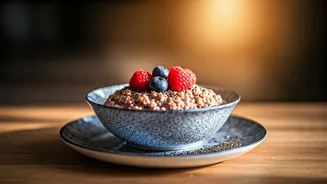
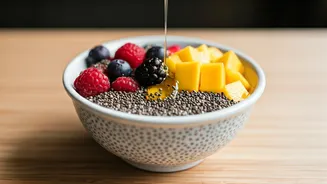
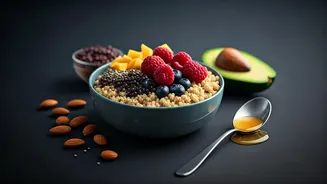
Delicious Filling and Topping Ideas
The earthy flavour of ragi opens up a world of pairing possibilities. For a sweet breakfast, lean into traditional Indian flavours. A drizzle of honey or a sprinkle of jaggery powder with sliced bananas and a dusting of cardamom is divine. Fresh berries, figs, and a dollop of yogurt also work beautifully. On the savoury side, ragi crepes are a game-changer. Fill them with sautéed mushrooms and spinach, spiced paneer bhurji, or even a simple mix of avocado and black salt. The robust flavour of the crepe provides a perfect base for these hearty fillings, turning your breakfast into a wholesome and satisfying meal.