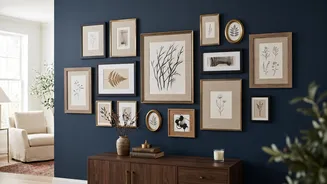


Define Your Story First
Before you hammer a single nail, decide on the mood and story you want to tell. A vintage gallery wall is more than just decoration; it's a personal narrative. Are you aiming for a refined look with sepia-toned photos and gilt frames, or a more rustic,
farmhouse feel with pastoral scenes in weathered wood? This theme will be your guide for every choice that follows, from the art you select to the frames you hunt down. The goal isn't perfection, but a consistent point of view that makes the collection feel intentional. This foundational step ensures your wall feels curated, not cluttered.
The Art of the Hunt
Part of the charm of a vintage gallery wall is the 'collected over time' feel, which often begins with the thrill of the hunt. Thrift stores, flea markets, and antique shops are treasure troves for unique frames. When searching, try to look past the often-dated artwork inside and focus on the frame's shape and detailing. Damage that can't be fixed or painted over is a deal-breaker, but don't be deterred by an unappealing colour. Paint can be your best friend. A quick coat of white, black, or even a bold colour can unify mismatched frames or add a modern twist. Look for a variety of sizes and materials—wood, metal, and ornate carved pieces—to add texture and depth.
Create Cohesion from Chaos
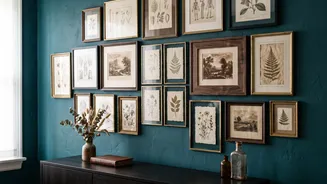
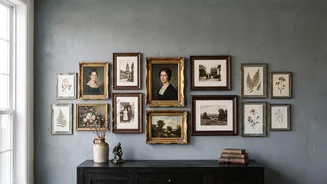
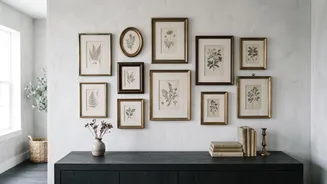
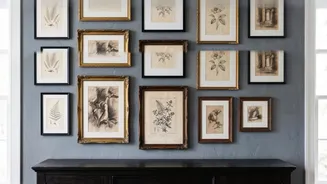
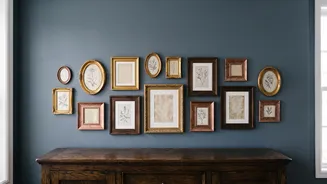
The key to successfully mixing different frames is to establish a unifying thread. This doesn't mean everything has to match. Instead, choose two or three repeating elements to create a sense of rhythm and connection. This could be a limited colour palette for the frames, such as black, antique gold, and walnut. Alternatively, you could use the same colour matting for every piece to create a clean, gallery-like feel. Another effective strategy is to stick to a cohesive theme in the artwork itself, like botanical prints, black-and-white photography, or landscapes. This shared element will tie the eclectic frames together, making the entire arrangement feel harmonious.
Mastering the Layout
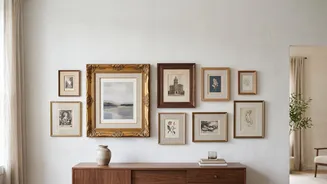
Once you've gathered your pieces, resist the urge to start hanging immediately. The best way to plan your layout is on the floor. Start by placing your anchor piece—usually the largest or most visually striking item—slightly off-centre at eye level (roughly 57-60 inches from the floor). Then, build the rest of the arrangement around it, balancing larger frames with clusters of smaller ones. A helpful trick is to trace each frame onto craft paper, cut out the templates, and tape them to the wall. This allows you to experiment with placement without creating unnecessary holes. Pay close attention to spacing; keeping a consistent gap of two to four inches between frames will make the collection read as a single, cohesive unit.
Thinking Beyond the Photograph
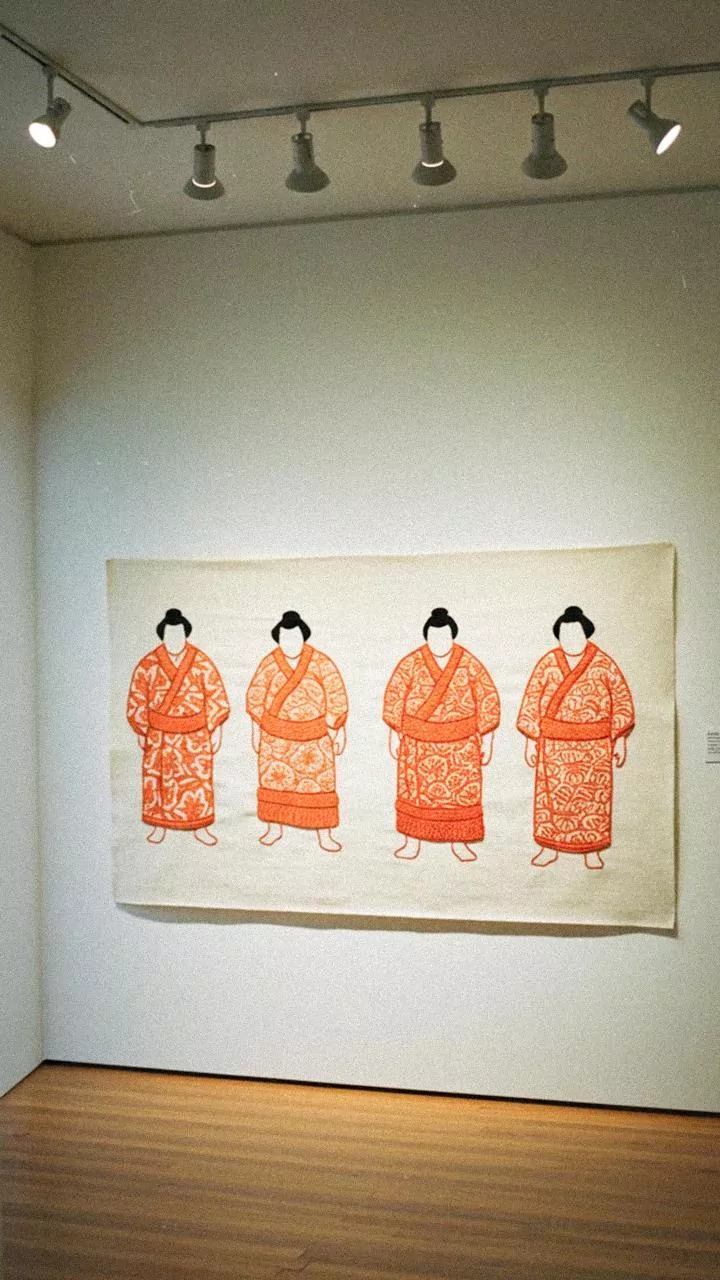
A truly dynamic gallery wall often incorporates more than just framed prints. Mixing in different objects adds texture, dimension, and personality. Consider adding a small, ornate mirror, a vintage postcard, a framed piece of fabric, or even a cherished handwritten note. These unexpected elements break up the visual rhythm of the frames and make the wall feel more layered and personal. You can even mount small collectibles, like antique keys or brooches, within a shadow box. The goal is to create a composition that tells your unique story, blending art, memories, and personal treasures into a single, beautiful display.