



Why Bother Fermenting?
Fermentation is a natural process where microorganisms like bacteria and yeast convert sugars in food into other compounds, like lactic acid. This process not only preserves the vegetables but transforms them. The key benefit is the creation of probiotics,
which are live, beneficial bacteria. A regular intake of probiotic-rich foods can help balance your gut microbiome, which is linked to improved digestion, a stronger immune system, and reduced inflammation. Beyond the health perks, fermentation unlocks incredible new flavours — turning a simple carrot into a tangy, complex treat, all without a drop of oil.
Your Simple Fermentation Toolkit
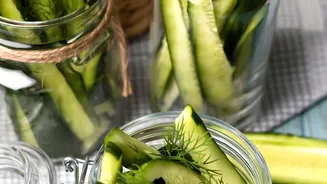
You don't need fancy, expensive equipment to start. The beauty of this method lies in its simplicity. You likely have most of what you need already. First, you'll need glass jars with lids. Mason jars work perfectly. Second, you'll need something to keep the vegetables submerged under the brine, which is crucial for preventing mould. This can be a specific fermentation weight, a smaller glass jar that fits inside the larger one, or even a clean, boiled rock. Third, you need non-iodised salt, such as sea salt or kosher salt. Iodised table salt can inhibit the beneficial bacteria you want to encourage. Finally, you need clean, filtered water, as the chlorine in some tap water can interfere with fermentation.
The Basic Salt Brine Formula
The magic of oil-free vegetable fermentation happens in a simple salt brine. A good starting ratio is about 1 to 2 tablespoons of non-iodised salt per 1 litre of water. This creates an environment where beneficial Lactobacilli bacteria can thrive, while harmful bacteria are kept at bay. Dissolve the salt completely in the water before pouring it over your vegetables. For denser vegetables like cabbage, which will release their own water, you can simply massage the salt directly into the shredded vegetable until it creates its own brine, a method known as dry-salting.
Step-by-Step Guide to Your First Ferment
1. Prep Your Veggies: Wash your vegetables and chop them to your desired size. You can shred, slice, or leave them in spears or whole (like green beans or small cucumbers).
2. Pack the Jar: Tightly pack the prepared vegetables into your clean glass jar, leaving about an inch or two of headspace at the top.
3. Add the Brine: Pour your prepared salt brine over the vegetables until they are completely submerged. If dry-salting cabbage, just pack it in tightly.
4. Weigh it Down: Place your fermentation weight on top of the vegetables to ensure they stay below the surface of the brine. This is the most critical step to prevent spoilage.
5. Cover and Wait: Loosely cover the jar with a lid. You want gases produced during fermentation to escape, so don't tighten it completely. Place the jar on a plate to catch any potential overflow and leave it at room temperature, away from direct sunlight, for about 3 to 10 days. You'll start to see bubbling, which means it's working.
6. Taste and Store: Start tasting your ferment after a few days. Once it reaches a flavour you enjoy, tighten the lid and move it to the refrigerator. This will significantly slow the fermentation process. Your fermented vegetables can last for months in the fridge.
Best Vegetables for Beginners
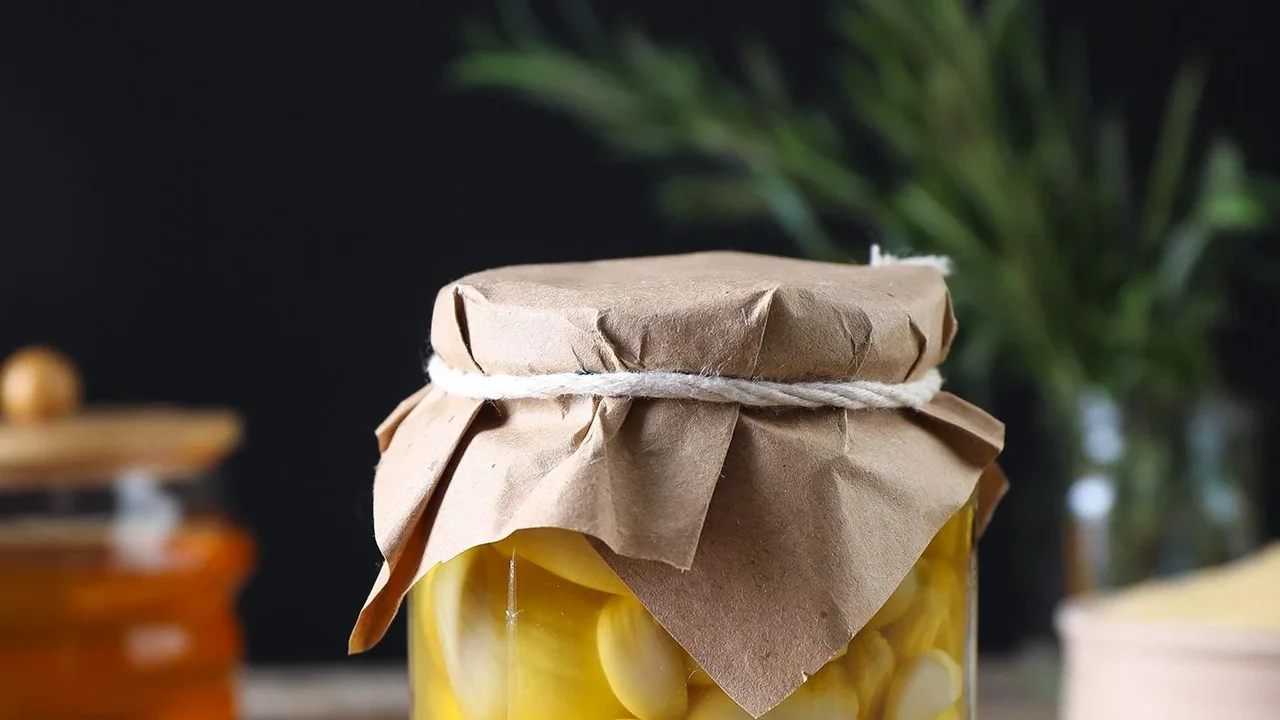
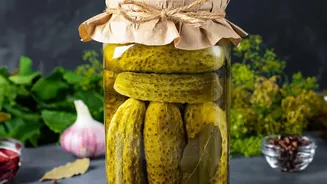
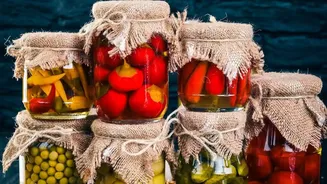
While you can ferment almost any vegetable, some are more forgiving for beginners. Cabbage is the undisputed champion, turning into classic sauerkraut. Carrots are another excellent choice, as they stay crunchy and develop a lovely tangy flavour. Green beans, cucumbers (for pickles), and radishes also ferment beautifully. Cauliflower is another great option, and you can even add a piece of beet to give it a vibrant pink hue. Don't be afraid to add flavourings like garlic cloves, dill, or red pepper flakes to your jars.
Troubleshooting and Safety
Home fermentation is very safe when done correctly. Always ensure your vegetables stay under the brine. A cloudy brine and a sour, pleasant smell are normal. You might see a white film (kahm yeast) on the surface, which is harmless and can be skimmed off. However, if you see fuzzy, colourful mould (blue, black, or green), something has gone wrong, and the entire batch should be discarded. The key is to keep the environment acidic and anaerobic (oxygen-free) by keeping everything submerged. A successful ferment should smell tangy and fresh, not rotten or unpleasant.