


Looking to add a personal, eco-friendly touch to your home decor? This weekend, turn your recyclables and spare materials into stunning statement pieces. These simple projects transform everyday items into unique and functional art.
The Joy of Upcycling
Before you begin, take
a moment to appreciate the materials you’re using. That empty wine bottle or leftover piece of fabric holds the potential for something new and beautiful. Upcycling isn't just about saving money; it's a creative way to reduce waste and infuse your living space with personality. These projects are designed to be simple, satisfying, and easy to complete in a weekend, giving you a sense of accomplishment and a lovely new item for your home.
Project 1: Glowing Bottle Lanterns
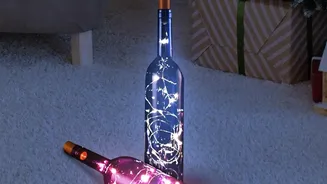
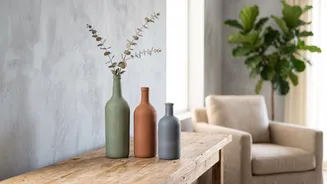
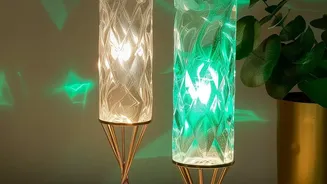
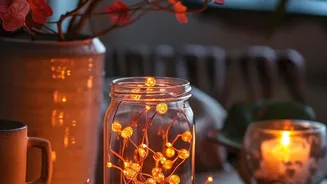
An empty glass bottle can become a charming lantern, perfect for adding a warm glow to your patio, garden, or living room. There are several ways to approach this, but one of the safest and easiest methods involves using battery-operated fairy lights, which eliminates the risks associated with flames or complex wiring.
What You'll Need
For this simple version, you only need a few items. Collect an empty and clean glass bottle—wine bottles work wonderfully due to their elegant shape. You will also need a string of battery-operated LED fairy lights, often sold with the battery pack attached to a cork-shaped stopper that fits perfectly into the bottle's opening. Optionally, you can use frosted glass spray paint or 3D puff paint to decorate the bottle before adding the lights.
Step-by-Step Guide for Bottle Lanterns
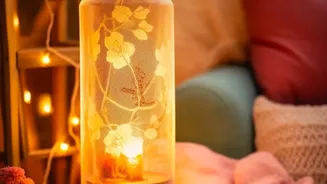
First, ensure your bottle is thoroughly clean and dry, with all labels removed. Soaking it in warm, soapy water can help dissolve the adhesive. If you choose to decorate, this is the time to do it. Apply a coat of frosted glass spray for a diffused, sea-glass look, or draw patterns with puff paint for a textured design. Once any paint is completely dry, carefully feed the string of fairy lights into the bottle, leaving the cork-stopper at the top. Switch on the lights and your lantern is ready to glow. It’s a wonderfully simple way to create mood lighting.
Project 2: No-Sew Scrap Fabric Lamp Covers
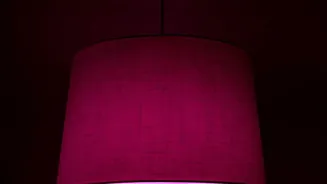
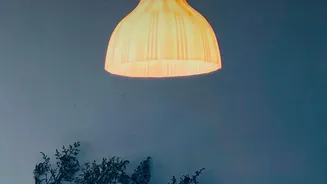
Give an old, plain lampshade a vibrant new life with scraps of fabric. This project requires no sewing skills and can be adapted to any style, from pleated and polished to a more rustic, patchwork look. It’s an ideal way to use leftover fabric from other projects or to give a new purpose to old textiles.
What You'll Need
You will need a basic lampshade, strips of fabric, a hot glue gun or strong fabric adhesive, and scissors. For a clean, pleated look, an iron is also helpful. Lightweight cotton fabrics are often easiest to work with. To determine how much fabric you need, measure the circumference of your lampshade and plan to use at least double that length to create pleats.
Step-by-Step Guide for Lamp Covers
Start by cutting your fabric into strips; a width of two to three inches is a good starting point. For a neat edge, you can iron a small hem on each strip. Then, apply a bead of hot glue to the top inside rim of the lampshade and press the end of your first fabric strip into place. Begin wrapping the fabric around the shade, creating small, overlapping pleats as you go and securing them with dabs of glue at the top and bottom. Continue this process until the entire shade is covered. To finish, create a clean hem by gluing a final strip of fabric along the top and bottom rims to cover any raw edges. Let the glue dry completely before placing the shade back on your lamp.
A Note on Safety
For any DIY lighting project, safety is key. When creating bottle lanterns, always use low-heat LED lights to avoid any risk of the glass overheating. For your fabric-covered lampshade, ensure the fabric does not come into direct contact with the lightbulb. Use an LED bulb, which generates significantly less heat than incandescent bulbs, and always ensure your lamp's wattage specifications are followed to prevent fire hazards.